filmov
tv
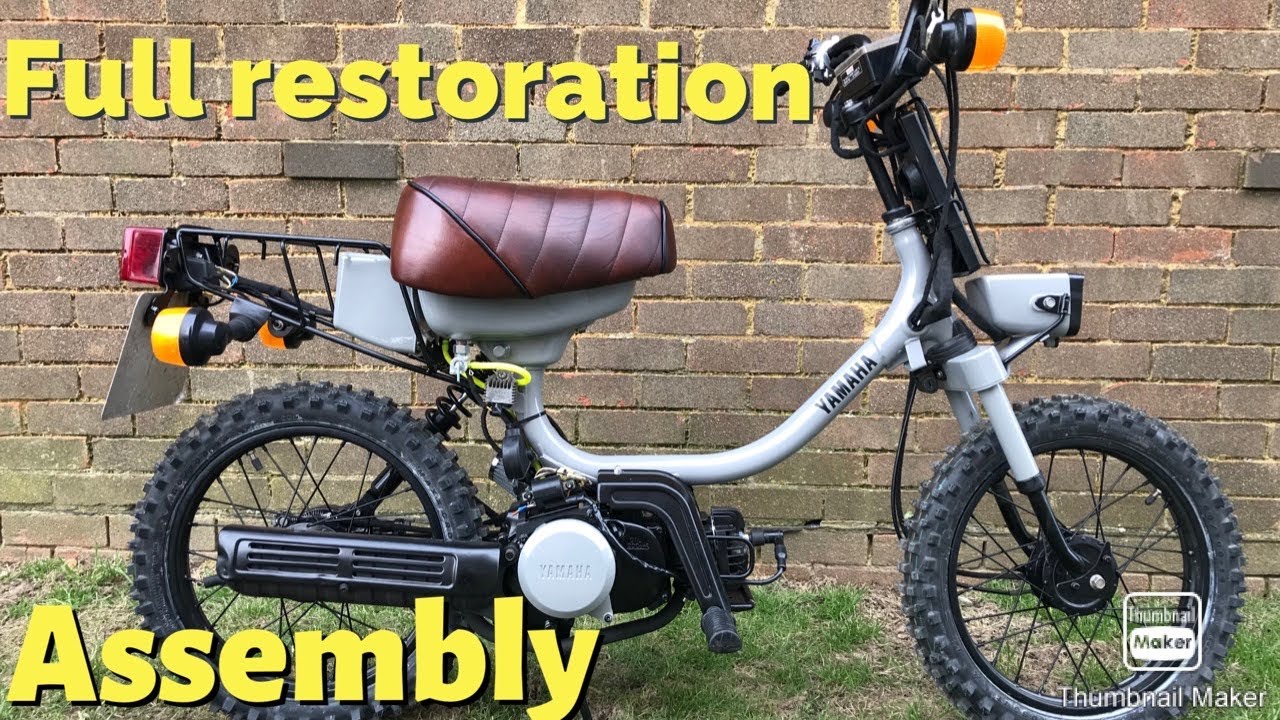
ASSEMBLING FULLY RESTORED CUSTOM YAMAHA QT50 SCOOTER
Показать описание
In this video I assemble my Yamaha QT50 Retro Scooter after doing a full restoration.. I'm pretty much amazed at how well its all gone back together again.. this will not be the last episode as there's still a few finishing touches and tweaks that need doing! Really happy with the outcome let me know what you think below...
Follow me on instagram @tubedarren
Thanks for watching..
Cheers, Darren
Equipment I use to make videos
**Disclaimer**: This video is intended to be used for general information and entertainment purposes only. I cannot accept any responsibility for damage or injury that may be caused as a result of watching this video. Some of the product links I share may contain affiliate partnerships, meaning (at no additional cost to you), I may earn a small commission if you click through or make a purchase.
 0:18:44
ASSEMBLING FULLY RESTORED CUSTOM YAMAHA QT50 SCOOTER
 0:14:21
2014 Yamaha R1 WRECKED Bike Rebuild (Complete Rebuild) Start to Finish
 1:06:43
Forgotten Yamaha YZ125 Restored after sitting in boxes for YEARS!
 0:07:08
7 Minute Motorcycle Teardown – Mechanic Crash Course
 0:10:34
Man Builds Hyperrealistic Racing MOTORCYCLE at Scale | Yamaha Replica by @kotascalemodel
 0:12:53
2014 Yamaha fz16 fully restored
 0:19:25
Building The Perfect Yamaha R6
 0:01:36
Yamaha Enticer Restoration in Progress 🔧 | You Won’t Believe the Transformation!
 0:17:20
Building A Brand New 2006 Yamaha Banshee!
 0:14:44
Insane Transformation of a $500 YZ250! Electric Start YZ300 Build
 0:23:38
Building the Ultimate Yamaha R1M in 23 Minutes! | Full Transformation
 0:51:41
2 stroke dirt bike build time lapse - Yamaha YZ250
 0:00:13
Small Boat Powered by Mercury 300R: Smooth and Powerful Performance
 0:00:30
How to SINK your Boat #6 | Wavy Boats | Haulover Inlet
 0:00:16
Bass Boat Sinks on Lake St. Clair 😳🌊
 0:31:11
Can I Fix A Yamaha Dirt Bike With Temu Parts?
 1:28:35
Restoration Of An Abandoned Yamaha DT 250 - Genuine Barn Find!
 0:00:09
Yamaha Stock RX100 Red | Fully Restored | YC Design
 0:00:09
Coolest Modified Cafe Racer Bikes
 0:00:16
A one spray painting || Helmet restored || painting on helmet
 0:00:18
Mini Trikes For Life!
 2:04:04
Building a custom Yamaha Raptor 660 from Scratch after being abandoned - ASPCA Raptor Finale
 0:00:16
Dad Crashes My New Dirt Bike!! (2021 YZ-250F)
 0:00:17
Red modified R15 V4 ❤️ High graphics 💥 #rc390 #ytshorts #shorts #viralshorts
Комментарии