filmov
tv
e339: 'Toy' Mazda RX7 - Finishing the body Part 3

Показать описание
Thank you for watching my video!
Please, visit my sites:
M Chassis Parts:
Many of my designs and threads can be located at
If you enjoy the music featured on my videos, please visit Blue Pinto’s official site here:
I always enjoy constructive criticism and would love to know what you think about my designs.
Please subscribe as I have hundreds of other upgrades for many, many other cars, rc cars, toys, and anything else that I think needs upgrading!
***I have no tolerance for disrespectful posts, foul language, cyber-bullying, sexism, homophobia, racism and anything else that has no place in society. This is a family-friendly channel so I have soap next to me for every time I say a bad word. Any foul or abusive post will be removed and you will be reported to YouTube.***
 0:10:47
e339: 'Toy' Mazda RX7 - Finishing the body Part 3
 0:12:19
e340: 'Toy' Mazda RX7 - Headlights and Electrical - Part 4
 0:00:44
1/12 Mazda RX-7 FD by Hasegawa Black W.I.P.
 0:08:45
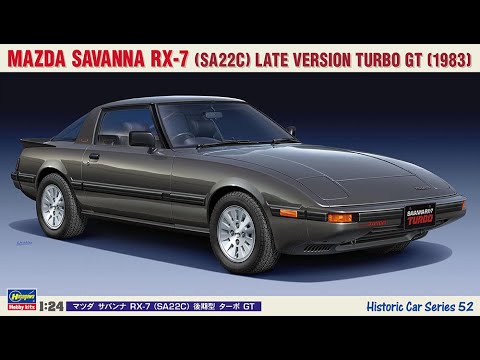
Hasegawa 1983 Mazda Savanna RX-7 Turbo GT | Whats In The Box
 0:20:01
Model Car Garage - The 1991 Mazda RX-7 R1 by Tamyia - A Model Car Kit Unboxing Video
 0:08:14
e338:Missing Footage! Toy Mazda RX7 on custom Tamiya M02 Chassis - Part 2
 0:13:51
e337: Toy Mazda RX7 on custom Tamiya M02 Chassis Part 1
 0:00:16
Tamiya 1/24 Mazda RX-7 R1 Build process 1 #scalemodel #124 #124scale #tamiya #jdm #rx7 #jdmcars
 0:13:51
porsche japan a.k.a rx7 mazda.full build from tamiya kit. mantap ke kereta ni?
 0:00:40
Mazda RX7 unboxing and modified
 0:01:12
RX7 FB RC Drift
 0:12:24
a look back at a pre youtube build monogram mazda rx7
 0:03:01
tamiya mazda rx7-r1 1/24scale
 0:04:31
HSP RC Mazda RX7 Pasang Spoiler
 0:03:13
revell 1985 mazde rx7.
 0:14:34
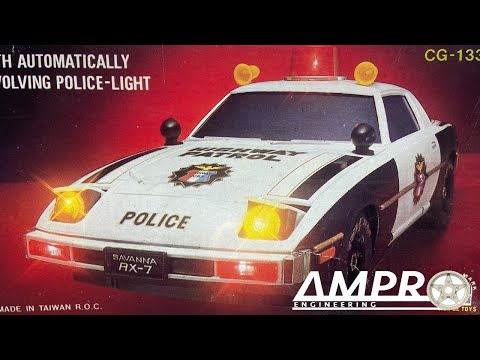
e313: Ampro Projects Series, Part 1
 0:15:36
e150: The Ampro Updated Collection!
 0:13:31
MAZDA FC3S | RC Drift Body Build and Detailing
 0:00:52
RC Car Tamiya TT-01mit HPI Karosserie Honda Civic Coupé SI
 0:03:14
LEGO Quality
 0:33:49
E99: ABS Body Restoration - Taiyo/Tyco Baja Bandit Restoration and Upgrade - Part 3
 0:18:22
FINAL ON BUDDY BUILD OF EVO 5 GSR OF FUJIMI EVO 5 GSR WITH BUDDY RUSSELL LINK IN DESCRIPTION
 0:11:42
e349: FMS Hilux Build Part 2! Drivers, Bullbar and Rear Bumper!
Комментарии