filmov
tv
How To Install Telnet Client On Windows 10/11 [Tutorial]

Показать описание
How To Install Telnet Client On Windows 10/11 [Tutorial]
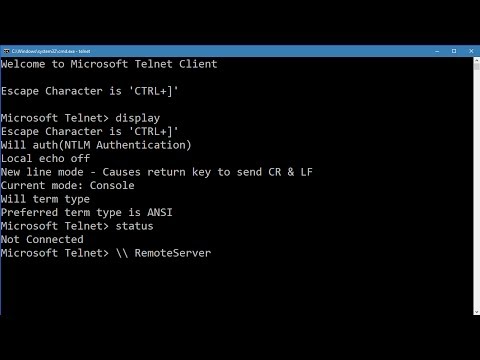
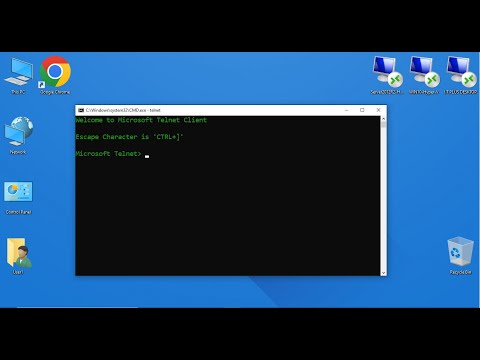
Telnet (teletype network) is a network protocol for two-way text-based communication through a CLI, allowing remote access. Telnet is vulnerable to cybersecurity attacks because it lacks encryption methods compared to the more modern SSH. However, it is still helpful for tasks that do not involve transmitting sensitive information.
Issues addressed in this tutorial:
install telnet client on windows
how to install telnet client on windows 10
unable to install telnet client on windows 10
how to install telnet client on windows 11
install telnet client windows 10
windows install telnet client
install telnet windows 10
install telnet client
how to install telnet on windows 10
install telnet on windows
install telnet client in windows 10
enable telnet client in windows 10
enable telnet client in windows
install telnet client PowerShell windows 11
Telnet was developed as a network protocol in 1969, and it was famous for many years until the rise of internet broadband and more secure alternatives. You might be surprised to learn that even today, there are still plenty of Telnet servers and resources available, including several active communities. Start with this guide if you are curious to know more about using Telnet. We will show how to install the Telnet Client in Windows, how to start and end a Telnet session, where to get information about Telnet commands, and where to find Telnet servers to connect to.
This tutorial will apply for computers, laptops, desktops, and tablets running the Windows 10 and Windows 11 operating systems (Home, Professional, Enterprise, Education) from all supported hardware manufactures, like Dell, HP, Acer, Asus, Toshiba, Lenovo, Alienware, Razer, MSI, Huawei , Microsoft Surface, and Samsung.
 0:02:40
How to install telnet on Windows 10
 0:02:14
How To Install Telnet Client On Windows 10/11 [Tutorial]
 0:01:18
How To Install Telnet Client On Windows 10 [Tutorial]
 0:02:00
How to enable the Telnet Client in Windows 10
 0:03:25
How To Install Telnet Client On Windows
 0:01:55
how to install telnet client on windows 7
 0:01:24
How to Enable / Install Telnet in Windows 10 - Tutorial
 0:01:14
How To Install Telnet Client On Windows 10 or 11 [Easiest & Quick Way]
 0:04:28
How to Enable Telnet Client on Windows 10?
 0:01:21
Install Telnet Client on Windows 10 /11
 0:02:07
How to Install Telnet Client in Windows 10
 0:02:12
How to Install or Enable Telnet Client in Windows 10
 0:02:09
How to install Telnet in Windows 10
 0:01:40
Enable Telnet Client (Port 23) in Windows 10 - Step by Step
 0:01:34
How To: Install Telnet Client in Microsoft Windows
 0:02:45
How To Enable/Install Telnet in Windows PC
 0:00:48
How to install/enable Telnet Client on Windows
 0:01:56
How to Install Telnet on Windows 11
 0:00:57
How to install telnet client through command prompt on Windows cloud servers
 0:00:41
Install Telnet Client
 0:01:31
Install Telnet Client on Windows 10
 0:04:31
How to Install Telnet in Windows 10 Operating System? | MilesWeb
 0:05:21
How install telnet client in windows server 2016
 0:03:53
Install Telnet Client on Windows Server 2016
Комментарии