filmov
tv
Arduino Light Sensor Tutorial: Learn to Setup a Photoresistor

Показать описание
In this video I go through the steps on how to setup an Arduino light sensor circuit and the code to make it come alive. This electronics part is extremely handy if you need to make a project that needs to be able to detect changes in light.
The parts that you will need are basic and come in most electronics starter kits so you’re likely to already have them. If not, you can pick up all the parts for pretty cheap with the exception of the Arduino Uno.
The circuit is incredibly simple so you shouldn’t have many issues putting it together. If you do find it a little hard to follow, then be sure to check out the full circuit diagram over at the website linked above. It shows you exactly where parts can be placed and the correct connections.
If you have never heard of a photoresistor it is small part that changes its resistance depending on how much light is on it. For example, if it is dark then the part will have a very high resistance, typically up to about 10 megohms. In the light it has a very low resistance of only just a few hundred ohms.
The code is very easy to follow and much like the circuit shouldn’t be too hard to get working. We simply get the value from the light sensor input and then compare it to a static value. It is likely you will need to update these static values depending on the environment you will have your setup in. For example, inside or outside.
If you’re having trouble setting it up correctly be sure to take a look at setting up some debugging and monitoring the code using the serial monitor. This should be able to help you pinpoint the problem you’re likely having.
 0:04:22
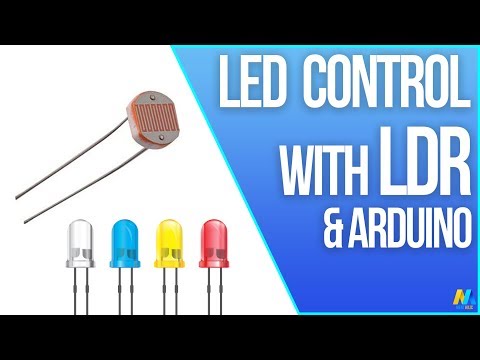
LED Control with LDR (Photoresistor) and Arduino
 0:00:18
Arduino Light Sensor using LDR
 0:36:19
Arduino Tutorial 25: Understanding Photoresistors and Photo Detectors
 0:07:56
LDR with Arduino - Measure Light Intensity using Photoresistor
 0:05:35
How to use PIR Motion Sensor with Arduino | Motion sensor light
 0:17:20
Arduino Ultrasonic Motion Sensor: Motion Sensor and LED project
 0:03:53
Arduino Tutorial: LED Sequential Control- Beginner Project
 0:06:30
IR Sensor and LED with arduino (with code explained) | All digital sensors | Arduino tutorial 4
 0:15:57
How to Blink an LED with Arduino (Lesson #2)
 0:08:01
BH1750 Light Sensor Tutorial with Arduino and ESP8266 (NodeMCU)
 0:07:22
VERY EASY Arduino IR Sensor Tutorial for Beginners | IR Sensor Arduino Tutorial | Infrared Sensor
 0:01:00
How To Make Clap Switch with Arduino and Sound Sensor | Arduino projects
 0:05:06
Arduino with Sound Sensor and LED (Tutorial)
 0:02:50
Arduino Blinking LED Tutorial
 0:00:16
Amazing arduino project | Check description to get free money.
 0:00:22
What engineering students actually do in labs 💀 #electronics #arduino #engineering
 0:13:13
Photoresistor Light Sensor with Arduino
 0:08:16
TEMT6000 Ambient Light Sensor & Arduino Interfacing | Illuminance & Light Intensity Measurem...
 0:17:24
Arduino LDR Sensor Project Tutorial | Arduino LDR + Led Tutorial | Arduino Light Sensor in Hindi 🔥🔥...
 0:06:43
How to use TEMT6000 Ambient Light Sensor with Arduino
 0:08:17
How to make a Clap Switch using Arduino UNO!
 0:02:53
PIR Motion Sensor with Arduino
 0:00:40
Arduino project 😎^ Arduino #arduino #2022 #2021 #2023 #dc #arduinoproject #diy #foryou
 0:07:22
Arduino ultrasonic sensor led projects | Hc-sr04 Ultrasonic sensor
Комментарии