filmov
tv
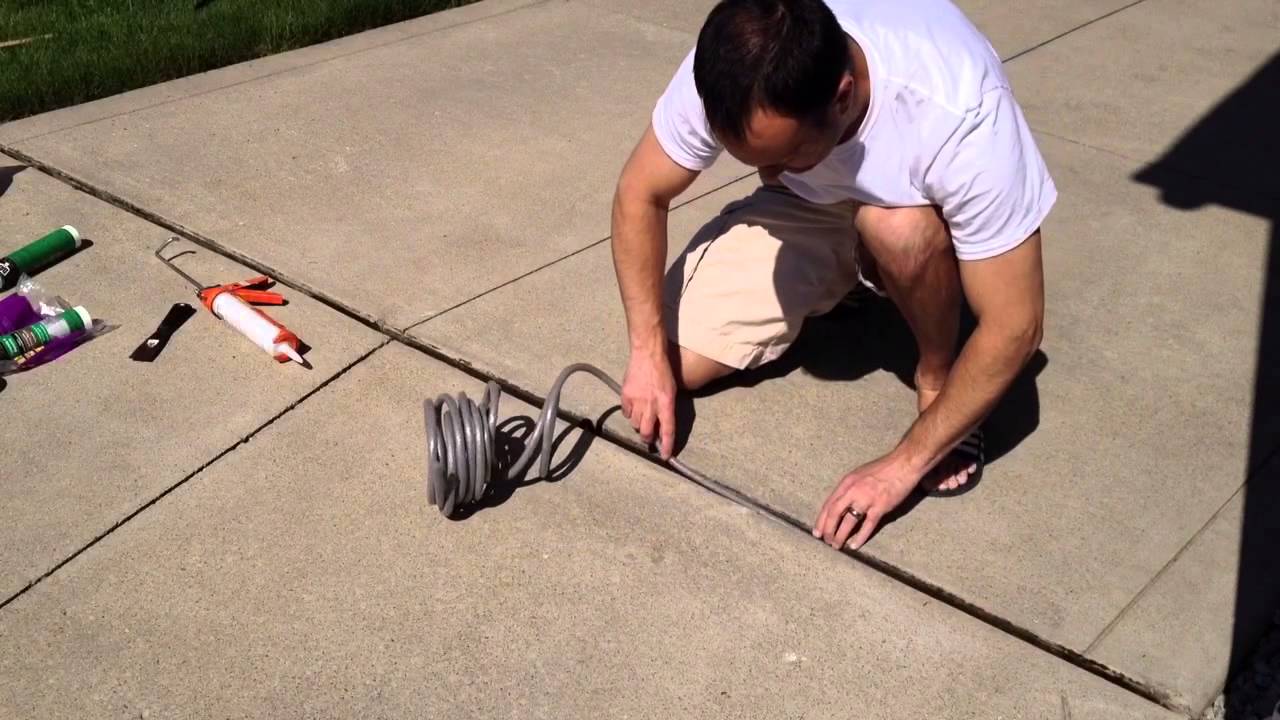
DIY Repair Driveway Expansion Joints
Показать описание
Wonder what looks best and holds up? Watch as I review 5 ways of filling concrete expansion joints and my personal favorite.
Like, Subscribe and Follow the Fire
Like, Subscribe and Follow the Fire
 0:03:04
DIY Repair Driveway Expansion Joints
 0:04:13
How to Replace Wood Expansion Joints in Concrete Slabs
 0:02:55
DIY Repair Sidewalk Expansion Joints
 0:08:38
Repairing A Neglected Driveway Crack | The Ultimate Solution!
 0:00:59
Part 2 of 3: using Sikaflex to repair expansion joints #diy #howto #drivewayrepair #homerenovation
 0:10:20
The Right Way To Seal Expansion and Control Joints
 0:09:32
How To Fix Cracks In ANY Concrete Sidewalk Or Driveway Like A Pro! DIY Step-By-Step Guide!
 0:02:37
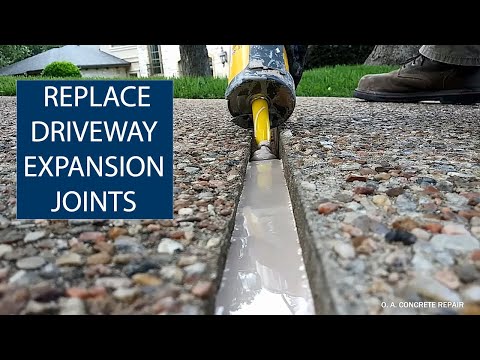
EXPANSION JOINT REPLACEMENT OF CONCRETE DRIVEWAYS
 0:08:35
Weed-Free Driveways and Sidewalks: The Ultimate Solution!
 0:02:32
DRIVEWAY GARAGE JOINT REPLACEMENT
 0:01:00
Easy and tack-free expansion joint replacement. Have you tried this? #diy #homerenovation #driveway
 0:09:50
How To Get WEED-FREE Sidewalks And Driveways! The PERMANENT Solution! DIY
 0:05:08
Replacing Rotten Wood Expansion Joints in a Driveway - Agile Remodeling Handyman - Kenmore, WA
 0:01:28
How to Seal Concrete Expansion Joints [Driveway, Sidewalk, etc]
 0:00:38
What is this sorcery - Magic Crack Filler on Amazon
 0:01:28
Driveway garage joint replacement
 0:00:59
DIY Concrete Gap Filling
 0:20:55
How to Caulk Concrete Control Joints with Perfect Results Every Time
 0:07:29
How to Remove Wood Expansion Joints in Concrete Slabs
 0:10:08
How to Seal Driveway Concrete Expansion Joints - DIY Using Self Leveling Sealant
 0:05:10
How To: Install Trim-A-Slab Expansion Joint
 0:05:29
Replacing Concrete Dividers
 0:09:35
Expansion Joint Repair
 0:11:17
How To Seal A Gap Between Concrete Slabs
Комментарии