filmov
tv
DIY Motorised Camera Slider With Object Tracking

Показать описание
In this video, I'll show you how to build your own motorised camera slider which can pan, rotate and track objects for some really cool shots and time-lapses. It can lift a mirrorless camera like the Canon M50 vertically, can be mounted onto a tripod, and works in any orientation, even upside down. A rotary pushbutton lets you input data on an OLED display to set the parameters for each movement. The motors are driven by two TMC2208 silent stepper motor drivers for smooth and quiet operation.
What You Need For This Project - Links from Amazon
What You Need For This Project - Links from Banggood
Rotary Pushbutton – Not Available
The above parts are affiliate links. By purchasing products through the above links, you’ll be supporting this channel, with no additional cost to you.
If you've got any ideas for Raspberry Pi, Arduino, or other Electronics projects or tutorials you'd like to see, let me know in the comments section.
 0:21:46
Crazy Cheap Camera Slider DIY Ideas- wacky but they WORK
 0:02:24
edelkrone WING3 & DIY Motorized Camera Slider & AutoPan - MGP Aerial Films
 0:08:06
DIY Motorised Camera Slider With Object Tracking
 0:05:23
How I Made a Commercial Using the Most Affordable Motorized Camera Slider
 0:13:06
DIY Motorized Camera Slider Build
 0:08:46
Motorized Slider you should check out NOW
 0:12:02
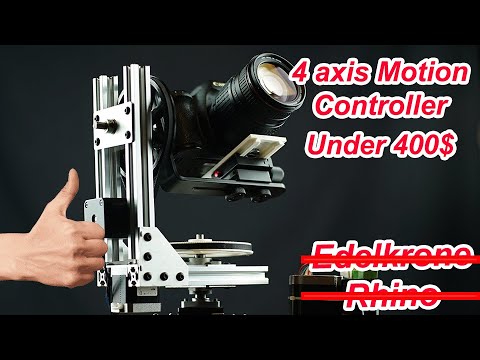
BEST BUDGET 4 AXIS MOTION SLIDER EDELKRONE RHINO ALTERNATIVE
 0:12:33
DIY Motorized Camera Slider | How to make Motorized Camera Slider at Home
 0:05:20
Lets Make - A Motorized Camera Slider
 0:13:55
Who can make the best DIY MOTORIZED SLIDER? • CineBattle
 0:16:46
DIY Motorized Camera Slider with Pan and Tilt Head - Arduino Based Project
 0:07:07
DIY Cheapest Motorised Camera Slider + Timelapses of Sydney
 0:15:41
How to Make a Professional Camera Slider (100% DIY!)
 0:03:29
DIY Motorized Camera Slider Tutorial
 0:04:25
CHEAPEST DIY Motorized CAMERA SLIDER: for Cinematic B Roll
 0:01:15
How To: Simplest Motorized DIY Camera Slider on Youtube - Canon 700D BMPCC
 0:08:22
DIY Motorised camera slider - mechanics
 0:11:26
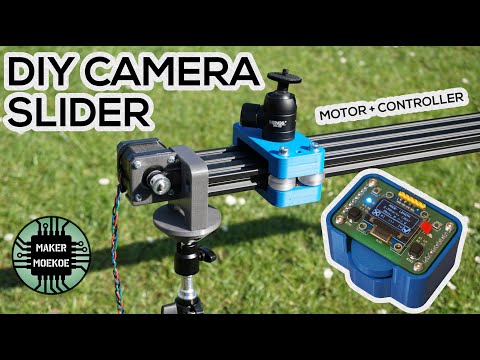
DIY motorized Camera Slider with oled controller | Full build
 0:07:02
DIY Camera Slider | Build Your Motorized Camera Slider | Arduino Projects | The Wrench
 0:24:30
🟢 DIY Motorized Camera Slider - Arduino Project 👉 FREE PLANS 👈
 0:09:12
Building a Motorized Camera Slider
 0:07:40
DIY 3 AXIS CAMERA SLIDER | MOTORIZED CAMERA SLIDER
 0:05:31
DIY Camera SLIDER (Part 3) - Assembly and more | 2-axis MOTORIZED
 0:12:51
DIY Arduino camera slider for professional timelapse and stopmotion
Комментарии