filmov
tv
DIY - Build a Thermal Imaging Camera in 5 minutes

Показать описание
Alright, let's get into the nitty-gritty of building a thermal imaging camera! Here's what you'll need and the basic steps involved:
Raspberry Pi: This will serve as the brain of your thermal imaging camera. It's a powerful, compact computer that you can program to control the camera's functions.
Thermal Camera Module: This is the heart of your thermal imaging camera. It captures thermal images and sends the data to the Raspberry Pi for processing.
Display Screen: You'll need a display screen to view the thermal images in real-time. You can use a small LCD screen or connect your camera to a larger monitor or TV.
Battery Pack: You'll need a battery pack to power your thermal imaging camera. You can use a rechargeable battery or a power bank for convenience.
Miscellaneous Components: You'll also need a few other components such as cables, connectors, and a protective case for your camera.
Steps:
Assemble the Raspberry Pi: Start by assembling your Raspberry Pi computer. Follow the instructions that come with your kit to install the operating system and set up the necessary software.
Connect the Thermal Camera Module: Once you have your Raspberry Pi up and running, connect your thermal camera module to it. This usually involves connecting a ribbon cable from the camera to the Raspberry Pi's GPIO pins.
Connect the Display Screen: Next, connect your display screen to the Raspberry Pi. You can use an HDMI cable to connect the camera to a larger monitor or TV, or you can use a small LCD screen that connects directly to the GPIO pins.
Power Up Your Camera: Connect your camera to a power source, such as a rechargeable battery or a power bank.
Program Your Camera: Finally, program your camera to control its functions. You can use programming languages like Python to control the camera's settings, capture images, and process the data from the thermal camera module.
Alright, let's dive into the testing, calibration, and troubleshooting process for your thermal imaging camera:
Before you start using your thermal imaging camera, you'll need to test it to make sure it's working properly. Here's how:
Power on your camera and allow it to warm up for a few minutes.
Point the camera at a warm object, such as a human hand or a cup of coffee.
Check to see if the thermal image displayed on your screen matches the actual temperature of the object. You can use a thermometer to check the temperature and compare it to the image on your screen.
Repeat this process with different objects at varying temperatures to ensure that your camera is accurate and reliable.
To ensure that your thermal imaging camera is providing accurate results, you'll need to calibrate it. Here's how:
Place your camera in a stable environment at room temperature for at least 30 minutes to allow it to adjust to the surrounding temperature.
Take a thermal image of a reference object with a known temperature, such as an ice pack or a hot cup of water.
Adjust the emissivity and temperature range settings on your camera to match the known temperature of the reference object.
Take a second thermal image of the reference object and compare it to the first image. Adjust the settings as needed until the images match and the temperature readings are accurate.
If you're having trouble calibrating your thermal imaging camera, here are a few things to check:
Make sure your camera is properly warmed up and has been in a stable environment for at least 30 minutes before calibration.
Ensure that your reference object has a known temperature and is at a stable temperature before taking the thermal image.
Check the emissivity setting on your camera and ensure that it matches the material being imaged.
Ensure that the temperature range on your camera is set correctly to capture the desired temperature range.
If you're still having calibration issues, consult the user manual for your specific camera or reach out to the manufacturer for assistance.
#DIYThermalImagingCamera #technation #diytechhome #thermalimaging #DIYCamera #InfraredImaging #diyprojects #techtutorials #techtips #diytips #ExploreTech #DIYAdventure #thermalcamera #nightvisioncamera #homeinspection #WildlifeObservation #diycommunity
▶️TikTok: @technationjournal
📩Twitter: @technationJ
📸Instagram: @technationjournal
📸Facebook : @technation
 0:07:35
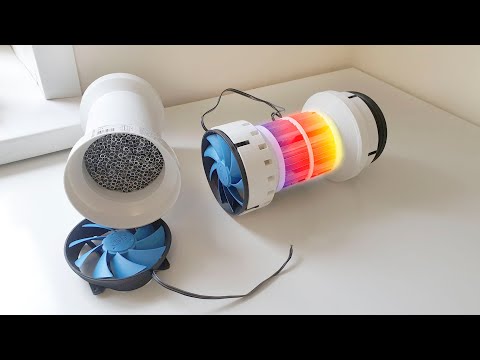
DIY Heat Recovery Ventilators for 50$. How HRV Works.
 0:41:18
How to Build a Heat Treating Oven | FULL GUIDE | DIY Heat Treatment Oven
 0:05:54
1607 A DIY Sand Battery
 0:11:07
Thermal Imaging Camera DIY $110 VS Buy $530 || DIY or Buy
 0:19:35
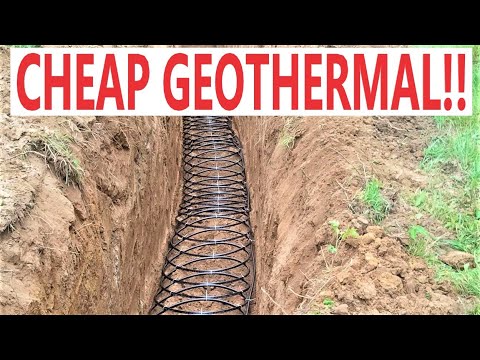
My DIY Geothermal System Was So CHEAP!!!
 0:08:06
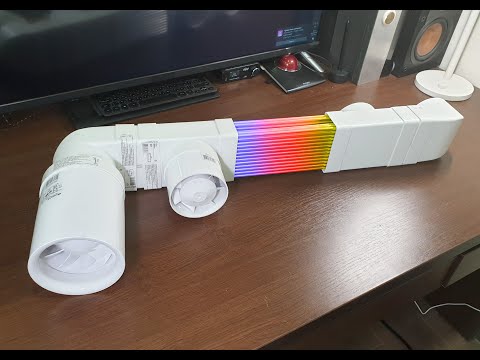
DIY Heat Recovery Ventilator for 77💲. Improved Version Heat Exchanger!
 0:09:38
DIY Geothermal Greenhouse Part 4: Earth Battery INSTALLATION
 0:06:41
$20 Ground Mass Air Cooling -DIY, Open Source
 0:00:31
#thermal #construction #diy #thermalanalyis #thermalinsulation
 0:11:41
DIY Heat Treatment Oven
 0:03:23
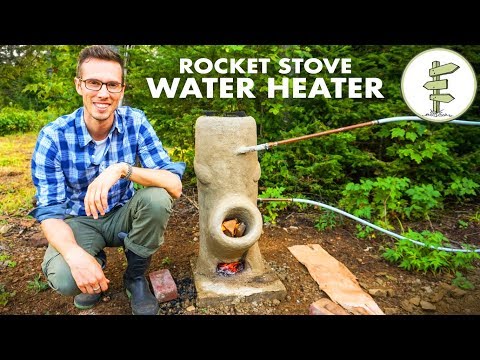
Brilliant DIY Off-Grid Water Heater Using a Rocket Stove – No Propane!
 0:15:22
10 Best Ways to Heat Greenhouse for Free, DIY Cheap Low Cost Heater Winter Growing Poly High Tunnel
 0:12:28
TOP 15 homemade DIY solar heaters for water or air
 0:13:36
DIY Geothermal Greenhouse Part 7: Earth Battery MISTAKE!
 0:07:23
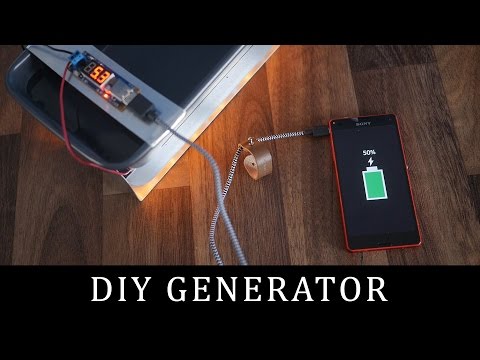
How to make a DIY Thermoelectric Generator
 0:15:13
Solar Death Ray 10,000 suns 48' DIY Giant Archimedes Parabolic Mirror Reflector
 0:10:27
DIY Pool Heater - $50 Solar Heater
 0:03:31
How To Make DIY Camera That Can See Near-infrared | DIY IR Camera
 0:04:31
DIY Wood Fired Hot Tub
 0:02:10
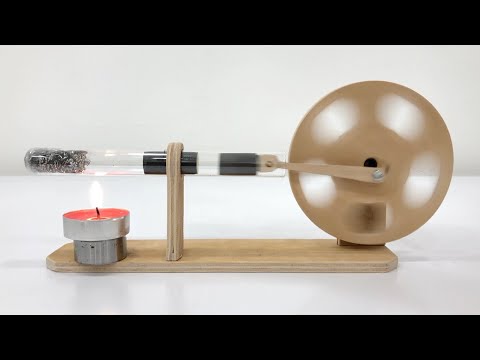
DIY Thermoacoustic Stirling Engine
 0:07:47
DIY 'PEX COIL' Solar Water Heater! - High temps! - No crimping! - Sunsafe! - PEX Made Easy...
 0:06:09
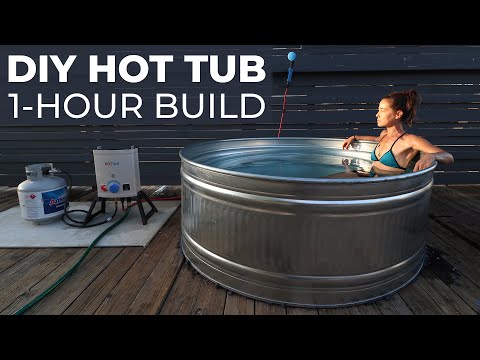
DIY HOT TUB built in 1-Hour
 0:08:52
DIY Solar Air Heater! - The Steel Slat “Drip-Edge” Solar Heater! - New Design! 160F 74C in January!...
 0:01:49
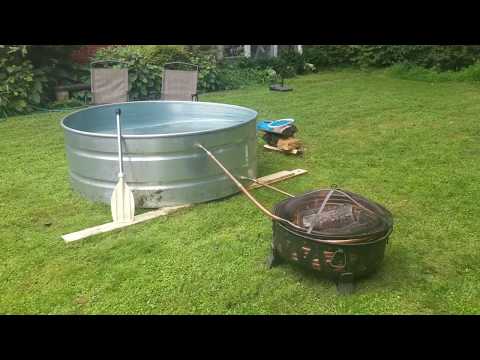
Off-grid DIY wood-fired stock tank hot tub
Комментарии