filmov
tv
Dreamline Essence Double Sliding Glass Shower Doors

Показать описание
The Dreamline Essence double sliding door available from the home depot. See what tools you need and what you get in the box as well as some things to look out for during installation. See where you can go wrong installing this yourself and don't make the same mistakes i did. I am not a professional or affiliated with any vendor. I'm just a home owner that wanted some new shower doors. If you have any questions please comment below and I will try to answer them the best I can. If you are a professional and would like to share some tips then by all means, please comment below and help out the DIY community.
 0:19:22
Dreamline Essence Double Sliding Glass Shower Doors
 0:00:24
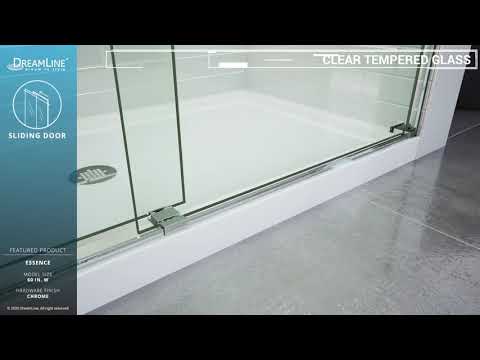
DreamLine Essence Shower Door | Sliding Opening
 0:00:24
DreamLine Essence-H Shower Door | Sliding Opening
 0:01:39
Dreamline Essence Shower Door Product Video
 0:00:30
DreamLine Essence-H Shower Door | Sliding Opening
 0:08:29
How to Install a Dreamline Sliding Glass Shower Door | DIY | Tutorial
 0:00:30
DreamLine Essence Shower Door | Sliding Opening
 0:00:23
AZUPIN Shower Doors - Frameless Double Sliding Shower Door - Catalyst
![[Sponsored] Mr. Handyman:](https://i.ytimg.com/vi/zN86SMfuqZE/hqdefault.jpg) 0:01:33
0:01:33
[Sponsored] Mr. Handyman: Installing a Dream Line Shower Door
 0:01:46
DreamLine Essence H | Sliding Shower Door | Sliding Tub Door
 0:00:33
Essence Sliding Shower Door
 0:00:26
Essence-H Tub Door | Bypass Opening
 0:00:41
DreamLine Essence Tub Door | Sliding Opening
 0:00:09
DreamLine Essence Shower Door 360 Spin
 0:00:22
DreamLine Duet Plus Shower Door | Hinged Opening
 0:17:09
Top 11 Best Sliding Shower Door in 2022. Reviews and Buying Guide.
 0:00:19
DreamLine Enigma-XO Frameless Shower Door | Sliding Opening
 0:00:22
DreamLine Enigma-XO Frameless Shower Door | Sliding Opening
 0:15:25
✅ Top 10 Best Sliding Shower Door in 2023
 0:00:46
Dreamline sliding shower doors
 0:00:30
DreamLine Sapphire Shower Door 60 Inch | Sliding Opening
 0:10:45
7 Best Frameless Shower Doors 2022 Buying Guide
 0:06:00
Top 7 Best Frameless Shower Doors You can Buy Right Now [2023]
 0:00:27
Double Sliding Glass Shower Door Stainless Steel Frameless Shower Enclosure
Комментарии