filmov
tv
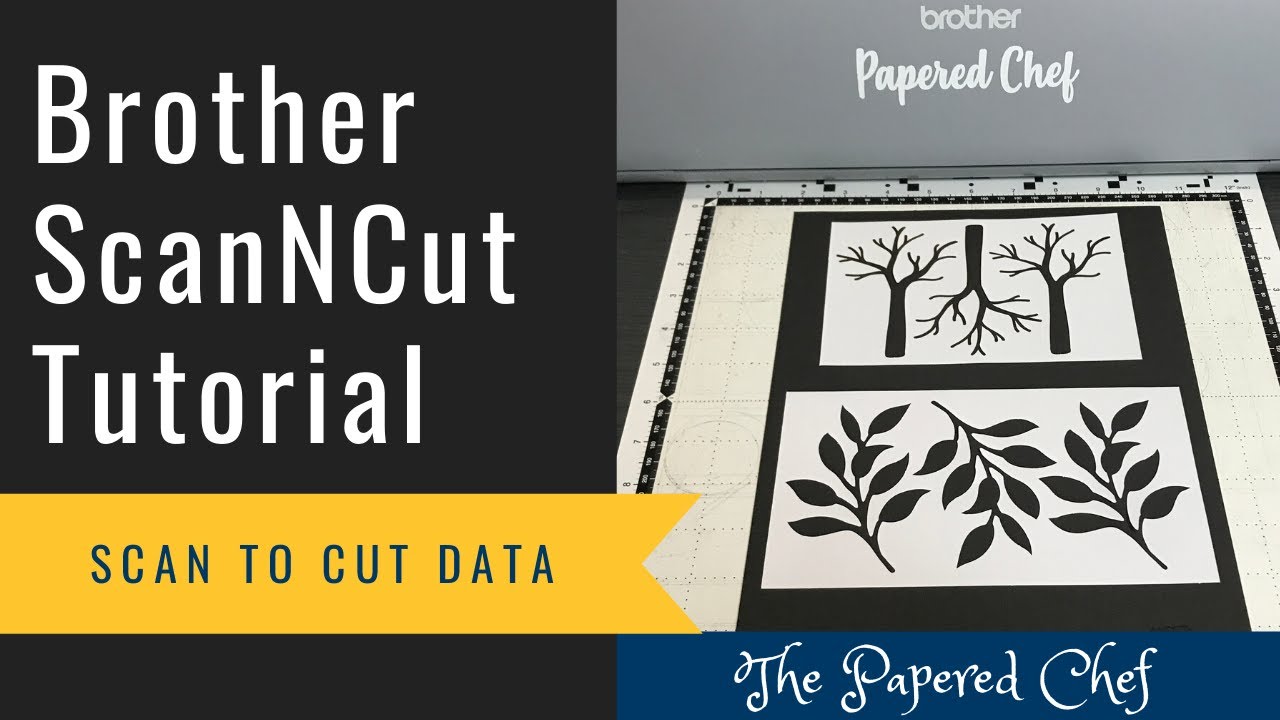
Brother ScanNCut Tips & Tricks Tutorial - Scan to Cut Data - My Wonderful Family Paper Pumpkin Kit
Показать описание
In this Brother Scan and Cut tutorial, you will learn how to use Scan to Cut Data. You will scan in the stencils from the April 2020 Paper Pumpkin Kit - My Wonderful Family and cut them out on card stock and copper foil. You will learn how to scan in a stencil, how to select, edit and save the data to be cut and how to retrieve the data. In this example, I used the stencil from the Paper Pumpkin kit and cut the leaves out on Shaded Spruce card stock. Then, I used the tree stencil and cut it out onto Copper Foil card stock. I shared how to duplicate, rotate, mirror, resize, and layer the scanned images. Then, prior to cutting them, I used auto layout to make them all fit onto the mat in the most efficient way. You learned several settings in this tutorial which can be applied to scanning in your stencils, die cut shapes, punched out shapes or even outlines of your stamped images. Use Direct Cut when you only want to cut out the outside of a scanned image and Scan to Cut Data when you want to edit and save the data you scan in. This tutorial teaches you ways to create multiple embellishments for your card projects which can be embossed to add dimension and interest.
———————— Supplies ————————
———————— Supplies ————————
 0:43:06
Brother ScanNCut Tips & Tricks - Direct Cut verses Scan to Cut Data - Fun in the Sun - Stampin’ ...
 0:21:11
Brother ScanNCut Tips & Tricks - Scanning/Cutting Position Adjustment - Align your Blade
 0:05:52
Brother ScanNCut Tips & Tricks - Cutting Area
 0:25:13
5 tips and tricks Brother ScanNCut : Allbrands After Hours
 0:19:15
Brother ScanNCut Tips & Tricks - Cutting Pattered Paper - Color Recognition Mode - Follow Your A...
 0:36:55
Brother ScanNCut Tips & Tricks - Cutting Oval Windows - Sunshine & Rainbows Shaker Cards
 0:24:14
Brother ScanNCut Tips & Tricks - Cutting Patterned Paper - Magnolia Lane dsp by Stampin’ Up!
 0:17:42
Brother ScanNCut Tips & Tricks - Direct Cut - Creating Cardinals from a Stencil - Paper Pumpkin ...
 0:23:49
Brother ScanNCut Tips & Tricks - Cutting Stamped Images - Hot Dog by Stampin’ Up! 2021 Mini Cata...
 0:05:55
Brother ScanNCut Tips & Tricks - Auto Layout Setting
 0:31:01
Brother ScanNCut Tips & Tricks - Cutting Patterned Paper - SDX125 - Snail Mail by Stampin’ Up!
 0:07:40
Brother ScanNCut Tips & Tricks - Pattern Interval Setting
 0:21:52
Brother ScanNCut Tips & Tricks - Cutting Stamped Sentiments - Snowman Season - Let it Snow
 0:38:35
Brother ScanNCut Tips & Tricks - Cutting Stamped Images - Best Day by Stampin’ Up!
 0:11:31
Brother ScanNCut Tips & Tricks - Bunny Ears & Basic Editing
 0:30:59
Brother ScanNCut Tips & Tricks - Mini Calendars - Cut Area, Pattern Interval & Background Sc...
 0:28:34
Brother ScanNCut Tips & Tricks Tutorial - Cutting & Layering Stamped Images - Pedal to the M...
 0:21:22
Brother ScanNCut Tips & Tricks - Cutting Patterned Paper - Birthday Bonanza
 0:16:34
Brother ScanNCut Tips & Tricks - Cutting an Oval Window - Magnolia Lane by Stampin’ Up!
 0:50:38
Brother ScanNCut Tips & Tricks - Cutting Stamped Sentiments - Inspired Thoughts by Stampin’ Up!...
 0:23:48
Brother ScanNCut Tips & Tricks - Cutting Embossed Snowflakes - Snowflake Wishes by Stampin’ Up!...
 0:26:52
Brother ScanNCut Tips & Tricks - Cutting & Layering Numbers, Background Scan, Offsets & ...
 0:45:46
Brother ScanNCut Tips & Tricks - Cutting Stamped Images - Bird’s Eye View by Stampin’ Up!
 0:11:43
Brother ScanNCut Tips & Tricks - Restick your Mats - Make your Mats Sticky Again - Retacking Tip...
Комментарии