filmov
tv
Is this the best Tailstock Die Holder for the home shop machinist?

Показать описание
In this video I make the Tailstock Die Holder from Hemingway Kits. It's got a very interesting clutch mechanism and in my humble opinion is the best available to the home shop machinist or model engineer interested in making their own shop made tools.
Buy the kit from Hemingway;
I talk about the idea of single point threading away from the chuck which I aspire to learn. @joepie221 has some great content on this, check out his video here;
I demonstrate the use of a Noga reversible countersink tool, a tip I picked up from @Blondihacks , Quinn has some great content geared towards the home shop machinist so be sure to check her channel out.
Support the channel;
Buy project plans, 3D printable items and merch!
Check me out on instagram;
Timestamps
0:00 Introduction
0:22 Threading on the lathe
2:51 Hemingway Kit
3:09 Making the clutch cones
6:04 Making the large die holder
9:56 Single point threading
12:09 Making the small die holder
13:10 Internal threading
13:35 Cutting the taper
14:11 Machining the tool body
14:57 Machining offset holes with a Spin Indexer
16:11 Deburring internal holes
16:34 Making the actuator
19:17 Machinable MT3 arbour
19:42 How does the clutch work?
20:58 Dieholder accessory
21:34 Using the die holder
22:02 The best Tailstock Dieholder?
23:38 Conclusion
 0:24:16
Is this the best Tailstock Die Holder for the home shop machinist?
 0:00:27
Best ideas of making lathe tailstock support base || Wood DIY project. #shorts
 0:00:34
Best tricks of checking tailstock alignment of lathe || Wood DIY project. #shorts
 0:00:28
Edge Tailstock Alignment Bar Best For Lathes 27 000
 0:27:40
Tailstock Fundamentals: How to use the Tailstock on a Haas Lathe
 0:08:57
Best Best Push Stick Ever - Adjustable Fancy Tail Stock :)
 0:18:13
How To Align Your Lathe
 0:00:44
Best ideas of fitting tailstock base of lathe || Wood DIY project. #shorts
 0:15:21
Woodturning - This Was Totally Unexpected!
 0:23:30
Wood Lathe Video – What They Didn't Tell You
 0:04:33
Watchmaking: Machining a 0.6 mm Screw
 0:29:55
Very Best, Tailstock Spring Loaded Die Holder design! Worth Seeing!!
 0:16:46
Essential Mini Lathe Tools And Accessories
 0:37:57
How to Add a Digital Readout to a Lathe Tailstock Using a Cheap Caliper
 0:10:59
My BEST Chinese lathe UPGRADE
 0:14:39
10 Common Wood Turning Mistakes
 0:11:01
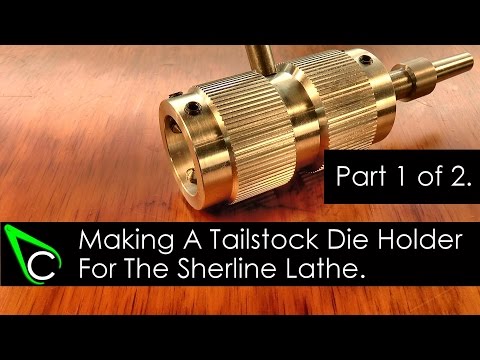
Home Machine Shop Tool Making - Machining A Tailstock Die Holder For The Sherline Lathe - Part 1
 0:32:13
Get your parts to run true in a non adjustable chuck. YOU MUST WATCH THIS!
 0:40:30
Adam Savage's One Day Builds: Lathe Tailstock Repair!
 0:14:36
Mini Lathe Lever Locking Tailstock Upgrade
 0:17:52
Fixing the old lathe's tailstock mt2 taper
 0:09:25
Lathe Tailstock Fine Feed Upgrade
 0:03:59
Top (1)5 Best Projects! Mini Metal Lathe - A Year In Review Part 2
 0:01:32
60s Tutorial - Easiest Angle Setup Ever? Turning an MT2 Morse Taper on Mini Lathe, No Measuring
Комментарии