filmov
tv
How to Fix a Chipped Windscreen J B Weld Windshield Saver Kit 1

Показать описание
How to Fix a Chipped Windscreen J B Weld Windshield Saver Kit 1
 0:07:33
How To FIX A Chipped Tooth (Broken Tooth Repair Options)
 0:04:35
Chipped a Tooth? 4 Tips on What To Do
 0:02:47
How to fix a chipped/broken tooth, dental bonding, composite Pasta Evergreen Dental, Billerica, MA
 0:12:12
How to Fix a Chipped or Cracked Windshield (Like Brand New)
 0:03:36
What To Do If You Broke Or Chipped A Tooth?
 0:00:56
How To Fix A Chipped Tooth | Drs. Christine and Nate
 0:03:49
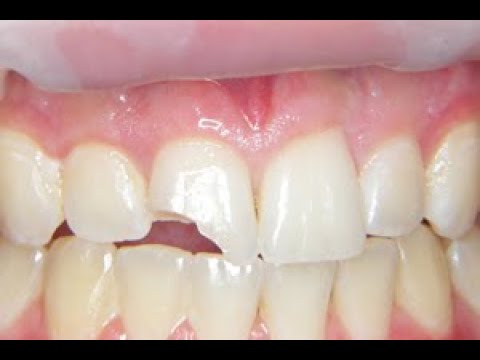
How the dentist repairs a chipped tooth
 0:02:41
Why Small Tooth Chips Are EXTREMELY Hard To Fix! 🦷😮
 0:06:02
How to fix a chipped, cracked or broken tooth MyDentCart | Cracked tooth repair | Broken Tooth
 0:02:24
How to Fix a Chipped Tooth Filling Do-It-Yourself Dental Filling for Broken Teeth Emergency Kit
 0:03:50
Repairing Chipped Shun Knife
 0:02:04
Case of the Week - Fixing chipped teeth
 0:02:56
How To Repair a Chipped or Cracked Windshield
 0:08:08
Learn how to repair car paint chips and road rash like a pro (Permanently). Save Money!
 0:07:56
Fix a Chipped or broken tooth at home, cheap!
 0:03:49
Fix chipped mug
 0:00:15
How To Repair Chipped Tiles
 0:03:31
How to Fix Paint Chips on Your Car
 0:14:34
How to Fix Paint Chips on Your Car with PRO Results | Permanent Repair!
 0:08:38
The BEST WAY to fix PAINT CHIPS on YOUR CAR!
 0:03:06
How to Fix Paint Chips on a Wall | The Home Depot
 0:01:49
How to Fix a Chipped Sink
 0:20:43
Fix Stone Chips Yourself | Easy and Cheap
 0:15:36
How to Repair and Thin a Chipped Japanese Kitchen Knife
Комментарии