filmov
tv
ConceptD | The Rousseau Effect

Показать описание
Description:
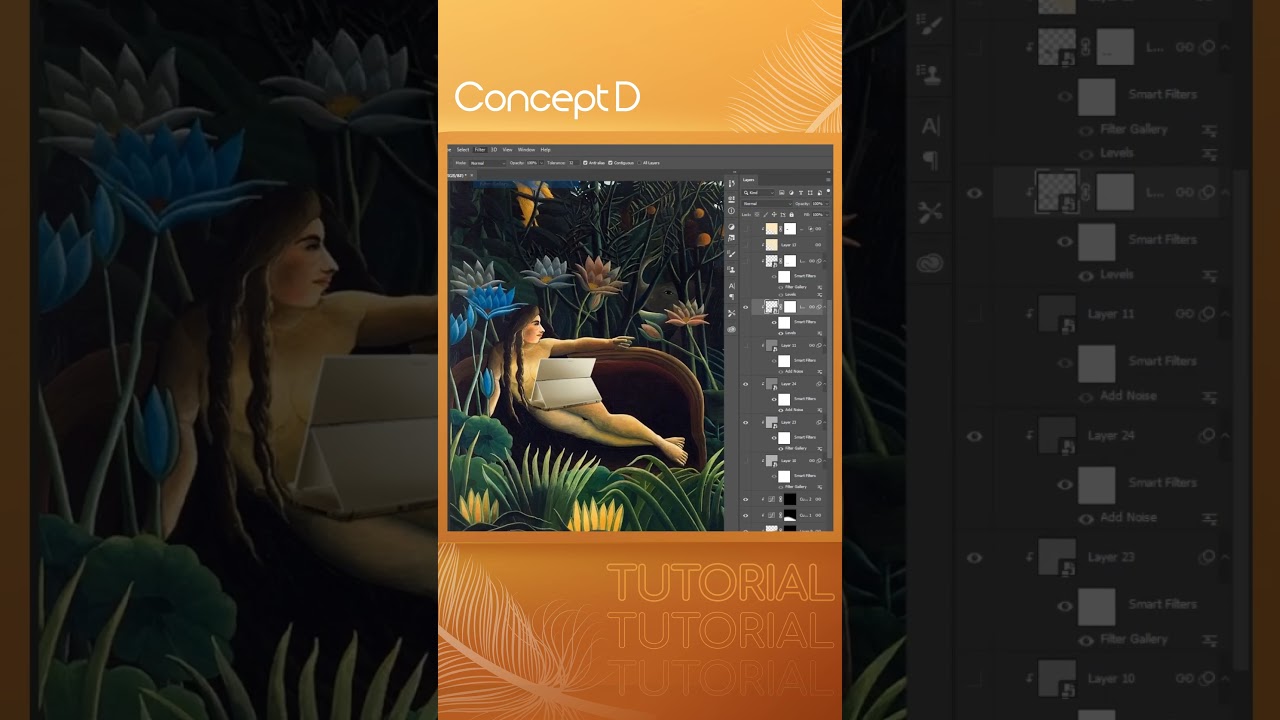
A Recipe to create the Rousseau effect on Photoshop:
1x Adobe Creative Cloud Subscription
1x Computer (ConceptD for best result)
1x Love for Primitivism
(00:01 - 00:12)
First, open the image you would like to edit into your artwork on Adobe Photoshop. To adjust its size, go to "Image" - "Image Size" and enter the desired dimensions. To adjust the light and shadow, go to "Image" - "Adjustments" - "Brightness/Contrast" or "Levels" and make adjustments as necessary. To adjust the color, go to "Image" - "Adjustments" - "Color Balance" or "Hue/Saturation" and make adjustments as necessary. Try to make the image match the tone of the background as closely as possible.
2. (00:13 - 00:21)
Create a new layer and fill it with a 50% gray color. Then go to "Filter" - "Filter Gallery" - "Sketch" - "Note Paper" and adjust the parameters to your liking. Set the layer blending mode to "Overlay." This effect will give the image a slightly textured look.
3. (00:21 - 00:24)
Create another new layer and fill it with a 50% gray color. Then go to "Filter" - "Noise" - "Add Noise" and adjust the parameters to your liking. Set the layer blending mode to "Overlay." This effect will give the image a subtle grainy texture.
4. (00:25 - 00:31)
Copy the image smart object layer. Then go to "Filter" - "Filter Gallery" - "Artistic" - "Smudge Stick" and adjust the parameters to your liking. Set the layer blending mode to "Soft Light." This effect will give the image a slightly smudged, hand-drawn look.
5. (00:32 - 00:35)
Add a new "Curves" adjustment layer and adjust the curves to match the lightness and darkness of the background. This will help the image blend in more seamlessly with the background.
6. (00:36 - 00:38)
Open the image of the pen and use the pen tool to create a path around it. Then copy and paste it into the overall image. Use the transform tool to adjust the size of the pen until it looks like it's being held by the lady in the artwork.
7. (00:39 - 00:41)
Create a new layer and add noise to it, just like in Step 3. Then use adjustment layers like "Hue/Saturation" and "Color Balance" to adjust the pen's color until it matches the tone of the background. You can also use the "Brightness/Contrast" or "Levels" adjustment layers to adjust the pen's light and shadow.
Connect with ConceptD:
 0:00:49
 0:00:26
 0:01:08
 0:08:33
 0:06:12
 0:10:06
 0:03:51
 0:16:23
 0:06:49
 0:01:00
 0:05:36
 0:13:19
 0:05:11
 0:05:19
 0:15:52
 0:00:24
 0:00:37
 0:06:45
 0:00:53
 0:00:58
 0:00:20
 0:00:14
 0:00:14
 0:00:25