filmov
tv
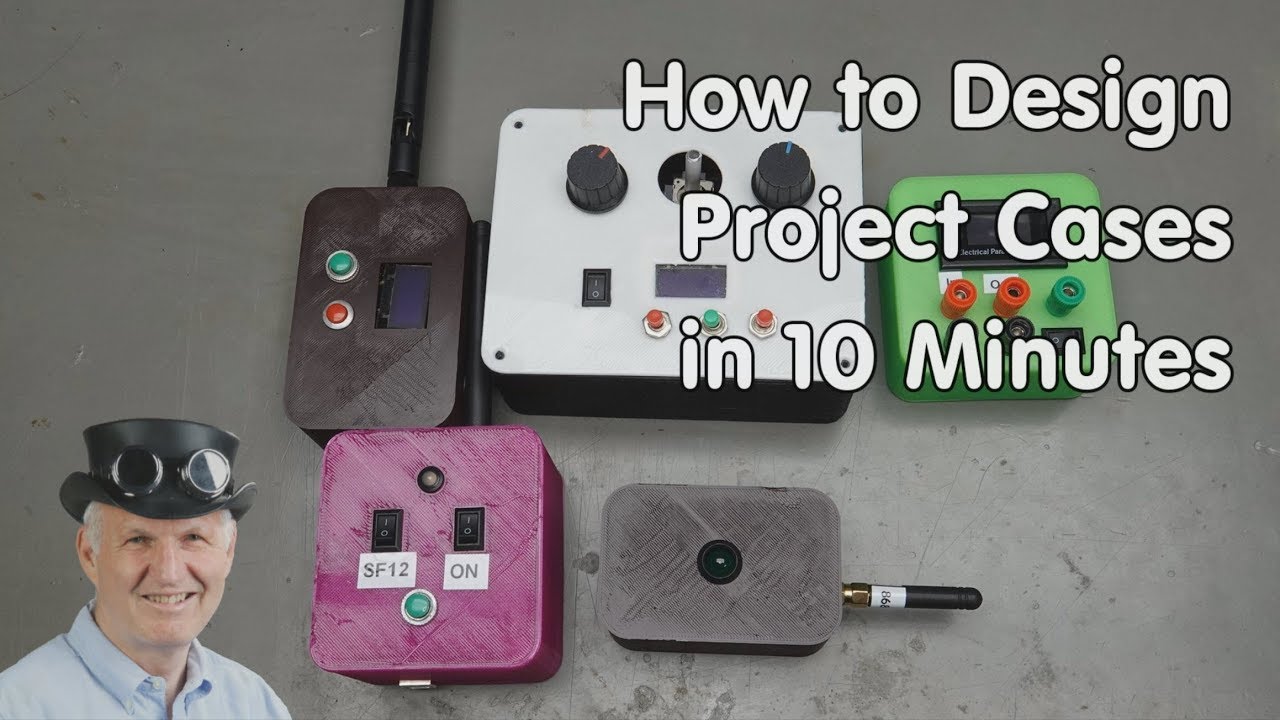
#258 Configurable Cases for your Projects (Arduino, ESP32, ESP8266)
Показать описание
Viewers often ask me how I print cases for my projects. In this video I will show you how you can print your own boxes with a simple and free of charge method based on what I call a “Configurable Base Box.”
As usual, we will focus on how you can get the things done. It will not at all be a CAD tool training video.
In this video we will:
- Find the information to install Fusion360 and get a free of charge license for Makers
- Use my adjustable “base box” as a head-start
- Adjust this box to the right size and add some holes for power, LEDs, or other stuff
- I will also show you a trick on how I create perfect 3D printed holes
- and how I attach PCBs like an Arduino inside the box
My Bitcoin address: 19FSmqbBzb5zsYB1d8Bq4KbxVmezToDNTV
If you want to support the channel, please use the links below to start your shopping. No additional charges for you, but I get a commission (of your purchases the next 24 hours) to buy new stuff for the channel
Please do not try to Email me or invite me on LinkedIn. These communication channels are reserved for my primary job
 0:10:55
#258 Configurable Cases for your Projects (Arduino, ESP32, ESP8266)
 0:00:22
iphone13 vs iphone15 #apple
 0:00:30
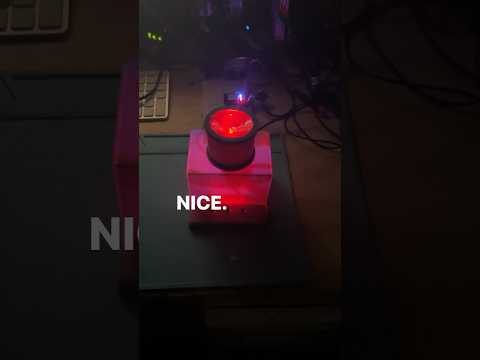
Custom case for Smart IoT button - PLA inserts #3dprinting #3dfilament #3d #pcb #pcba #design #iot
 0:00:10
End
 0:00:12
ESP 32 CAM #arduinoproject #arduinocamera #artificialintelligence #facerecognition #enclosure
 0:00:16
Bass Boat Sinks on Lake St. Clair 😳🌊
 0:00:28
Nextion 2.8' mounted into 3d printed case
 0:00:38
Raspberry Pi Case 3D Print #shorts
 0:00:11
soldering tweezers #shorts #3dprinting #youtubeshorts
 0:00:16
Reviews-tablet.com - How to connect Keyboard to SEBBE tablet?
 0:00:19
Samsung galaxy s23 5g ( Phantom black ) 256GB 8GB RAM // 3900mAh Battery 🔋😏 Tag Samsung Lover's...
 0:00:07
Finally built my dream setup 🫶🏻 #shorts #shortsvideo #shortsfeed #shortsviral #viralvideo #gaming...
 0:00:15
RÜZGAR TÜRBİNİ YAPIMI 3 BOYUTLU YAZICI İLE INSTAGRAM @earobotikk Diy wind türbine 3D printer
 0:01:16
Slim CLUE Case #3DPrinting #adafruit
 0:00:12
3dprinted usb holder #shorts #shortvideo #3dprinted #3dart #3dprinting #desktop #organization
 0:00:36
THIS GUY MADE A PS2 PORTABLE 😱😱
 0:00:27
USB power - Project box.
 0:00:50
How to set paper size in any thermal printer?
 0:00:39
I am making beacons to summon people to my bar. #homeautomation #esp32 #easyeda #fusion360 #led
 0:14:02
The Arduino Starter Kit Upgraded Case
 0:01:21
【Textile Chemical】Revolutionize Your Fabrics With Hydrophilic Textile Chemicals!
 0:15:29
The Coolest Mod for your PC!
 0:12:21
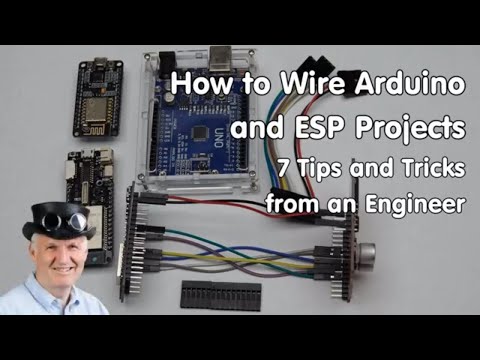
#231 7 Tricks on how to wire your Project (e.g. Arduino, ESP8266, ESP32) Dupont wires
 0:25:56
Complete Set in 48-Hours or Lose Them All (RISKY Pokémon Card CHALLENGE)
Комментарии