filmov
tv
How To Use A Puncture Repair Kit – Roadside Maintenance

Показать описание
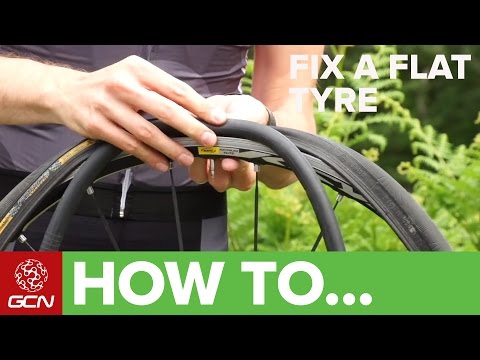
Fixing a puncture on the roadside is a need-to-know skill for any cyclist. This video takes you through the process step by step.
Fixing a puncture on a bike can appear to be a daunting task at first, but it's a simple process that will have you back on your bike in no time.
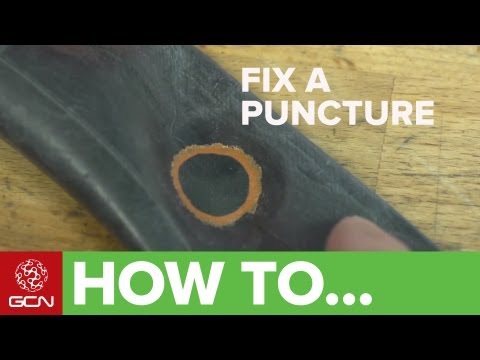
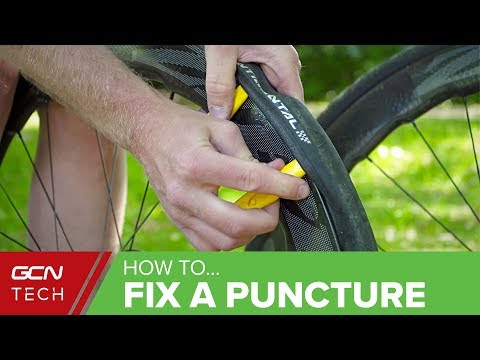
Firstly, we show you how to locate the puncture in the inner tube by checking the inside of the tyre for the problem and then -partially re-inflating the tube-.
Secondly, we demonstrate how to fix the hole using either traditional glue and patches or self adhesive stickers.
Finally it's just a case of replacing the tube and re-inflating the tyre.
About GCN:
The Global Cycling Network puts you in the centre of the action: from the iconic summit of the Stelvio to the epic trails of Fort William, Scotland, everywhere there is pavé or dirt, world-class racing, and pro riders, we will be there bringing you all the action, essential analysis and unparalleled access every week, every month, and every year.
Welcome to the Global Cycling Network | Inside cycling
Leave us a comment below!
Music licensed by Cue Songs
Fixing a puncture on a bike can appear to be a daunting task at first, but it's a simple process that will have you back on your bike in no time.
Firstly, we show you how to locate the puncture in the inner tube by checking the inside of the tyre for the problem and then -partially re-inflating the tube-.
Secondly, we demonstrate how to fix the hole using either traditional glue and patches or self adhesive stickers.
Finally it's just a case of replacing the tube and re-inflating the tyre.
About GCN:
The Global Cycling Network puts you in the centre of the action: from the iconic summit of the Stelvio to the epic trails of Fort William, Scotland, everywhere there is pavé or dirt, world-class racing, and pro riders, we will be there bringing you all the action, essential analysis and unparalleled access every week, every month, and every year.
Welcome to the Global Cycling Network | Inside cycling
Leave us a comment below!
Music licensed by Cue Songs
 0:04:10
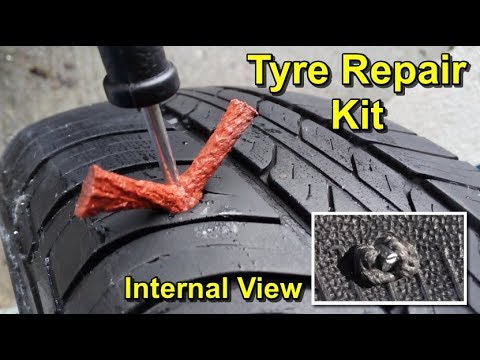
Tyre Puncture Repair Kit Tutorial
 0:03:08
How to use a tyre repair kit - Which? guide
 0:05:39
How To Use A Puncture Repair Kit – Roadside Maintenance
 0:09:46
How To Fix A Puncture On A Bike
 0:04:35
How To Fix A Bike Puncture - Repairing An Inner Tube
 0:04:58
Toyota How To: Tire Puncture Repair Kit | Toyota
 0:03:05
Tire Plug Puncture Repair Kit - How Does it Work ?
 0:02:31
How to Use an Emergency Puncture Sealant Kit
 0:30:06
Is tire pressure throwing you for a loop? The correct why to calculate how much air pressure to run
 0:00:47
How To: Tire Puncture
 0:09:38
How To Fix A Puncture On A Road Bike | Repair A Roadside Flat Tyre
 0:02:32
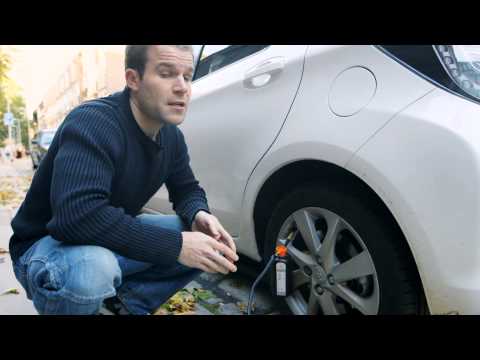
How to use the tyre puncture kit in the Nissan Juke
 0:03:48
Tire Plug Strip Vs. Mushroom Plug Puncture Repair Kits
 0:05:10
How to Fix a Puncture - Everything You Need to Know!
 0:01:45
How to use a puncture repair kit (sponsored)
 0:02:54
Tire Repair - Fastest and Cheapest Puncture Repair Kit
 0:01:00
How to use a puncture repair kit | Gates Ford
 0:01:00
Gun Puncture Repair Kit | GrandPitstop | Easy Puncture Repair Toolkit | Tyre repair kit
 0:00:54
How do I use my puncture repair kit?
 0:03:25
How to fix a puncture in a motorcycle tyre | Three minute roadside repair
 0:05:31
how to plug and repair a flat tyre - DIY screw / nail puncture fix
 0:05:27
How To Fix A Flat Tyre - Fix A Road Bike Puncture
 0:12:55
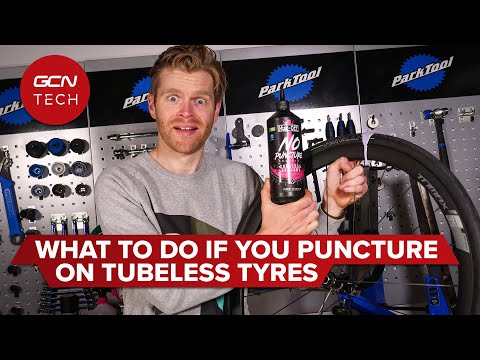
How To Fix A Punctured Tubeless Tyre | GCN Tech Puncture Repair Guide
 0:06:46
How to Patch a Bicycle Inner Tube
Комментарии