filmov
tv
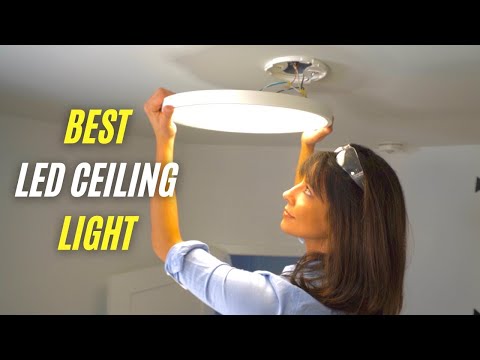
Installation | Slim 32” Oval Ceiling Light from Koda | Modern Home Lighting

Показать описание
LM030061-1 Installation | 32” Slim Oval LED Ceiling Light from Koda
Watch this how-to video to learn how to install the LM030061-1 ceiling light from Koda. Please refer to the manual for full installation details not fully covered in this video.
Step 1: If you plan to install the ceiling light to an existing outlet box, make sure there is enough room to for the fixture before installing. Make sure the wood or drywall surface is strong enough to support the light.
Step 2: Slide the mounting plate (Part A) to detach it from the ceiling light (Part B). Lift the mounting plate, reach under it to detach the wire hooks, and then remove the mounting plate completely.
Step 3: Install the mounting plate temporarily onto the outlet box with the junction box screws. Make sure the orientation of the mounting plate is correct so that the ceiling light can be attached to it correctly.
Step 4: Mark the ceiling with a pencil where the 6 support screw holes are located. Unscrew the outlet box screws and remove the mounting plate.
Step 5: Wear safety glasses before drilling pilot holes. Drill 6 pilot holes with 7/64 inch diameter. All 6 attachment points plus the 2 screws connecting to outlet box are to be used.
Step 6: Install the mounting plate onto the outlet box, with the junction box screws once again. Make sure the orientation of the mounting plate is correct. Secure the mounting plate with 6 wood screws into the pilot holes. Note: For concrete or drywall, you may use drywall screws along with plastic anchors instead of wood screws. Use 7/32 pilot drill for plastic anchors.
Step 7: Place the ceiling light under the mounting plate. Make sure the arrow label points to the same direction as the label on the mounting plate.
Step 8: Connect the wire hooks from the ceiling light back to the mounting plate.
Step 9: Make the following spliced wire connections using wire nuts: White (neutral), Black (hot), and Green (ground) which should supply wire to the ground wire from the outlet box (most likely bare copper, green wire, or green and yellow wire), or wrap around the ground screw if ground wire does not exist. Screw the wire nuts in a clockwise direction. Ensure no bare wire or wire strands are visible after making the connections.
Step 10: Locate the slots on the ceiling light and the metal anchors on the mounting plate. Align the slots on the ceiling light to the metal anchors on the mounting plate. Follow the arrow direction and slide the ceiling light towards the mounting plate and secure it in place using the metal anchors.
Part # = LM030061-1
Follow us:
 0:01:24
 0:02:18
 0:00:42
 0:01:10
 0:00:54
 0:02:56
 0:00:44
 0:01:52
 0:00:10
 0:27:20
 0:00:15
 0:05:34
 0:00:28
 0:11:13
 0:01:01
 0:01:32
 0:02:48
 0:06:26
 0:00:21
 0:00:54
 0:00:58
 0:00:32
 0:01:38
 0:00:34