filmov
tv
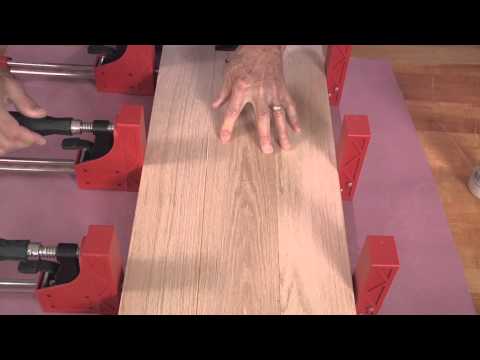
TABLE TOP Glue-Up Tip / How To NOT Make a Flat Table Top

Показать описание
Hoping that this video will help someone avoid making the mistake that I made when gluing up boards for a dining room table. The boards should be glued with alternating end grain patterns to avoid cupping and warping.
 0:09:11
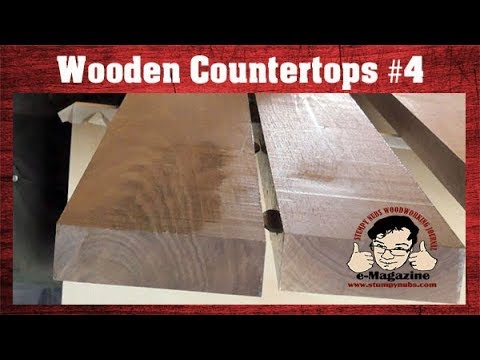
Pro tips for table tops, counters and panel glueups
 0:14:47
A genius trick no one shows
 0:00:58
Table top glue up tip | Woodworking
 0:15:05
7 Tips for Perfect Woodworking Panel Glue-Ups
 0:02:09
This Will Forever Change How You Glue Boards Together
 0:04:02
TABLE TOP Glue-Up Tip / How To NOT Make a Flat Table Top
 0:01:05
Gluing Tips - Clamping Pressure
 0:04:10
Tips for Gluing Heavy Table Tops
 0:00:13
Useful Tip When Clamping A Table Top | Woodworking
 0:01:33
Flattening A Table Top After Glue Up - Woodworking Quick Tips
 0:04:25
Gluing up a big slab homemade countertop without panicking!
 0:00:57
Spline table top prep and glue up #woodworking #joinery #wood #woodwork #maker #glueup
 0:01:18
Don't wipe your glue! -The best way to deal with squeeze-out
 0:15:38
10 Tips for Wide Panels that Stay FLAT
 0:01:10
Glue Tabletop/Desktop Boards without Pipe Clamps | Pipe Clamp Alternatives
 0:00:24
I glue up table tops in two panels. This is the first panel. Will do the same to the second panel.💯...
 0:01:01
End Grain Table Top Glue Up #short #shortsvideo #shorts #shortvideo #woodworking
 0:00:16
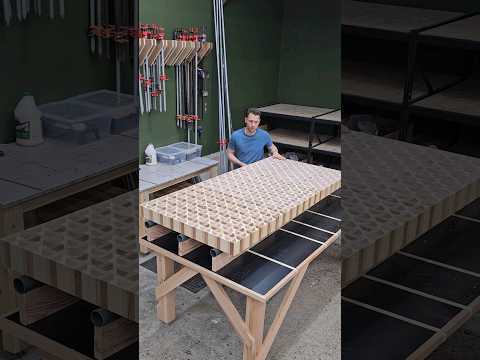
Massive table top glue up #woodworking
 0:02:47
Quick Tip - Flush Panel Glue Up
 0:00:55
#shorts Easy glue up / How to glue boards together.
 0:00:46
Perfect Glue Joint on Table Saw #woodworkingtools #diy #woodworking
 0:00:20
Table top Glue up With DOWELS
 0:01:00
Dining Table Top Glue Up
 0:07:13
5 Expert Tips for Gluing
Комментарии