filmov
tv
2019-2020 Dynamic Sauna Assembly Video

Показать описание
2019-2020 Dynamic Sauna Assembly Video
(DYN-6106-01 Barcelona DYN-6202-03 Versailles DYN-6206-01 San Marino)
(DYN-6210-01 Venice DYN-6220-01 Vittoria DYN-6215-01 Vienna)
(DYN-6310-01 Madrid DYN-6330-01 Palermo DYN-6306-01 Bellagio DYN-6336-01 Lugano DYN-6315-01 Florence)
(DYN-6410-01 Grand Madrid DYN-6440-01 Bergamo)
(DYN-6106-01 Barcelona DYN-6202-03 Versailles DYN-6206-01 San Marino)
(DYN-6210-01 Venice DYN-6220-01 Vittoria DYN-6215-01 Vienna)
(DYN-6310-01 Madrid DYN-6330-01 Palermo DYN-6306-01 Bellagio DYN-6336-01 Lugano DYN-6315-01 Florence)
(DYN-6410-01 Grand Madrid DYN-6440-01 Bergamo)
 0:04:24
2019-2020 Dynamic Sauna Assembly Video
 0:04:32
Two Person Elite Far Infrared Sauna assembly
 0:12:43
Dynamic Sauna Assembly
 0:02:05
DYNAMIC SAUNA UNBOXING
 0:22:05
The Dynamic Sauna by Golden Designs + Sauna User Guide and Instructions
 0:00:43
Dynamic Saunas
 0:16:11
Golden Designs / Dynamic Sauna / GDI-6154-01
 0:05:54
two Person Far Infrared Sauna Assembly Sauna Assembly Guide Video
 0:00:44
Double sauna home installation video
 0:00:28
Assembled an infrared sauna
 0:05:38
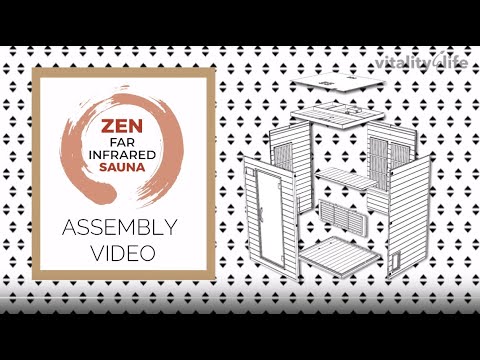
Zen Low EMF Far Infrared Sauna Assembly Video in under 20 minutes!
 0:00:18
Easily Disassembled Home Infrared Sauna
 0:02:58
Venice II Golden Designs Installation & Assembly Video - Find Your Bath
 0:17:27
Golden Designs / Dynamic Sauna / GDI-6232-01
 0:00:21
Snug Sauna Installation Video Atlantic Saunas CYC Fitness
 0:00:22
Dynamic Infrared Bellevue Indoor Bluetooth Compatible Sauna #shorts
 0:09:21
Golden Designs 8000 Full Spectrum Near Zero EMF FAR Infrared Sauna Assembly
 0:00:33
Radiant Health Sauna - Infrared Low EMF - Installation Part 3 - 2 1/2 Person Sauna
 0:00:18
Dynamic Infrared 2 - Person Indoor FAR Infrared Sauna in Hemlock #shorts
 0:00:15
Smartmak Hemlock Indoor FAR Infrared Sauna
 0:00:18
Dynamic Infrared 4 Person Indoor Bluetooth Compatible FAR Infrared Sauna in Hemlock #shorts
 0:12:03
Rocky Mountain Saunas Big Bear (2020 Model) Assembly
 0:00:27
Benefits of infrared sauna after exercise
 0:22:34
Radiant Health Sauna Assembly Guide (step by step) | Home Sauna Installation Tutorial 2 Person Sauna
Комментарии