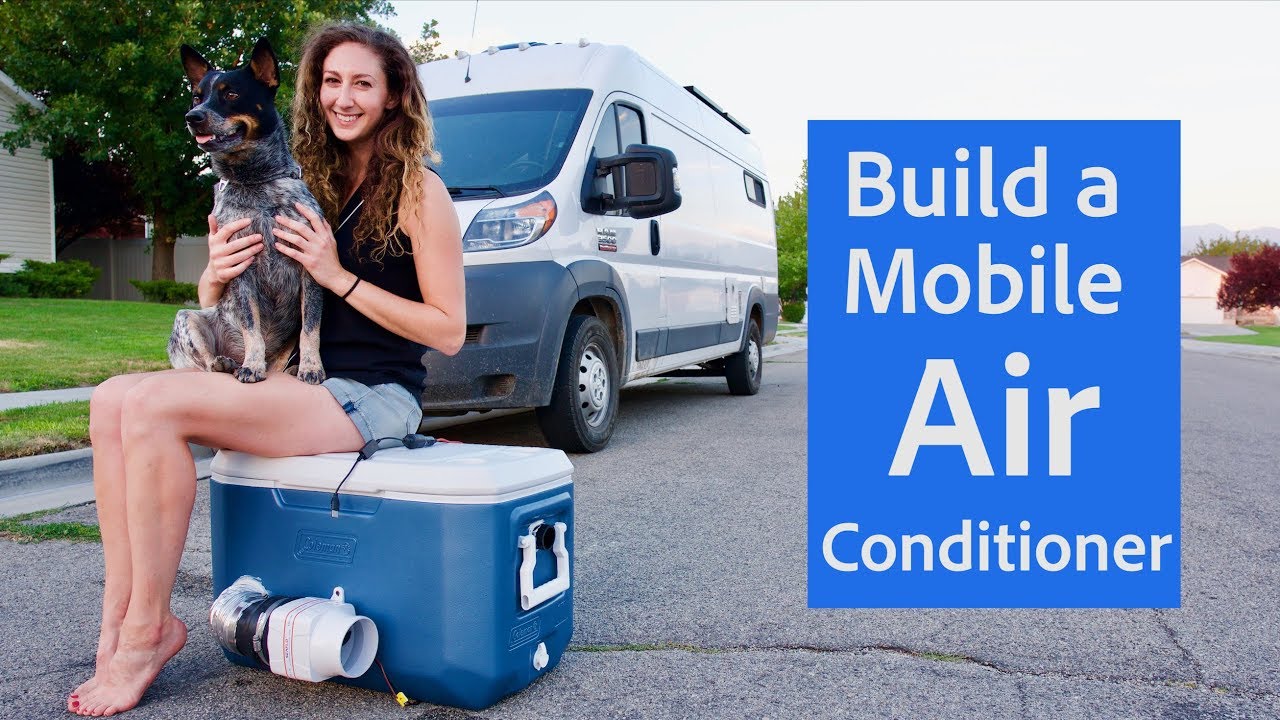
DIY air conditioner | VANLIFE Hack

preview_player
Показать описание
Don't you hate when it's hot in your van and you don't have AC? We spent one too many nights sweaty and uncomfortable so we decided to make an Air conditioning Unit. Below is a list of all the parts needed to build this DIY A/C unit!!!

Instagram ~ @trentandallie

Below are parts used in our van build

Solar System

Electrical

Building Supplies / Misc.

Propane
Рекомендации по теме
Комментарии
Автор

*Solid, **Fastly.Cool** and gets the job done. For rooms where window-mounted air conditioning is not an option, this works very well. Easy set up, rapid cooling, and great design.*

jaoidallaoui
Автор

Good job Trent! Made one very similar but used 5-gallon bucket with a little styrofoam for insulation and Frozen gallon water bottles instead of bagged ice. If you have the ability to freeze purified gallons they last much longer and you can drink them when they thaw out and don't have to drain the ice chest 👍 really enjoy your Vlog keep them coming! Keep that Frank cool 🐾

mikeotoole
Автор

I really like that you gave details about parts like fan and even screw size that most videos don't mention. Appreciate the specific size information you gave on the rest of the parts

colbolt
Автор

I know I'm 3 years late from the time you made this, but I'm doing my research...and Your Video and the DIY AC is the Best.
Gonna copy your plan. Thanks guys!
Thumbs up. GREAT JOB.

BetterOff
Автор

I made one like yours but used coiled copper tubing. Yes it is smaller then yours but the reduced air flow gave the ice time to cool down the tubing and keep it cool, plus it also had a lower temp on the output. I had 92 degrees going in and 66 coming out. I just added a thermostat to the power line to turn off when the room reached the set temp (didn't like it too cold). Keep thinking out of the box and enjoy life!

briancclevenger
Автор

I don't even have a van, and it was totally worth watching, just to see the smiles. :-D

chasquared
Автор

The brilliant part of this is the fact that you separate the ice and air by a physical barrier meaning you are not introducing more moisture in to the air. Yes there will be some condensation inside the duct, but that moisture came from the air, not the ice. In fact if you found a way to gather any water that condenses in the duct you'll actually have created a dehumidifier :)

Goldsacs
Автор

Great build!
I would put the fan inside the cooler. Sure you lose some volume for the ice, but it would be a little quiet and a lot easier to store in tight space.

fin_jan
Автор

Finally a video that outlines all the details soooo clear!!

davesoares
Автор

Great job. Sure there are a lot of little tweaks. The only minor thing I'd do different is drill the hole and mount the
intake air higher so it's not below the water line when the ice melts. Physics says the more surface area the better. That duct work laying in ice water is much better than the ice it self. A cooler works better when the water is contacting the items

davep
Автор

After the ice melts (so long as you don't drop rock salt in there) you can recycle the water in the shower system if you have it. Or to wash your hands. Or to wash dishes etc.

airgun
Автор

very COOL. I did a similar set up a few years ago when I was in the Mid east 130F out. it lasted all day in a Yeti. had it in the back of a Truck we where using, Nice to see your creation of it. Keep up the Great videos.

HomesteadByBigfoot
Автор

I have had mine for some time and I also insulated the lid with spray foam and double sided aluminum foil bubble wrap with dry ice and Frozen bottles of water it last a few days

jonathanlucianoramos
Автор

Best cooler a/c project I have seen so far. Separate the air inlet further from the air output for added efficiency.

DonaldsonClan
Автор

This is really a good video man and ma'am...I want to give you a little tip to extend the life of the ice...when in the military (Texas HOT)...to preserve the ice we would fill the container with water after adding the ice...near the top of the ice...then add more ice if available...one more thing...I would put the in/out piping on the lid to preserve the integrity of the ice cooler...you probably ask...why water...when the water reaches the 32 degrees...it WILL NO longer MELT...it will melt some initially...the level will stay the same...ice is water...your level will not rise...adding the intake filter as Harold Gatlin suggested is genius...!!! great job...Ya'll have a great time...Peace and Tranquility...

EZoutAtSecond
Автор

This really is great stuff guys, as it's hard to survive in this bloody heat. This video shows what can be done on a limited budget with some DIY work, and shows what a clever young man Trent has proved to be. Cheers, Peter.

petermastenbroek
Автор

If you go with a 9 volt power supply it slows down the fan enough that your air will get colder because it's in the cooler longer. It also reduces your volume. I made a similar unit for my garage with a 120qt cooler, it'll hold ice for about 30 hours.

SrslyNoz.
Автор

Man thank you so much for bringing up the humidity issue. Im going to build one of these for my dad's 43' boat, and until you brought that to light I was going down the wrong road. Humidity, mold, foul odors are already a constant battle to keep away just because of the existing atmosphere near the ocean. So, thanks again bro!

jsimmons
Автор

I've already tried to this an it works but I've upgraded an improved this deal. One I built an box around the return of the fan with a grill an home filter on grill an it quiets the fan motor. Two instead of a cooler I took two pieces of styrofoam two inch thick with that aluminum flashing on all sides same as a walk in cooler at a restaurant. An the ice will last two weeks plus I use water to cook with keep hands out an only get water out of spout it stays clean.an by using filter you cleaning air in van.

haroldgatlin
Автор

Being an animals first person, I imagine that your gorgeous dog is really enjoying your latest done!

nojnoj