filmov
tv
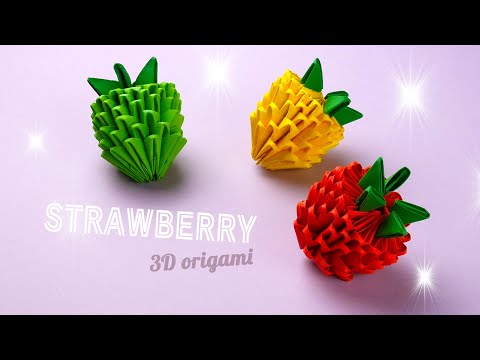
Cute Origami Strawberry - DIY Paper Strawberry Tutorial - Easy Origami Fruit Tutorial

Показать описание
Learn how to make this cute and easy origami strawberry! This flat paper strawberry makes a great decoration perfect for your occasion..
Try DIY paper folding using different colors and in different paper sizes!
★ ★ ★ ★ ★ ★ ★ ★ ★ ★ ★ ★ ★ ★ ★
★ ★ ★ ★ ★ ★ ★ ★ ★ ★ ★ ★ ★ ★ ★
❤ ❤ ❤ Show some love! ❤ ❤ ❤
★ ★ ★ ★ ★ ★ ★ ★ ★ ★ ★ ★ ★ ★ ★
In this tutorial, I used:
▸ 1x origami paper
▸ pen
This origami strawberry tutorial requires at least intermediate folding skills. But don't fret! If you are still a beginner all you need is practice and just follow the steps very closely. I trust that you can do it!
This origami paper strawberry is fun to make, and is best shared with friends. I hope you'll learn from it!
Instruction:
STEP 1: Start folding your strawberry with a square paper. I used 6" x 6" origami paper. You can use smaller or bigger sized origami paper.
STEP 2: Fold it in half. Then unfold.
STEP 3: Fold the paper in half, vertically. Then unfold.
STEP 4: Fold the paper in half, diagonally. Then unfold.
STEP 5: Repeat Step 4 on the other side of the paper.
STEP 6: Position paper as shown.
See this diamond shape on the lower side? We are going to make "square base" from it.
STEP 7: Take the right and left side part of the paper and fold/collaps towards the center following the creases.
This is your square base.
STEP 8: Take the left and right flap and fold towards the center crease.
STEP 9: Fold down the top triangle.
STEP 10: Unfold Step 9 and 8.
Notice this inverted triangle. We are going to use this for the next steps.
STEP 11: Open the upper flap, and following the creases make a petal fold as shown.
STEP 12: Flip the model. And repeat Step 8, (skip step 9 - not applicable) 10 and 11.
STEP 13: Fold down front flap and back flap.
STEP 14: Position paper as shown.
STEP 15. Fold upper flap downward with the tip pointing the center of the crease.
STEP 16. Take the upper flap and fold downward following the crease.
STEP 17. Fold the upper flap downwards following the crease.
STEP 18: Slip your finger into these pockets and pull outwards and make a fold. Repeat on the other side.
STEP 19. Make a pleat with the upper flap, as shown.
STEP 20. Fold downwards the two flaps above. And unfold.
STEP 21. Slip your fingers inside the side pockets, and expand the flaps to make a fold.
STEP 22. Repeat Step 20 on the other flap.
STEP 23: Flip the model. Take the upper flap and fold downwards to create a pleat. Flip the paper.
STEP 24: Fold both edges backwards.
STEP 25: Fold this part backwards.
STEP 26. Complete your origami strawberry with some spots!
DONE!
★ ★ ★ ★ ★ ★ ★ ★ ★ ★ ★ ★ ★ ★ ★
We recommend the following:
How to Make Kawaii Origami Apple - Cutest Paper Apple - Easy and Fun DIY Kawaii Origami Instructions
★ ★ ★ ★ ★ ★ ★ ★ ★ ★ ★ ★ ★ ★ ★
♫ ♫ ♫ MUSIC CREDITS: ♫ ♫ ♫
Perrywinkle - The Mini Vandals
★ ★ ★ ★ ★ ★ ★ ★ ★ ★ ★ ★ ★ ★ ★
Craft Haven
I hope you enjoyed this step by step origami video tutorial. Try not to complain if it didn't work out the first time. This origami strawberry is worth the effort.
 0:04:46
 0:05:29
 0:06:31
 0:09:43
 0:05:35
 0:03:57
 0:12:19
 0:08:05
 0:08:33
 0:00:44
 0:00:28
 0:05:01
 0:06:26
 0:08:01
 0:00:23
 0:03:07
 0:06:43
 0:09:46
 0:03:54
 0:00:43
 0:00:24
 0:04:01
 0:04:00
 0:06:41