filmov
tv
How to Build a Drill Press Stand (Simple and Sturdy)

Показать описание
#drillpress #woodworking #drillpressstand #brattonbuilt #workbench #workshop #bratton
Here's an easy project on how to build a drill press stand for the shop! This drill press stand has a beefy glue-up top, 2×4's for the frame, and a 3/4″ plywood bottom with locking castors. I plan to add drawers to this stand in the near future, but it's a great basic stand as it is. See below for all the supplies, tools, and cuts used for this build. There is also step by step directions on how to build this drill press stand.
Support Bratton Built by Subscribing to our YouTube Channel
DRILL PRESS STAND DIMENSIONS:
Height: 36.5″
Width: 18″
Depth: 22″
LUMBER USED FOR DRILL PRESS STAND:
CUT LIST:
(3) 8′ 2×4's
(1) 18″x22″ piece of 3/4 plywood
(1) 6′ 2×8
Legs: (4) 31 1/4″ 2×4's
Top and Bottom Frame Pieces: (8) 15″ 2×4's
Bottom 3/4″ Plywood: 18″x22″
Top Panel: (4) 18″ 2×8's.
Substitute plywood for top for a quicker build
SUPPLIED USED FOR DRILL PRESS STAND:
(4) Locking Castors
(32) 2 1/2″ pocket screws (for the frame)
(8) 2″ pocket screws (to attach top)
1 3/4″ wood screws (to attach bottom)
Wood Glue
(2) 3″ Bolts, nuts, and washers (to attach drill press to top)
TOOLS USED FOR DRILL PRESS STAND:
Table Saw
Power Drill
Pocket hole jig
90 degree drill adaptor (Might not need this if you own a shorter drill than mine)
(1) clamp (at least 24″ long, or a pocket hole clamp would work too.)
see tools for glue-up panel if making a glue-up top.
STEP BY STEP DIRECTIONS ON HOW TO MAKE THIS DRILL PRESS STAND
STEP 1: MAKE THE CUTS.
See cut list above. The top is a glue-up using 2×8's, but use whatever you'd like. I just wanted a beefy I wanted to be sturdy enough to hold my heavy drill press. I was going to use two layers of 3/4″ plywood for the top, but I had these 2×8's in the scrap bin. Note: The 1/4″ plywood in the picture is going to be the back panel of this drill press stand when I add drawers, in the hopefully, the not too distant future.
STEP 2: DRILL POCKET HOLES
Set the pocket hole jig for 1 1/2″ and drill two holes on all ends of the eight 15″ frame pieces.
Then set the pocket hole jig for 1 1/4″ and drill two holes on one edge of the four top frame 15″ pieces. These will be used to attach the frame to the top panel.
STEP 2: BUILD BOTH SIDES OF FRAME
Fasten top and bottom 15″ boards to legs using wood glue, clamp, and 2 1/2″ pocket screws as pictured above. Note: Make sure the 1 1/4″ edge drill pocket holes are all facing up for attaching the top.
STEP 3: COMPLETE THE FRAME
Attach the front and back 15″ boards. I used square jigs to hold the side frame pieces upright, but getting an extra set of hands would work just as good. I also used a 90 degree drill bit adaptor to fasten some of these screws.
STEP 4: ATTACH BOTTOM AND LOCKING CASTORS
Glue, clamp, and fasten 3/4″ bottom plywood using 1 3/4″ wood screws. I used the same wood screws with washers to attach the castors where the holes lined up with the frame. Then I used the 3/4″ screws, that came with the locking castors, on the hole that just went into the plywood.
STEP 5: ATTACH TOP
Line up and mark where to drill two holes that will be used to insert bolts. Add wood glue to the top of the frame and then place the frame on top of the top panel. Fasten top to frame with 2″ pocket hole or cabinet screws.
STEP 6: BOLT DOWN DRILL PRESS
Finally, bolt down the drill press!
Badda Bing! Enjoy your new drill press stand!!
 0:23:43
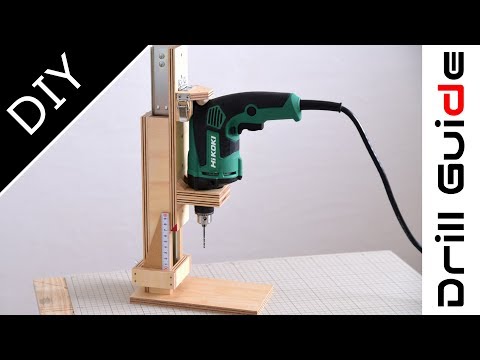
How to build a Drill Press(Drill Guide) Machine | Handmade Drill stand
 0:06:25
Making A Portable Drill Press / Drilling Guide
 0:05:00
HOW TO BUILD a DRILL PRESS MACHINE // HANDMADE DRILL STAND
 0:00:41
DIY Drill Press (from a Handheld Drill!)
 0:14:21
How To Build A Drill Press | Drill Guide | DIY Homemade Drill Stand | Free Plans
 0:18:15
4 in 1 Drill Press Build Pt1 : The Drill Press / 4 in 1 Sütun Matkap 1. Bölüm
 0:04:46
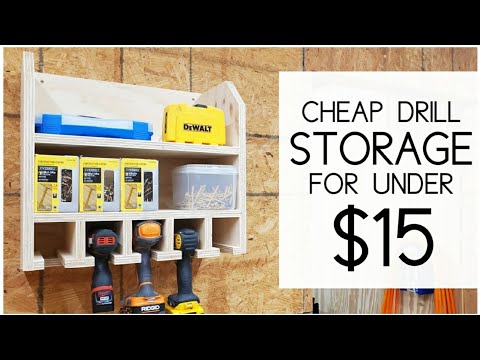
How to BUILD Your DRILL STORAGE for Under $15
 0:03:06
How to Build a Drill Press Stand (Simple and Sturdy)
 0:02:35
Flag Football & Football 101 Drill | Basic DEEP Ball Drill that WORKS #flagfootball #football #W...
 0:09:31
Drill Station: Simple and Easy Shop Project
 0:07:22
Create Mod - How to make an Easily Scalable Mining Drill
 0:13:54
How to build a diy drill charging station
 0:06:40
Cordless Drill and Tool Storage Rack - Shop Organization
 0:00:24
DIY Drill powered Go KART IN 1 HOUR
 0:05:53
DIY Drill Charging Station
 0:00:38
Passing drill - Build up with N6 & two N8
 0:05:01
The 30 Minute Simple Drill Charging Station // How To // DIY
 0:23:05
Make a Drill Press Stand | Drill Press Stand DIY
 0:04:51
EASY DIY Drill/Impact Storage & Charging Station
 0:04:30
Build Your Own Drill Press for Free !
 0:01:40
Drill Propeller
 0:13:35
How To Make A Drill Press Stand and Drill Press Table / Mobile Tool Base / Tool Stand With Storage
 0:15:25
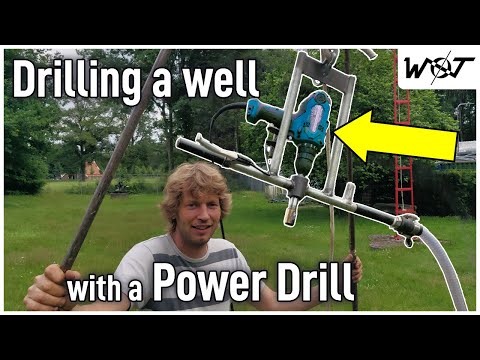
DIY Well Drilling Using a Hand Drill.
 0:07:08
Drill Charging Station | Easy to Build!
Комментарии