filmov
tv
How to BUILD A RAISED GARDEN BED - New & Improved!

Показать описание
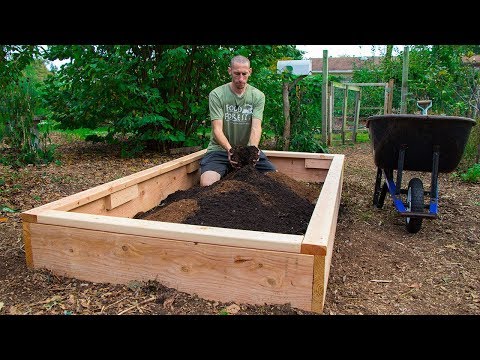
In this video we show you how to build our new and improved raised garden beds. We now have 12 of these in our raised bed garden and we absolutely love them. Thanks for watching and enjoy!
Materials List:
- 4, 2x4x12 Dimensional Lumber
- 5, 2x4x8 Dimensional Lumber
- 1, 2x2x8 Dimensional Lumber
- 1, 1x4x8 Dimensional Lumber
- 3 Sheets of 2x12 Galvanized Roofing Metal
- 1 Roll of Simpson Strapping (16 gauge)
- 1 Quart of Boiled Linseed Oil
- 1 Box of 3" Exterior Deck Screws
- 1 Box of 1 1/4" Exterior Deck Screws
Cut List:
- 6, 25 3/4" 2x4
- 6, 18 5/8" 2x4
- 4, 18 5/8" 2x2
- 1, 50 1/2" 1x4
Things in this video:
Related videos:
Chapters:
0:00 - Intro
1:00 - Materials & Tools
2:47 - Lumber Cuts
6:38 - Side & Corner Supports
8:41 - Sheet Metal Cuts
9:52 - Putting It All Together
11:36 - Bottom Simpson Strap
13:19 - Boiled Linseed Oil
14:42 - Installing Sheet Metal
15:14 - Top Strap
15:34 - What Did We Change?
17:06 - Next Steps/Hügelkultur
18:27 - Outro
A little about us:
In September 2015, our hearts were hijacked with the dream of living on a large farm, with community, growing food, caring for animals and loving on children in need of care and healing. It was a God moment, where our dreams collided with His dreams… a dream so big we could never do it in our own strength and wisdom. Since then, we have been on a journey to see that dream become a reality. This channel documents that journey.
 0:06:27
How to Build a MASSIVE Raised Garden Box - Free Plans!
 0:10:48
How to Build a Raised Bed CHEAP and EASY, Backyard Gardening
 0:01:00
Easy DIY raised garden bed finished in my fave Real Milk Paint oil 🙌 (#ad) Full YT video out now!
 0:11:38
Beautiful DIY Raised Garden Beds in 3 MIN! - How to Build
 0:07:55
How To Build A Raised Garden Bed | Cheap And Easy
 0:02:16
How To Build A Raised Garden Bed
 0:03:14
How to Build Cheap, DIY Raised Garden Beds In Under 30 Minutes
 0:00:57
$50 DIY Raised Garden Beds!
 0:07:12
How to Build an Earthworm Magnet Right in Your Raised Bed - Attract Earthworms With This Method
 0:01:00
how to build a raised garden bed / garden box
 0:00:38
CHEAP! How to Build a Raised Garden Bed! 2023😎🙀
 0:09:55
Beginners Are Making $$$$ | How To Build A Raised Garden Bed | DIY Raised Garden Bed
 0:00:16
BUILD A RAISED BED PLANTER BOX FOR CHEAP!
 0:01:00
A little inspiration idea to upgrade your garden bed
 0:18:52
How To Build The PERFECT Raised Garden Bed!
 0:00:42
DIY Raised Garden Bed Build #diy #garden #plants
 0:16:52
How To Build Raised Garden Beds
 0:00:39
How to fill a raised garden bed! #riasedgardenbed #garden #soil
 0:11:54
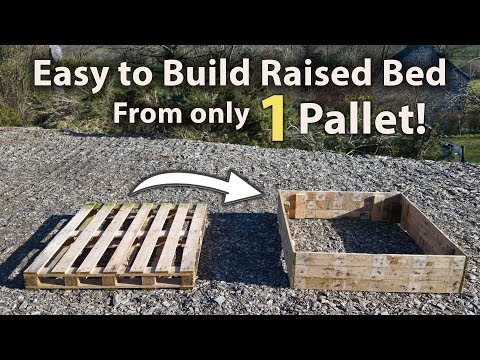
How to Build a Raised Bed from 1 Pallet! (FREE and Easy)
 0:01:00
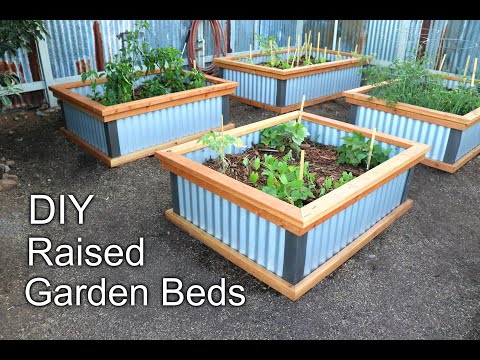
DIY Raised Garden Beds
 0:01:00
When to build a raised garden bed? #gardening #diy #growyourownfood #raisedgardenbed
 0:08:23
How To Build A Large Raised Garden Bed Out of Wood and Corrugated Steel!
 0:15:40
How to Build Durable Raised Garden Beds (Planter Boxes)
 0:00:48
$40 DIY Raised Garden Beds | SIMPLE, AFFORDABLE & No Waste
Комментарии