filmov
tv
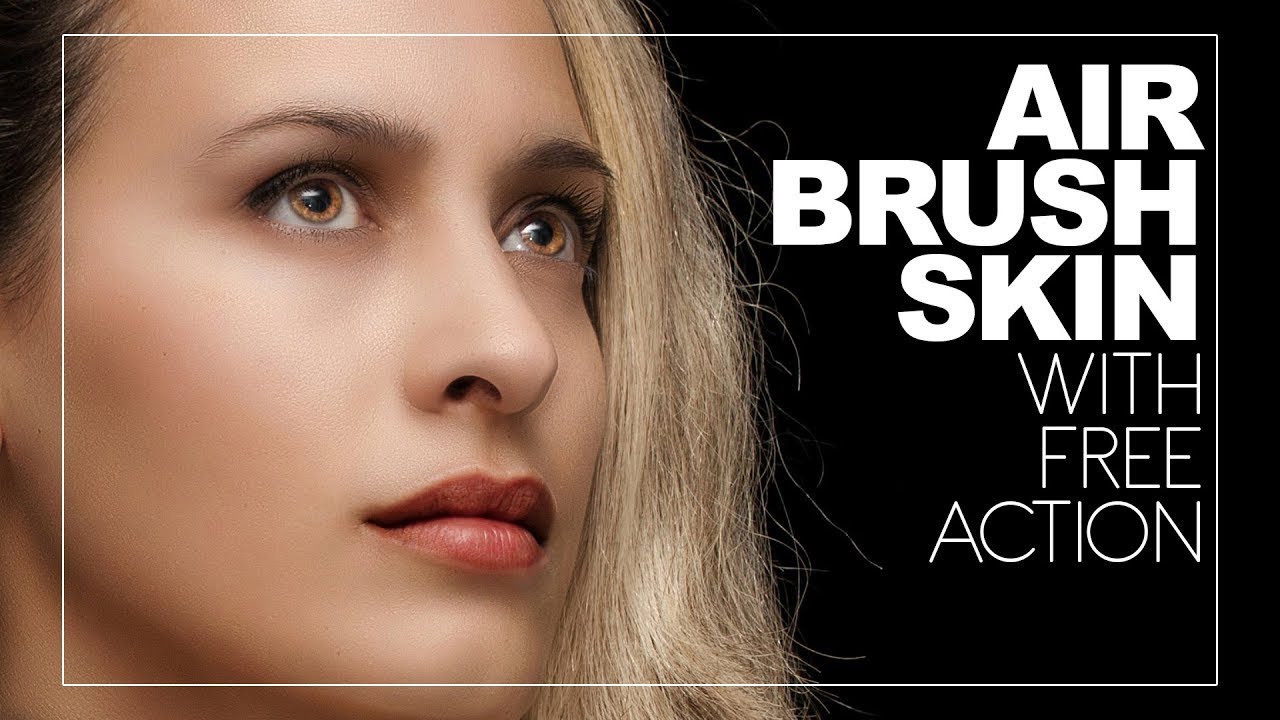
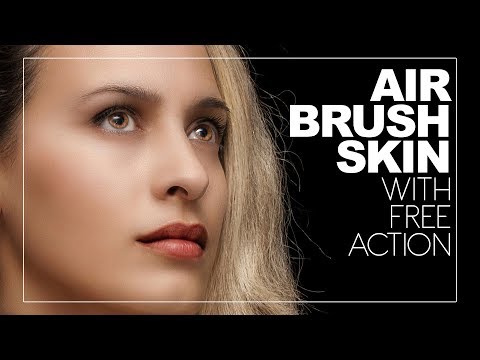
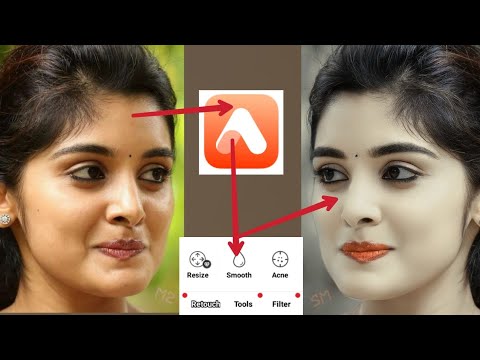
How to Airbrush Skin Naturally in Photoshop - Get Free Glamorous Airbrushing Retouch Action
Показать описание
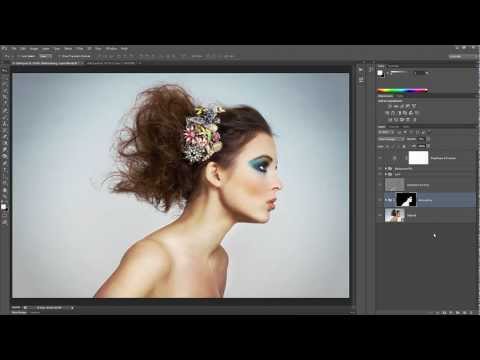
Open the photo into Photoshop. try to use a high resolution image where you can see the skin texture clearly otherwise it wont work well with small resolution images.
Create a duplicate layer by pressing Ctrl+J and then rename it to “softness”. Convert the layer to smart object.
Now again duplicate background layer again and name it "DETAILS". Move the layer to the top and Convert the layer to smart object.
With the DETAILS layer selected, go to Filter - Other - High Pass. Adjust the radius setting until you can barely bring back the details. Generally i prefer small radius between 1-3px. Change the blending mode of this layer to Linear Light.
Now select softness layer, go to Filter - Blur - guassian Blur. Some retouchers may use surface blur also to soften or smoothen the skin but i recommend guassian blur, because it makes skin look healthy without looking plastic or blurred. Adjust the radius until skin looks cleaner. In this case 18px works well.
Select the Details and softness layer then press Ctrl/Cmd+G to group them. Rename this group to Airbrushing. Now add an inverted layer mask to the group by holding Alt/Option and clicking on the Add Layer Mask button in the Layers panel.
Select the Brush tool then make sure your foreground color is set to white. Paint around the skin areas. I recommend you take your time while brushing for best results.
Reduce the opacity of the group to fine tune the amount of airbrushing to look realistic.
Now add new blank layer and name it "EYES". Change the blending mode of this layer to overlay. Take soft brush and paint on eyes with white to enhance.
Now add a new hue & saturation adjustment layer. Adjust the color slider to your liking. Change the blending mode of this layer to Soft Light. click on the layer mask then invert it by pressing Ctrl/Cmd+I. Use your brush tool and start painting with white around the lip areas to apply the color.
Remove dark circles and thin wrinkles using spot healing brush or patch tool. And finally apply dodge and burn.
That's it. All the layers are non-destructive and editable, so be sure to tone down the settings so that the final image looks realistic.
High-End Skin Softening in 1 Minute or Less in Photoshop.
Retouch and Smooth Skin Professionally in Photoshop Quickly and Easily.
Superb Skin Airbrushing Technique | Photoshop Tutorials
FREQUENCY SEPARATION - How to create flawless skin in photoshop.
How to Achieve smooth soft Skin in Photoshop.
Skin Retouching Actions - Free Photoshop Actions.
Thanks for watching our free Tutorials! If you enjoyed our video be sure to subscribe to our channel to receive free new videos.
Don't forget to COMMENT, LIKE and SHARE, to get more :)
Follow US - LET'S BE FRIENDS!
------------------------------------------
Softwares Used:
----------------------------
Photoshop cc 2014, 2015, 2017
Photoshop cs5, cs6,
After Effects cs5
Camtasia Studio
Music:
------------
Let's Do it (YouTube Library)
Check Out Our Playlists:
--------------------------------------
Photoshop Tutorials for Beginners, Intermediate and Advanced users
Easy, Quick and Fast Photoshop Tutorial Series (NEW)
Photo Editing, Photo Effects & Photo Manipulation - Special FX
Adobe Camera Raw Filter Tutorials and Preset downloads
(same settings steps for lightroom also)
Color Grading or Coloring in Photoshop
Skin, Face & Body Retouching Techniques and Enhancing Tips
Free Photoshop Actions for Photographers and Designers
 0:01:01
Skin Softening with Beautiful Texture | 1-Minute Photoshop (Ep. 4)
 0:06:39
Photoshop Retouching Tutorial : How To Airbrush Skin - FREE ACTION
 0:02:21
How To Airbrush Portraits
 0:06:34
How to Airbrush Skin in Photoshop
 0:06:09
How to Airbrush Skin Naturally in Photoshop - Get Free Glamorous Airbrushing Retouch Action
 0:02:27
Photoshop Tutorial: Airbrush Skin Tutorial | Retouch
 0:00:43
Airbrush Face Painting by Cliff Turner
 0:16:57
🔴How to PAINT a female FACE with the AIRBRUSH
 0:00:29
hourglass vanish airbrush concealer review
 0:07:39
High-End Skin Softening in 1 Minute or Less in Photoshop
 0:03:05
How To Airbrush Face EditingTutorial || New Editing Tutorial InAirbrush||Rk photo editor
 0:10:10
Five Airbrushing Tips You Need To Know.
 0:03:00
Airbrush Techniques : How to Airbrush a Face
 0:09:10
How to Airbrush for Beginners
 0:04:49
The Most Important Airbrush Beginner Tip
 0:13:44
Airbrush Skin Tone Basics - Two Methods
 0:02:50
My New Airbrush Face Paint Setup
 0:14:58
How to use the airbrush | Airbrush with Stencils | Basic Airbrushing
 0:09:18
How to paint faces with airbrush: PRIME. [LEVEL: BEGINNERS]
 0:04:01
STOP Buying Airbrush Makeup Use This Hack Instead
 0:19:23
How to paint a male face with airbrush 👦🏻
 0:12:55
Retouch, Airbrush, and Smooth Skin Professionally in Photoshop
 0:03:49
Airbrush Face Painting Butterfly
 0:01:03
Snake skin airbrush tutorial
Комментарии