filmov
tv
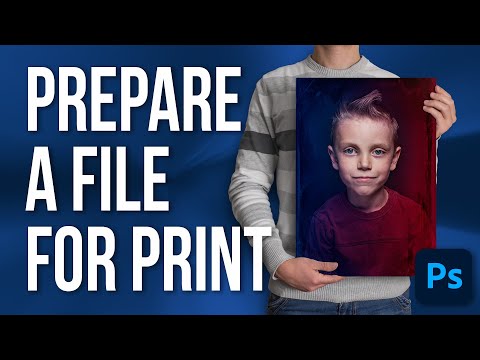
How to Prepare your Photos for Print

Показать описание
Alright, so you've taken a photo you love. You go to print it out and you are devastated because it looks cra%.
Well, we all experience this and I hope this video helps you.
I'll share my workflow for preparing my images to print. My advice, tips, and techniques for ensuring the print does the photo justice!
Enjoy!
–––––
00:01:11 - Reviewing your Image
00:02:48 - Looking for mistakes, blemishes, and distractions
00:04:28 - Shadows and blacks - screen vs. print
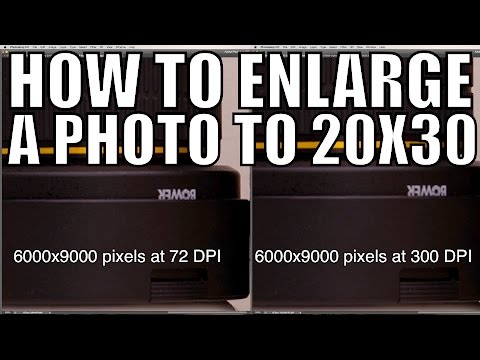
00:07:30 - Resizing your image
00:08:50 - Saving your image
00:09:49 - Reviewing the print
00:10:23 - What else to consider - lab, monitor, and paper
00:11:18 - What about printing on canvas
–
Say hello!
 0:13:47
How to Prepare your Photos for Print
 0:24:38
How I Prepare My Photos for Professional Printing at a Lab
 0:06:37
How To Prepare Your Images For Large Prints | Q&A Ep.54
 0:10:03
How to prepare your images for print.
 0:11:06
Tips to Prepare Your Home for Listing Photos 2022
 0:06:46
How To Prepare Your Prints - this tool will help
 0:05:08
Prepare an Image for Print in Photoshop - Step-by-Step
 0:17:58
How to Prepare Photos for Gel Print Image Transfers
 0:10:49
Why you need a plan for your 'digital death'
 0:08:20
How to prepare your photos before selling them online
 0:06:26
How to Prepare for Your First Photoshoot
 0:18:39
How to prepare a photo for print using ON1 Photo Raw 2023
 0:15:59
Prepare your home for the Photoshoot! Audra Lambert 2023
 0:04:45
How to Prepare Your Home For Top-Notch Photography
 0:04:59
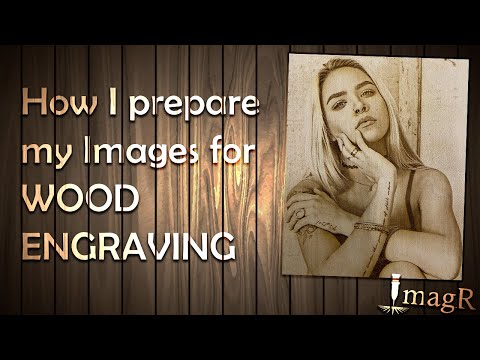
How I prepare my images for WOOD ENGRAVING
 0:04:51
How to prepare for a professional photo shoot
 0:08:29
How to prepare your files for Printing - Let's order a Fine Art print!
 0:13:02
How to prepare photos and images for Print // Adobe Photoshop // Print Ready Files Series
 0:16:13
How to prepare your home for real estate listing photos, video and showings!
 0:06:00
How to prepare your photo images for posting on the web. Organize, rename, adjust & copyright fi...
 0:09:11
Resize and prepare your photos for PRINT (Photoshop CC Tutorial)
 0:25:57
How to Prepare Photos for Print to Get Perfect Quality
 0:00:46
How to Prepare Your Photos for Scanning
 0:20:32
How to prepare photos BEFORE uploading to your website. By Karl Taylor
Комментарии