filmov
tv
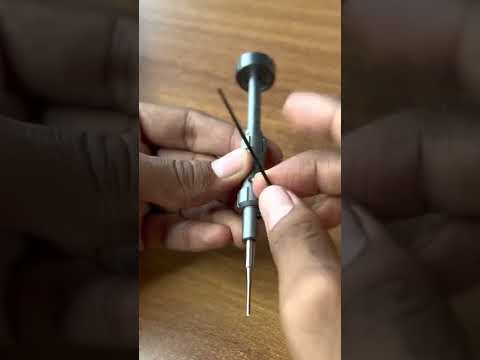
Repairing a screwdriver with 3D printing + torque test

Показать описание
In this video I am repairing a screwdriver but not because I desperately need it, but because of the challenge, I would like to see how big torque can be transmitted between metallic and 3D printed part. I will 3D print a test probes and measure the torque and based on those results I will create a final version. This information will be useful to me, when I am designing other 3D printed parts for attaching to metallic objects (like gears to DC motor shafts).
Contents of the video:
0:00 In this video
0:08 Introduction
0:33 About torque
2:58 How will I measure the torque
3:32 Aim of this project
5:25 Designing the test object(s)
9:23 Measuring the torque
11:00 Designing the final screwdriver
13:54 Testing and using it
16:10 Conclusions
Materials and methods:
3D Printed on Prusa MK3 using PrusaSlicer and Prusament PLA filament. Layer heights, infill variable, shown in video. Designed in Fusion360.
Measured with simple kitchen- and 40 kg hanging scale.
My Patreon page:
 0:17:10
Repairing a screwdriver with 3D printing + torque test
 0:00:23
DIY screwdriver with 3d printed parts in simple steps #diy #3dprinter #short
 0:02:39
Fusion 360 - Repair a Broken Screwdriver in a quick one day project
 0:10:16
We 3D Printed a Screwdriver Case for Linus Tech Tips | LTT Precision Multi-bit Screwdriver
 0:00:52
3D Printed LTT Screwdriver (With Ratchet)
 0:02:34
3D Printing a Fix for the WORST SCREWDRIVER DESIGN
 0:00:17
How to Remove Stripped Screws Hack #shorts
 0:00:32
SAVE 70$ by making your own LTT Screwdriver! 🤯 #shorts #3dprinting #diy
 0:14:04
15 COOLEST TOOLS || THAT GO TO THE NEXT LEVEL
 0:00:27
3d printed screwdriver vs real
 0:00:48
Hacking the Williams! Making a good screwdriver better #shorts
 0:07:05
How to 3D Print the Broken Cap of a Screwdriver 🛠️
 0:00:19
Will it Tool? 3D printed Screwdriver 🪛
 0:01:59
MIJING PHANTOM 3D PRECISION SCREWDRIVER SET (6PCS/SET) FOR PHONE REPAIR
 0:02:16
QianLi ToolPlus iThor High Precision 3D Screwdriver
 0:00:21
3d Printed screwdriver 🪛 #bambulab #3dprinting #fix #hobby #tech #diy #bread #screwdriver
 0:00:19
3D Printed screwdriver with ratchet | it is really strong
 0:00:54
QIANLI First-class Disassemble 3D Screwdriver For iPhone Samsung Phone Repair Tool Prevent Skidding
 0:00:24
3D Precision Screwdriver
 0:00:59
Remove ANY Stripped Screw #howto #repair
 0:00:23
2D Screwdriver #Aixun #mobilerepair #iphone #phonerepair #microsoldering #repairiphone
 0:00:58
Unveiling the Secret: Fixing Screwdriver Case with 3D Printer
 0:01:00
QIANLI 3D SCREWDRIVERS #unboxing #shorts
 0:00:12
Repairing Powerful 3D pen
Комментарии