filmov
tv
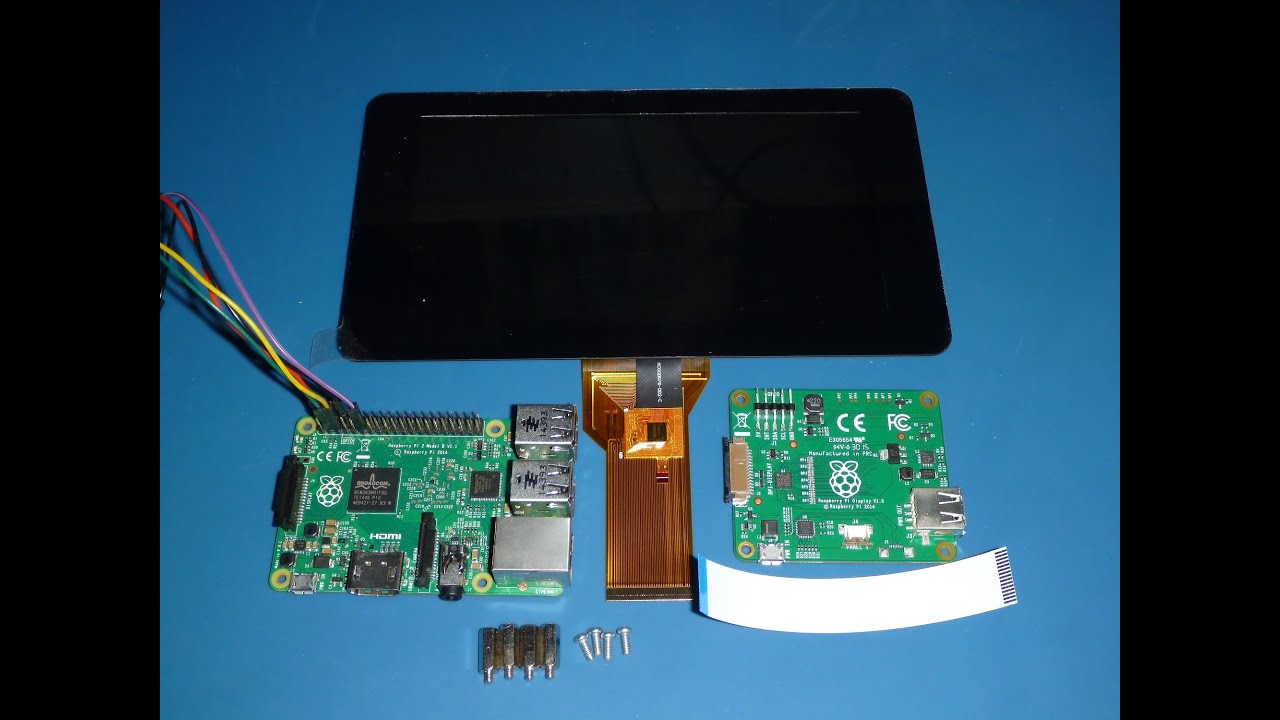
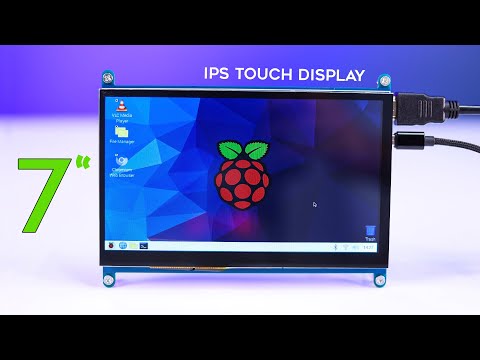
New Raspberry Pi 7' Touch Screen LCD - Assembly
Показать описание
Loads of folks seem to be having an issue with getting the official Raspberry PI 7" LCD up and running so I got one and have put together this detailed video (Well 2 videos really) showing how its done
EDIT
***********************************************************************************************************************
I accidently had the ground cable from the LCD on pin 8 and not 6 on the PI Header. Please make sure you use PIN 6 for the ground.
***********************************************************************************************************************
First video deals with the assembly only with closeup pictures to help you understand where the cables go and how they fit into the connectors
The second is a short test of the display using Raspbian 1.5.0 and we add a Virtual Keyboard.
Some people have tried to put them in wrong, previous instructions I have seen do not always make it clear so mistakes are made. I am hoping that my video will help to clarify everything
You can get these displays from numerious places including at the following links
and many others
NOTE: there was a mistake in my wiring to the PI, I accidently connected the ground (Black) wire to pin 8 of the PI instead of PIN 6. It should go to PIN 6.
This did no harm in this case as I had not enabled the serial functionality but it should be noted that if I had, It would have resulted in a short on a PI output pin. this may have caused damage. I should have said the third pin down not 3 pins down from the first. Sorry for an y confusion
 0:00:17
Raspberry Pi Touch Display 2. 7” touchscreen
 0:11:05
Official Raspberry Pi 4 7' Touchscreen Display Review - Is it Any Good?
 0:03:46
New Raspberry Pi 7' Touch Screen LCD + RetroPie Test
 0:00:12
Raspberry pi 5 7inch touch display #shenzhennewfly
 0:10:54
New Raspberry Pi Touch Display 2. 7' Tablet
 0:03:12
How to setup the Raspberry Pi Touchscreen
 0:17:36
New Raspberry Pi 7' Touch Screen LCD - Assembly
 0:05:48
NEW Raspberry Pi Official Display - 7' Touchscreen!
 0:03:41
How to Switch Between 3.5'' LCD Touchscreen and HDMI Monitor on Raspberry Pi5 | Display To...
 0:08:58
I Control EVERYTHING with this Raspberry Pi
 0:02:54
element14’s first look at the Raspberry Pi 7' Touchscreen Display
 0:05:32
Installing a Raspberry Pi 7' Touchscreen Display on a Raspberry Pi 4
 0:06:13
Raspberry Pi 7' Touchscreen Display Unboxing Mounting Installation Demonstration
 0:02:45
Unboxing and first use of the Original Raspberry Pi 7” Touch Display
 0:14:13
10 Touchscreen monitors for Raspberry Pi.
 0:08:21
Cheap 7 inch Touchscreen LCD for Raspberry Pi 4 & Lattepanda (IPS Display) - Review
 0:06:20
Connect Raspberry Pi 5 to the Raspberry Pi 7'' Touchscreen Display Gen 1 with SC1131 Cable
 0:19:53
NEW Raspberry Pi Touch Display 2 - First Look and RPiD1 Comparison - 2024
 0:04:19
Raspberry Pi 7' touch screen - How to get started
 0:04:53
Raspberry Pi 7' Touch Screen Installation
 0:00:11
IPS HD Resolution 7inch official touch screen for raspberry pi
 0:12:16
New Raspberry Pi 7' Touch Screen LCD - test with Raspbian 1.5.0
 0:06:59
Best Raspberry Pi Projects for 2022,Raspberry Pi 7 inch touch screen
 0:08:13
Official Raspberry Pi 3 7' Touchscreen Display - Is it Any Good?
Комментарии