filmov
tv
How to Add and Use NodeMCU V3 with Arduino IDE | Getting Started | ESP8266

Показать описание
Description:
This video shows how to add and use this NodeMCU V3 with Arduino IDE. The installed ESP8266 board manager is applied to all ESP8266 brands such as Wemos D1, Wemos D1 R2, Robotdyn D1 R2, NodeMCU V3, etc. Furthermore, it comes with example libraries for ESP8266 boards.
Why use the ESP8266 board?
The main reason for using the ESP8266 board is because inexpensive able to connect to Wi-Fi and open-source IoT platforms.
Related Video:
Reference:
Board Manager:
CH340/341 Driver:
Tools/Components I used in this video are listed below:
Shopee:
Lazada:
Aliexpress:
Time Stamp:
0:00 Trailer
0:16 Intro
0:33 Unboxing NodeMCU V3
1:09 Install CH340 driver
1:46 Install ESP8266 board
2:17 Simulate project
2:57 End screen
Social Media:
Credit song:
Memories by Benjamin Tissot
Lonely Dance by Vexento
Little Idea by Benjamin Tissot
#nodemcu #esp8266 #review #gettingstarted #arduinoproject
 0:03:08
How to Add and Use Waze in Android Auto (Works on ANY Android Phone)
 0:04:46
How to Add Two Account on Same WhatsApp App | How To Use 2 Numbers in One WhatsApp #technicaldminds
 0:02:20
How to ADD and Use MULTIPLE INSTAGRAM Accounts - Up to 7 Accounts
 0:02:25
How to ADD and Use MULTIPLE TWITTER Accounts
 0:01:47
How To Use Add Formula In Apple Numbers
 0:09:07
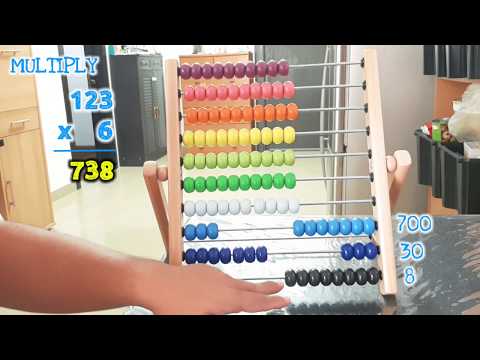
How to use the abacus, Add, Subtract, Multiply, Divide /GTflix
 0:03:16
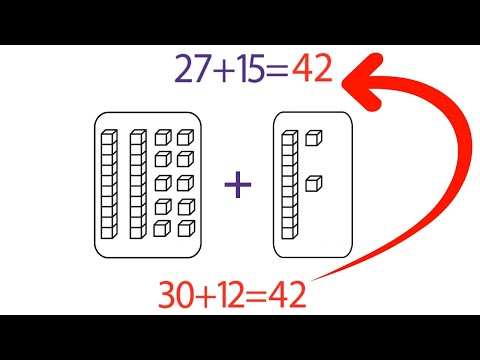
Use a Hundred Chart to Add. Grade 1
 0:00:51
How to add and use Google account on your Chromebook
 0:02:03
HOW TO ADD AND USE ADLIBS IN YOUR MUSIC
 0:03:02
how to use 2 number in one whatsapp | how to add multiple account in whatsapp
 0:02:13
How to Use 'Add Yours' Sticker on Instagram
 0:00:38
ZKTeco SA40B How to add card use administrator password
 0:03:27
CQ How To - Add and use FX
 0:02:20
Quick blender tutorial - How to add (and use) rigs to your Asset Browser [Library overrides]
 0:00:23
Please Use The Add Anchor Point Tool On A Segment Of A Path SOLVED!
 0:01:49
Free Fire New Voice Pack Kaise Use Karen | How To Equip/Garb New Hindi Voice Lagaye
 0:02:44
How to Add Chat GPT to Google Search - Use GPT AI in Google
 0:01:58
How to Use Instagram 'Add Yours' Sticker
 0:03:44
How To Add & Use Link Reader ChatGPT Plugin?
 0:05:32
Excel Operators: How to Add, Subtract, Divide, Multiply, and use Brackets in Excel!
 0:01:49
How to Add and Use Afterpay on Amazon (Best Method)
 0:03:46
Use compensation to add 2-digit numbers. Grade 2
 0:01:36
How to Use the Add Me Feature on Pixel 9 - Social Sharing Made Easy
 0:01:27
Google Sheets: Slicer Filters (super-easy-to-add-and-use filters)
Комментарии