filmov
tv
Every Home needs this Upgrade! (Control EVERYTHING)

Показать описание
You can get the used products here: (affiliate links)
Websites that were shown/used during the video:
Try the world's most trusted PCB design software, Altium Designer with
365, for free and 25% off your purchase:
(AD, Paid Promotion)
Previous Home Assistant videos:
AliExpress video with Screen Kit:
Smart Home Devices are awesome! But problems arise when you have too many that all use their own app. So in this video I am reactivating my home assistant server on my Raspberry and more importantly create an awesome dashboard screen. And No! I will not use a tablet. I will build something custom with another Raspberry Pi ;-) Let's get started!
Thanks to JLCPCB for sponsoring this video.
0:00 My Smart Home Problem
1:25 Intro
2:20 Home Assistant Installation
4:15 Kiosk Raspberry Pi Setup
5:39 Finding a Fitting Screen
7:53 Where to Position the Control Screen?
8:40 Building the Control Screen
10:10 Final Assembly & Verdict
 0:11:14
Every Home needs this Upgrade! (Control EVERYTHING)
 0:12:19
Every Home needs this Upgrade! (Ceiling Speaker)
 0:13:03
Every Home needs this Upgrade! (Night-Time Stairs)
 0:13:18
Why Every Home Needs These 15 Defense Gadgets Right Now
 0:16:22
Every Home Needs This But No One Does! Invention That Amazed The World!
 0:07:22
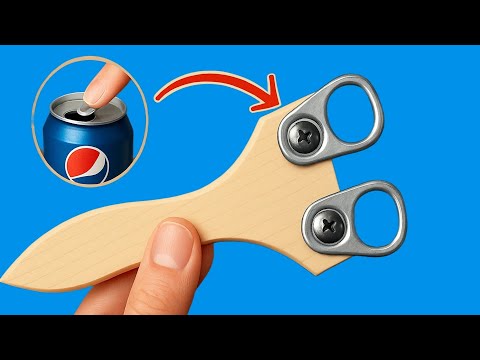
No One Does This Genius DIY – But Every Home Needs It!
 0:02:52
🔥 10 THINGS YOU NEED TO KNOW ABOUT OUR NEW HOME KIT | FC BARCELONA x NIKE 🔵🔴
 0:10:05
Every home needs this and no one does it! Only an expert can know about this invention.
 0:02:56
Why Every Home Needs This Shiatsu Massager Now!
 0:00:51
Every home needs this Clamp Mop! #tips #clean #home
 0:00:18
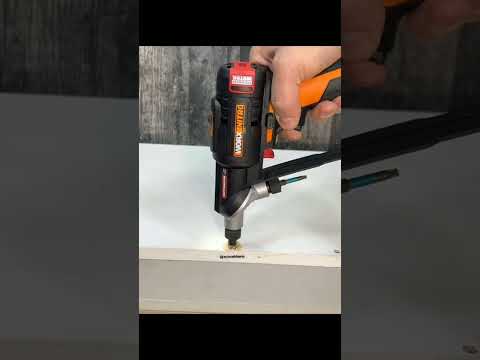
This drill machine is tool every home NEEDS #shorts
 0:00:28
how to build a home studio for less than $300
 0:14:11
Home Office Upgrade
 0:00:18
How To Fix The Fortnite Item Shop! #shorts
 0:11:53
EVERY Smart Home needs this Automation!
 0:03:01
Best Simple Invention of 2025 – Every Home Needs This! #diy #craft #how #howto
 0:13:57
Million Dollar Idea Every Home Needs – Unbelievable!
 0:00:37
3 Kitchen Hacks Every Home Chef Needs
 0:01:22
Amazon home must haves 🤍 comment NEED IT & I’ll dm you all these links (sharing more details +...
 0:00:29
The Supplies I Used in School
 0:00:59
THE CORE 4 STEPS YOU NEED TO DECLUTTER & ORGANIZE YOUR HOME
 0:00:44
Every home needs this! 🤯 (no skill required!) #homehacks
 0:00:25
How Much Income You Need for a 400k Home (Mortgage Broker Insider) #mortgage #realestate
 0:00:06
Amazon.s Best smart Gadgets you Need Right Now'!
Комментарии