filmov
tv
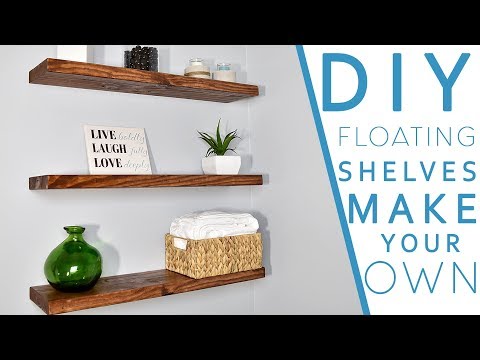
DIY Floating Shelf – Easy

Показать описание
DIY Floating Shelf – Easy
Welcome back creators. Sorry I’ve been gone but I’m back and ready to help you get organized, remove clutter, create and aesthetically pleasing space and give you more inspiration on how to do so.
This DIY is easy and only requires a few items to create. Remember the goal of this video is not so you can create a product the exact same as mine but it’s so you can be organized and create more order in your life by yourself. So be as creative as possible and if there’s anything you can add please let me know in the description box. Lets begin our journey being clutter-free!!!
Supplies Needed:
Cedar Wood (cut 1.5 inch wide) – Home Depot
Polyurethane (clear stain) – Home Depot
Screwdriver
Flathead screwdriver
Nail
Floating Shelf Instructions:
First: Determine what measurements you want your shelf to be. Mine is (2)5 inches and (2) 6.5 inches
Second: Cut the wood according to the measurements. I got my wood cut at my local Home Depot. All you have to do is give them your dimensions and they will cut it.
Third: Glue your wood pieces together. The 2 longer pieces will go on the front and back of the rectangle and the 2 shorter pieces will connect them on each side. Just like this. Make sure you glue the shorter pieces behind the front long piece so when you paint it, it will look smooth and sleek.
Next: After the glue has dried, it’s now time to paint. Here you can be creative and paint it according to your style. I decided to go with black because well I Love it!!!
5th Once the paint dries now it time to screw the picture frame hanger to the back of the rectangle. Because we are creating a floating shelf the hangers will have to be placed in the back of the rectangle like so…. Once attached add a hole to the back of the shelf using a screwdriver. This will help the shelf attach to the wall. Once complete, mark where you want to hang your shelf on the wall, insert a hole and hang.
About me
I'm a Professional Organizer by day and a girl who loves everything design, organizing, food and inspiration. If I’ve inspired you in any way possible, then I’ve done my job!
Social Media
 0:00:31
Floating shelves: full mounting process #DIY #woodworking
 0:07:28
Easy DIY FLOATING SHELVES No bracket | DIY CREATORS
 0:00:44
DIY floating shelf: Method 1🤩
 0:00:10
Simple floating shelves #woodworking #floatingshelves #dit #howto
 0:00:47
How to make EASY DIY Floating shelves! ✨ #easydiy #diyprojects
 0:07:08
Easy DIY Floating Shelves | The Best Floating Shelf Bracket?
 0:06:47
Easy DIY Floating shelves | DIY Creators
 0:01:18
Easy DIY Floating Shelves
 0:13:37
DIY Floating Shelves & Foam Core Print Mounting – Display Your Photography that’s Easy and Cheap...
 0:13:21
DIY FLOATING SHELVES (easy beginner build)
 0:18:51
3 Ways to Build Floating Shelves
 0:19:01
trying three different ways to DIY a floating shelf
 0:03:18
DIY Floating Shelves - How To Make Wood Floating Shelves
 0:05:03
How to Build Floating Shelves for UNDER $100!
 0:00:56
How to make a floating shelf
 0:00:48
DIY SHELF: Making A Giant Floating Shelf #diyprojects #diyshelves #floatingshelf
 0:00:50
DIY Floating Entertainment Center 🛠️ #diy #tvstand
 0:00:37
Easy DIY floating shelf
 0:06:26
2 Ways To Do Floating Shelves - Which Is Stronger?
 0:00:28
DIY Floating Shelves
 0:00:16
Custom made hidden compartment floating shelf #diy #process #reels
 0:05:11
The $20 Floating Shelf - Easy DIY Project!
 0:00:16
wood shelves || homedecor. [ shelvesdesign ] || diy wood floating shelf || \ shelves ideas
 0:04:00
DIY floating shelves
Комментарии