filmov
tv
Tech Note 075 - How to connect and get I2C devices working (Arduino, ESP32, ESP8266)

Показать описание
An improved explanation (I hope) of how to get I2C devices to function that can often be problematic, be it determining which pins on a development board are SDA and SCL; determining the I2C device address to resolving conflicting library functions that all prevent a device from working.
Code for I2C Scanner:
Code for I2C Scanner:
 0:11:16
Tech Note 075 - How to connect and get I2C devices working (Arduino, ESP32, ESP8266)
 0:00:22
HOW TO ENABLE DEVELOPER OPTIONS IN ALL VIVO – OPEN HIDDEN OPTIONS DEVELOPER MODE 2025 #smartphone
 0:00:06
The new iPhone 16 pro fold model is here ! 🎉🔥🔥 #shorts #iphone16pro #iphone #iphonepromax #tech...
 0:00:15
How To Hard Reset Redmi Note 7 ⚡ Redmi Note 7 Factory Data Reset 🔥🔥 #ytshorts #shorts #hardreset...
 0:00:15
REDMI NOTE 14 CAMERA TEST!
 0:00:18
POV: you’re 6’9” 400 pounds and booked the middle seat
 0:00:12
New poco C75 vs poco vs Vs IPHONE 10 FF TEST
 0:00:19
Interactive Flat Panel 75 Inch Digital Board For Classroom - Smart Board For Teaching - Touch Board
 0:00:25
realme C75 | Let's See If It's Cement-Proof
 0:00:27
construction of 60⁰,75⁰,90⁰,105⁰ and 120⁰ angle using compass #construction #compass
 0:00:16
how to select 4g network in redmi not 10 pro || #4g #data #new #tricks #short
 0:00:16
IQOO Z9S 5G Unboxing #mobilephone #unboxmobiles #moblieunboxing #tech #unboxingsmartphone #smart
 0:00:20
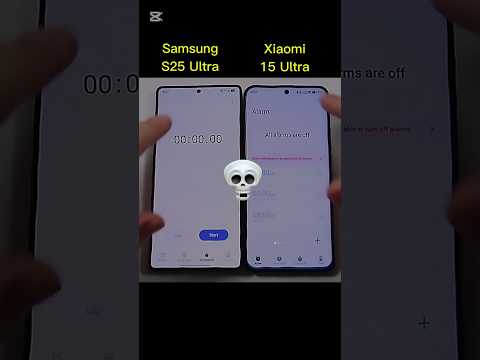
Samsung S25 Ultra vs Xiaomi 15 Ultra Speed Test
 0:00:19
75 Inch Interactive Flat Panel Price | Ai Interactive Flat Panel | Digital Smart Board. 🔥
 0:00:19
75 Inch Smart Board For Teaching In Classroom - Play 4K Videos - Write & Teach On Digital Whiteb...
 0:00:16
Infinix Note 50 Vs Infinix Hot 50 Reboot Up Test
 0:00:13
iPhone 20 Pro Max Unboxing 🤯 #shorts #iPhone 20
 0:00:16
Poco F4 vs M5
 0:00:13
Samsung Galaxy S23 Ultra Reverse Wireless Charging #samsung #youtubeshorts #shorts
 0:00:15
Motorola edge 60 fusion 5g
 0:00:07
2 important tricks | #asmr #computer #tricks #pc
 0:00:16
How to change poco phone display app size | Change Display App Size #shorts
 0:00:35
How to find out Percentage from Calculator Easy Way in Different Situations | Part-1
 0:00:17
Samsung S25 Ultra vs Samsung S24 Ultra: The Most Epic Speed Test Ever! Who Will Win?🚀🔥 #shorts#viral...
Комментарии