filmov
tv
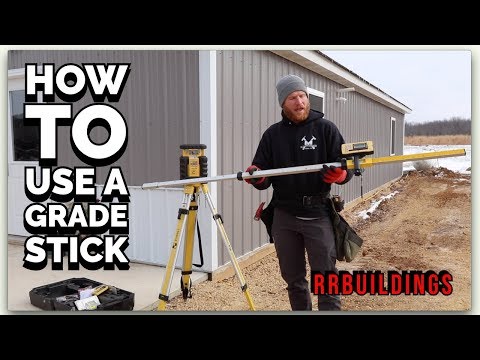
What is a grade stick for?

Показать описание
In this video, I took a couple minutes to explain the use of a grade stick and how it can quickly and efficiently save you time checking the appropriate grade on your project. It is always important to first decide what your (zero) will be and then going from there, it is easy!
-~-~~-~~~-~~-~-
Please watch: "Building a Mancave 8: Porch roof and trim details"
-~-~~-~~~-~~-~-
-~-~~-~~~-~~-~-
Please watch: "Building a Mancave 8: Porch roof and trim details"
-~-~~-~~~-~~-~-
 0:04:23
What is a grade stick for?
 0:20:31
Teaching a NOOB how to read grade, Run a laser & change elevations on a jobsite- PT 1/2. 4k vide...
 0:01:51
How to Set Grade with a Laser Level
 0:07:37
HOW TO SET ELEVATION BASED OFF OF A HUB || How to take elevation using a grade rod and a laser
 0:04:06
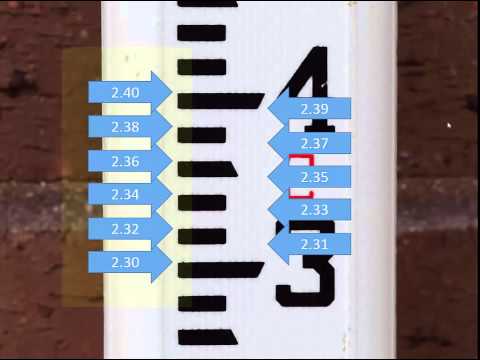
Reading elevation rod
 0:07:25
How to Use a LaserLine Direct Read Lenker Style Grade Rod
 0:10:15
Reading the Level Rod
 0:16:53
HOW TO USE A LASER AND A GRADE ROD TO DIG A BASEMENT || How to use a laser, how to use a grade rod
 0:06:02
How to read a surveying rod
 0:06:11
HOW TO SETUP SLOPES WITH A LASER AND A GRADE ROD //Laser and Grade Rod Slopes-How to Use a Grade Rod
 0:04:09
How to Use a Grade Rod
 0:05:38
How to Read a Grade Rod (Inches Style, Bosch GR 8 C)
 0:08:39
How to use a dual grade laser
 0:04:52
How to use a Johnson Rotary Laser Level | Building Tips for DIY SEPTIC & Foundation leveling
 0:01:49
How To Manual Slope Match With A Laser Level (Simple And Easy)
 0:02:08
How to measure height with a grade rod
 0:09:06
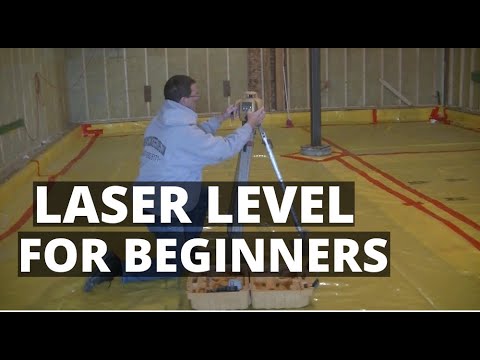
How to use a laser level for beginners
 0:09:58
HOW TO READ A DIRECT READINGCUT FILL ROD
 0:17:50
HOW TO READ GRADE STAKES || How to read grade stakes for roads - Grade stakes cut and fill
 0:08:36
How to Read a Grade Stake
 0:07:29
How To Use A Laser Level (Self-Leveling Laser Basics)
 0:04:03
Skid Steer Grading Explained in 4 Minutes
 0:01:23
AdirPro Fiberglass Grade Rod - Product Overview
 0:08:07
Survey Stakes and Markers
Комментарии