filmov
tv
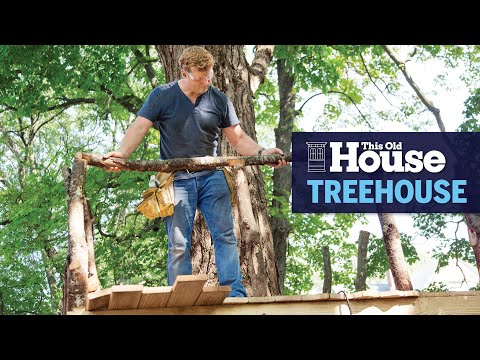
How to Make a Treehouse Part 1 | I Like To Make Stuff

Показать описание
I've always wanted to build a tree house, and thanks to Lowe's, we're finally able to make that happen! In part 1 of 2, we are building a sturdy platform for the treehouse that you can build too! This project was sponsored by Lowe's, check out the links below for the products we used!
TOOLS & SUPPLIES (affiliate links):
After attaching the TABs to the tree, I rented a two-person auger and drilled some huge holes in the ground. In these holes, we placed 4x4 beams and set them with Sakcrete. These two beams will be the uprights that will hold up the other end of the platform. We laminated two 2x10s and fixed them in between the two vertical beams.
To make the support platform for the treehouse, I used joist hangers to mount 2 2x10x to the face of the laminated header connected to the upright beams. The other end of these large pieces of lumber will sit on the TABs connected to the tree. I then mounted some 45-degree joist hangers to the face of the header and cut down some more 2x10s to connect the header corners to the 2x10s sitting on the TABs. We now had a triangular support system that was supported by the tree and by the vertical beams set into the ground. To add some additional lateral support, we added some knee braces to the inside of the vertical beams.
Now that the treehouse has a sturdy foundation, it is time to add the walking deck. Depending on the span of your support joists, you may be able to just lay down some decking material and call it good. In our case, I am going to build a deck frame made out of 2x8s and set them on top of the support joists. These decking frame pieces have a 16 inch spacing and hang over the support frame. We used decking brackets to attach the deck frame to the support frame.
Once the frame for the deck was in place and capped at the ends, we began to lay down the actual decking. All of this lumber was pressure treated so that it can withstand the outdoors. The decking boards were secured to the deck frame with 3 inch decking screws and spaced about 1/8 inch apart to allow for wood movement over time. I trimmed off the overhanging decking boards and the treehouse platform was all done!
Part 1 of this two-part project was just about making a sturdy platform for the rest of the treehouse. This platform construction allows you to have a blank canvas on which to build your treehouse. It could be an elevated deck or a fully-enclosed tiny house, it's all up to you. Big thanks to Lowe's for sponsoring this project. Stay tuned for Part 2!
Learn 3d modeling, get digital plans, and cool merch at
Want to support ILTMS? Get exclusive content and more...
FOLLOW:
#ILikeToMakeStuff
How to Make a Treehouse Part 1 | I Like To Make Stuff
I Like To Make Stuff
 0:19:32
How to Make a Treehouse Part 1 | I Like To Make Stuff
 0:13:48
How to Build a Treehouse | This Old House
 0:16:42
How to build a Treehouse FULL Time lapse VIDEO! Father and sons surviving quarantine in the woods
 0:15:53
Building a Treehouse for less than 36$
 0:18:25
How to Make a Treehouse Part 2 | I Like To Make Stuff
 0:32:35
DIY Family Treehouse Build: Start to Finish in 32 minutes
 0:14:14
How to build a Treehouse FULL TIME-LAPSE VIDEO
 0:15:08
Treehouse Build EPIC DIY Playground
 0:00:56
ABCD Song #tranding #viral ##babysongs#learn#rhyms#cartoon #sahilkuma613
 0:35:22
Cozy TREE HOUSE | Building in the wild forest from Start to Finish! | 3 months in 35 minutes!
 0:16:36
Ultimate Real Tree House / Tree Fort Build - Part 1 - Platform and Support Structure
 0:03:46
How to Build a Backyard Treehouse - Part 1
 0:05:33
I Built a Plastic Wrap Treehouse
 0:08:53
Building a cozy TREE HOUSE in a wild forest! | Part 1
 0:27:19
A Man Builds a Secret Tree House | From Start to Finish by @Wild_Hammer
 0:14:24
How to Build a Basic Treehouse
 0:15:09
I BUILT A $25,000 DREAM TREEHOUSE!!
 0:00:30
Overnight in a treehouse
 0:06:54
How I Built A Tree House From Start To Finish
 0:00:17
Tutorial Easy Treehouse 🏡 #minecraft
 0:26:09
I Built a SECRET Tree House in My Backyard!
 0:15:50
Man Builds Treehouse to Protect Himself from Predators | Start to Finish Build by @forestbuilder
 0:00:59
The DIY Treehouse Playground is ALMOST DONE! #treehouse #diyprojects #outdoorprojects #diymom
 0:22:49
Building A Beautiful Treehouse In The Forest Alone - Part 1
Комментарии