filmov
tv
Awesome Acrylic Pouring Mosaic Dip Technique

Показать описание
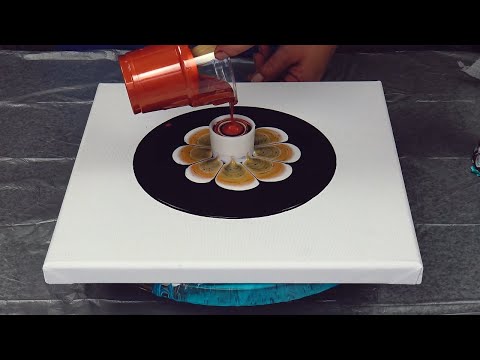
At Vibey Creatives we love the dip technique. In this video we dipped pebble mosaics into acrylic paints mixed to the same consistency as for a flip cup pour. Step One- prime the mosaics with a tile primer or a multi-surface primer- two coats. Step Two- ensure the size of the container in which the paints will be layered fits the size of the mosaics. Step Three- layer the container with baking/parchment or wax sheet or silicone paper. Step Four- use an acrylic paint- preferably in white or black ( for good contrast) - we used white Plascon Velvaglo house paint. Step Five- layer in zig zag or any other pattern, color acrylic paints mixed with a pouring medium. We added a glitter glaze and a bright gold metallic. Silicone oil can be added to one or two of the colors. Step Six- Dip the mosaics into the layered paints and gently lift. Note that the mosaics are heavier with the paint- ensure you have a surface ready to place the painted mosaics. Step Steven- Add a bit more color acrylic paints to the mixture for the next batch of mosaics. Step Eight- use the left overs to pour on rocks, to dip canvases etc. Step Nine- once fully dried/cured- seal with a water-based clear UV resistant hard top coat such as Rustoleum clear lacquer. Paint Brands Used: Plascon Velvglo house paint as the base paint. Plascon multi-surface primer. Acrylic Pouring Paints and Pouring Medium- Bastion; PaintsGlitter Glaze- Harlequins. Watch our video on Xmas Ornaments and Dipping technique on rocks for more examples on the dipping technique used by Vibey Creatives. Its awesome.
 0:08:02
 0:02:52
 0:14:15
 0:12:42
 0:20:48
 0:20:49
 0:03:07
 0:04:51
 0:12:14
 0:14:45
 0:15:48
 0:09:29
 0:07:50
 0:15:47
 0:04:48
 0:03:25
 0:13:23
 0:12:10
 0:11:58
 0:00:41
 0:21:03
 0:21:22
 0:11:46
 0:07:53