filmov
tv
Arduino Tutorial 3: Understanding How Breadboards Work

Показать описание
You guys can help me out over at Patreon, and that will keep this high quality content coming:
We are now ready to begin building circuits that are controlled using the Arduino. Our first circuit will be a simple LED circuit. In order to build the circuit we need to use a breadboard. This video explains how to use a breadboard to build a circuit. We then do a simple program that makes the external LED blink. Your assignment is to build a more complicated circuit and program where you are independently blinking three different LEDs.
You can get the following Elegoo kit, to follow these lessons and play along at home
You can find details of this lesson on our WEB site here:
#Arduino
 0:30:47
Arduino Tutorial 3: Understanding How Breadboards Work
 0:05:52
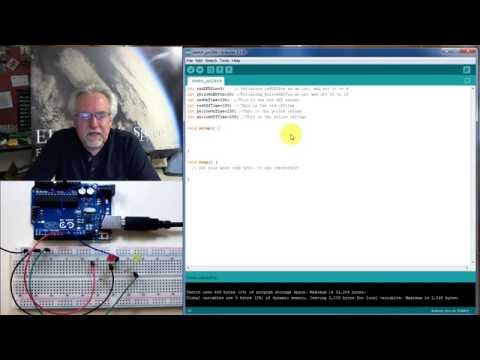
Arduino Tutorial - 3. Einfacher Input (#3)
 0:50:17
LESSON 3 - Arduino For Loops and LED Circuit
 0:38:08
Arduino Tutorial 2: Understanding How Light Emitting Diodes (LEDs) Work
 0:16:34
You can learn Arduino in 15 minutes.
 0:25:56
Arduino Tutorial 4: Understanding Arduino Variables
 0:02:22
Arduino in 100 Seconds
 0:24:49
Arduino Tutorial 5: Understanding and Working With Binary Numbers
 0:17:13
ARDUINO IDE + ESP32 + Adafruit IO | Monitoring and Controlling the ESP32 with Adafruit IO
 0:05:10
How to Use an Arduino (Lesson #1)
 0:03:53
Arduino Tutorial: LED Sequential Control- Beginner Project
 4:04:22
Arduino Course for Beginners - Open-Source Electronics Platform
 0:23:50
Arduino Tutorial 1: Setting Up and Programming the Arduino for Absolute Beginners
 0:00:21
learn Arduino programming in 20 seconds!! (Arduino projects)
 0:06:33
Arduino Coding for Beginners | How to Program an Arduino?
 0:20:46
Arduino Tutorial für Einsteiger: Eigene Beispielschaltung, ersten Sketch schreiben | Arduino #3
 0:01:43
Arduino Tutorial 3: What are Void Setup() and Void Loop() in Arduino ?
 0:04:34
Arduino Tutorial Italiano - Lo sketch - #3
 0:07:59
LED Arduino Tutorial #1 - Elegoo Uno R3 Basic Starter Kit
 0:36:51
Arduino Tutorial 13: Understanding Arduino If Statements
 0:24:25
Arduino Tutorial 32: Understanding and Using Joysticks in a Project
 0:40:32
Arduino Tutorial 53: Understanding and Connecting the HC-SR04 Sensor
 0:00:16
7-Segment Display Showing 3: #7segmentdisplay #electronics #diy #arduino #technology #shorts
 0:00:16
Arduino project how to make a laser electronic alarm, an amazing invention DIY
Комментарии