filmov
tv
Install Proxmox Backup server best suited for Proxmox

Показать описание
In this video, we will install the Proxmox Backup Server the best backup solution for your Proxmox infrastructure.
Instructions for this video can be found in our Blog here:
Please leave a comment here: Please tell us what you did not like or what you would like to see on our channel
Please become a Patreon of this channel and get complimentary training courses in PDF format:
Timecodes
0:00 Intro
0:40 The Proxmox Backup Server
1:06 ISO images
1:28 to install it in a VM
1:52 The server / VM specs
2:01 To get a free DNS name for your server
2:07 Free from Dynu DNS
2:19 Installing Proxmox Backup Server
2:41 Downloading the ISO image into Proxmox
3:06 Creating the Backup server VM
4:02 Use 16GB RAM for a dedicated server
4:38 The VM is now confirmed and finished
4:53 Installing the server
4:40 Accept License ULA
6:01 Set country, the timezone, and keyboard
6:41 Set Root user password, email address
6:57 Set DNS Name and static IP Address
7:45 proceed with installation
8:00 rebooting
8:05 login as root
8:12 We now see the web URL
8:26 Open Backup server in browser
8:43 We create a data storage folder
8:57 Create the Datastore
9:26 Get the Authentication Fingerprint
10:04 Integrating the backup server in Proxmox
11:21 We have integrated this to the Proxmox server
11:32 We access this in the H/A cluster
11:46 Please subscribe to our channel
 0:09:16
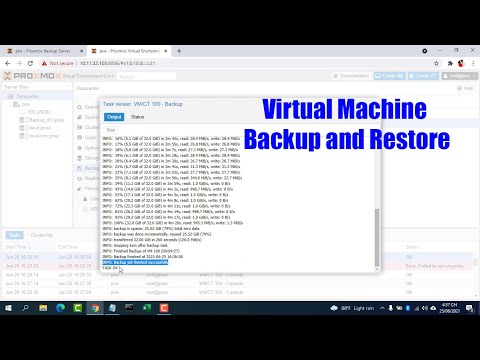
Proxmox Backup Server / Install, Configure, Backup and Restore
 0:24:48
Proxmox Backup Server Saves You Money And Time!
 0:15:29
Proxmox Backup Server Install Tutorial
 0:12:58
Install Proxmox Backup server best suited for Proxmox
 0:58:23
Proxmox Backup Server: Full Getting Started Guide!
 0:25:45
Don’t run Proxmox without these settings!
 0:43:38
Getting the most out of Proxmox Backup Server: Backing up other data, Offsite syncs, and more
 0:07:32
How to install and configure Proxmox backup server step by step
 0:25:23
How To Install Proxmox Backup Server on Your Synology NAS (Easier Than It Looks)
 0:27:11
Never Lose Data AGAIN! Level Up with the Power of Proxmox Backups
 0:13:03
Setting Up my PROXMOX Backup Server!
 0:23:04
Before I do anything on Proxmox, I do this first...
 0:21:57
How to setup PBS to backup your Proxmox VMs and Containers
 0:05:24
10 tips to get the most out of your Proxmox server
 0:18:02
3 ways to migrate your Proxmox VE server to new hardware
 0:15:23
How To Backup and Restore With Proxmox Backup Server
 0:13:01
7 Essential Steps After Proxmox 8 Installation
 0:16:52
How To Setup Proxmox Backup Server
 0:10:46
Proxmox Storage | Mount Google Drive to Proxmox
 0:19:49
How Do I Backup All My Servers???
 0:24:15
Proxmox Automation with Proxmox Helper Scripts!
 0:13:31
The Best Free Backup for EVERY Operating System
 0:20:01
Backing up TrueNAS SCALE datasets to Proxmox Backup Server
 0:16:50
Install Proxmox Backup Server 2.0
Комментарии