filmov
tv
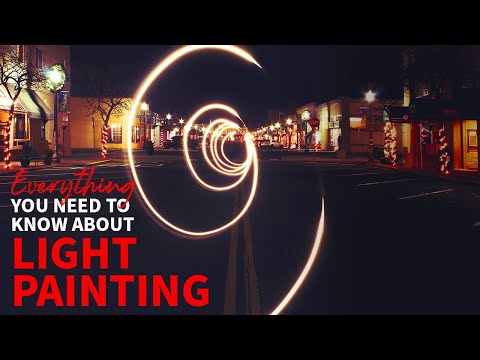
Light painting tutorial - Camera settings for creative photos - Kingston indieHACK Ep. 4

Показать описание
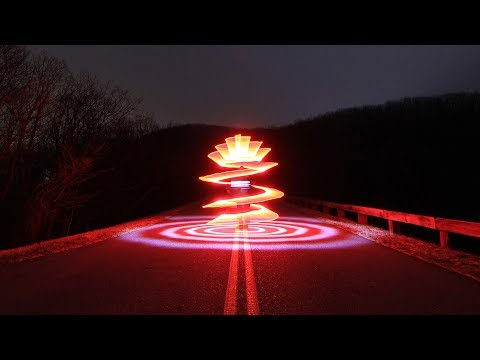
Create light painting night photography using readily available items like toys and Christmas lights. Light painting lets you create unique photographs that make a statement. Learn how to adjust your camera’s settings to take long exposures of various moving light sources for an interesting light art effect. Learn how to light paint with a string of lights, create a light orb and even learn portrait light painting.
Transcript:
This is really hard. Hi, I'm Khail Anonymous, and welcome again to Kingston's indieHACK. On today's episode of indieHACK, we'll be teaching you how to do light painting. Look, Mom, a Jedi. So, what is light painting? It's essentially a photographic technique in which you take a very long exposure photo with the moving light source or sources and it creates a cool laser effect.
It's fun, it's creative and it's actually pretty easy to set up. To get started you'll need three things. A camera, so your DSLR or even you smart phone, a mount to keep those shots steady, so a tripod or those binder clips we showed you in episode one. And lastly a light source that you can easily move around.
So a flashlight, any of these cool things, or the light from your smartphone. And don't forget to load up your camera with some reliable memory. We're gonna be using this guy today, Kingston's SDXC class 10 card, it's great for photos and HD video. Next you're gonna wanna make some changes to your camera settings.
Make sure your camera is on manual mode, and set your exposure time between 10 and 30 seconds. Next set your iSO to 100, and your F stop between f/8 and f/22. Make sure to manually focus your camera before you start shooting. Then turn off all your lights, and you're ready to go.
Now, take a picture, and during your camera's long exposure, write a word or draw a symbol or just any crazy thing that comes to your mind. Have fun, and mess around with the settings, so you can really perfect your light paint. Now that you've perfected the basics of light painting, It's time to try out some of these tricks.
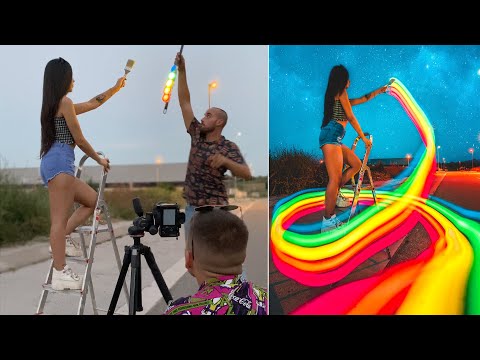
This first hack we call the string light stick. Simply get some string lights, and then something to attach it to whether it be a rod or a ruler, and then grab some tape, attach your string lights to the rod or ruler, and make sure to evenly space them out.
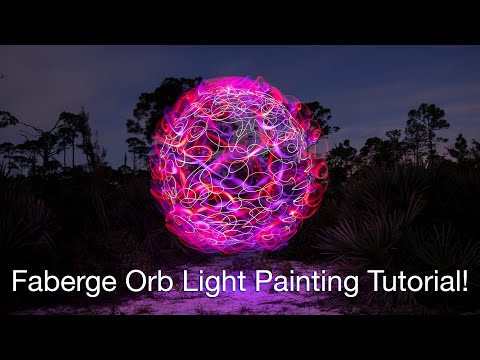
Make sure they're facing the same direction. Set up your camera, and start taking photos. It's gonna make these really cool streak patterns for you. Next up is the light or grab your string lights and tape them together in a bunch. Then find a center point on the floor by putting down a quarter or something.
Then put your hand over that point and stay in that point as you rotate around swinging your string lights. It should create a pretty cool orb effect. This next trick is called Portrait Light Painting. This all allow you to add a subject to your light painting. So you can come up with some pretty cool shots with the same setup as a basic light painting only you'll need a second light source And a friend to help you out.
Pick a subject. It could be an inanimate object, it could be your friend, and then focus on your subject before you turn out the lights. What you should get is an image with a subject surrounded by really cool light streaks. Now that you've learned all these tricks, try and combine them and make some really cool light painting photos.
So that's our episode on light painting. It's a fun and easy hack you can do with your friends and it'll make some really awesome photos. So get out there and try it out. And don't forget to subscribe to the Kingston channel for more indieHACK episodes. See you guys next time.
Transcript:
This is really hard. Hi, I'm Khail Anonymous, and welcome again to Kingston's indieHACK. On today's episode of indieHACK, we'll be teaching you how to do light painting. Look, Mom, a Jedi. So, what is light painting? It's essentially a photographic technique in which you take a very long exposure photo with the moving light source or sources and it creates a cool laser effect.
It's fun, it's creative and it's actually pretty easy to set up. To get started you'll need three things. A camera, so your DSLR or even you smart phone, a mount to keep those shots steady, so a tripod or those binder clips we showed you in episode one. And lastly a light source that you can easily move around.
So a flashlight, any of these cool things, or the light from your smartphone. And don't forget to load up your camera with some reliable memory. We're gonna be using this guy today, Kingston's SDXC class 10 card, it's great for photos and HD video. Next you're gonna wanna make some changes to your camera settings.
Make sure your camera is on manual mode, and set your exposure time between 10 and 30 seconds. Next set your iSO to 100, and your F stop between f/8 and f/22. Make sure to manually focus your camera before you start shooting. Then turn off all your lights, and you're ready to go.
Now, take a picture, and during your camera's long exposure, write a word or draw a symbol or just any crazy thing that comes to your mind. Have fun, and mess around with the settings, so you can really perfect your light paint. Now that you've perfected the basics of light painting, It's time to try out some of these tricks.
This first hack we call the string light stick. Simply get some string lights, and then something to attach it to whether it be a rod or a ruler, and then grab some tape, attach your string lights to the rod or ruler, and make sure to evenly space them out.
Make sure they're facing the same direction. Set up your camera, and start taking photos. It's gonna make these really cool streak patterns for you. Next up is the light or grab your string lights and tape them together in a bunch. Then find a center point on the floor by putting down a quarter or something.
Then put your hand over that point and stay in that point as you rotate around swinging your string lights. It should create a pretty cool orb effect. This next trick is called Portrait Light Painting. This all allow you to add a subject to your light painting. So you can come up with some pretty cool shots with the same setup as a basic light painting only you'll need a second light source And a friend to help you out.
Pick a subject. It could be an inanimate object, it could be your friend, and then focus on your subject before you turn out the lights. What you should get is an image with a subject surrounded by really cool light streaks. Now that you've learned all these tricks, try and combine them and make some really cool light painting photos.
So that's our episode on light painting. It's a fun and easy hack you can do with your friends and it'll make some really awesome photos. So get out there and try it out. And don't forget to subscribe to the Kingston channel for more indieHACK episodes. See you guys next time.
 0:02:07
Learn How to Light Paint in 2 Minutes!
 0:09:02
Light Painting Setup and Tutorial
 0:03:37
Learn How to Light Paint with ANY Camera in 4 Minutes!
 0:03:44
Light painting tutorial - Camera settings for creative photos - Kingston indieHACK Ep. 4
 0:04:36
10 LIGHT PAINTING PHOTOGRAPHY IDEAS ( tutorial )
 0:08:47
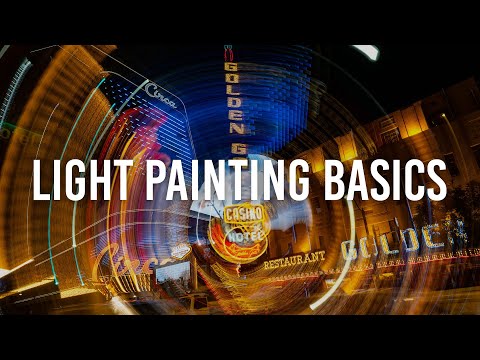
Light Painting Basics: What You NEED to Know Before You Start
 0:01:12
Painting with light - quick tips - Canon
 0:06:54
Light Painting Photography Tutorial - How To Light Paint a Faberge Orb!
 0:16:57
GAME CHANGER! Unbelievable Ocean Wave Art ~ Thin Paint ~ Pour Painting Tutorial
 0:13:08
Painting With Light For Beginners
 0:09:37
How To Light Paint - Light Painting Photography Tutorial
 0:03:05
Light painting setup
 0:00:31
Long Exposure iPhone Photography | Light Painting
 0:06:03
Kinetic Light Painting Photography Tutorial by Jason Rinehart
 0:03:12
Your own Video Light Painting in 3min
 0:00:58
Light Painting with ProShot
 0:07:35
How To Focus In The Dark, Light Painting Photography Tutorial
 0:04:32
Light Painting Tutorial, How To Light Paint A Spiral
 0:09:24
Light Painting Portrait Tutorial
 0:07:38
How To Light Paint With a Cell Phone Camera, Light Painting Photography Tutorial
 0:12:18
How to Create a Dramatic Effect in Your Landscape Photography by Using Light Painting
 0:01:53
How to make a light painting
 0:07:01
Light Painting Tutorial, Spirographs
 0:28:44
Light Painting Magic - Complete from start to finish including editing.
Комментарии