filmov
tv
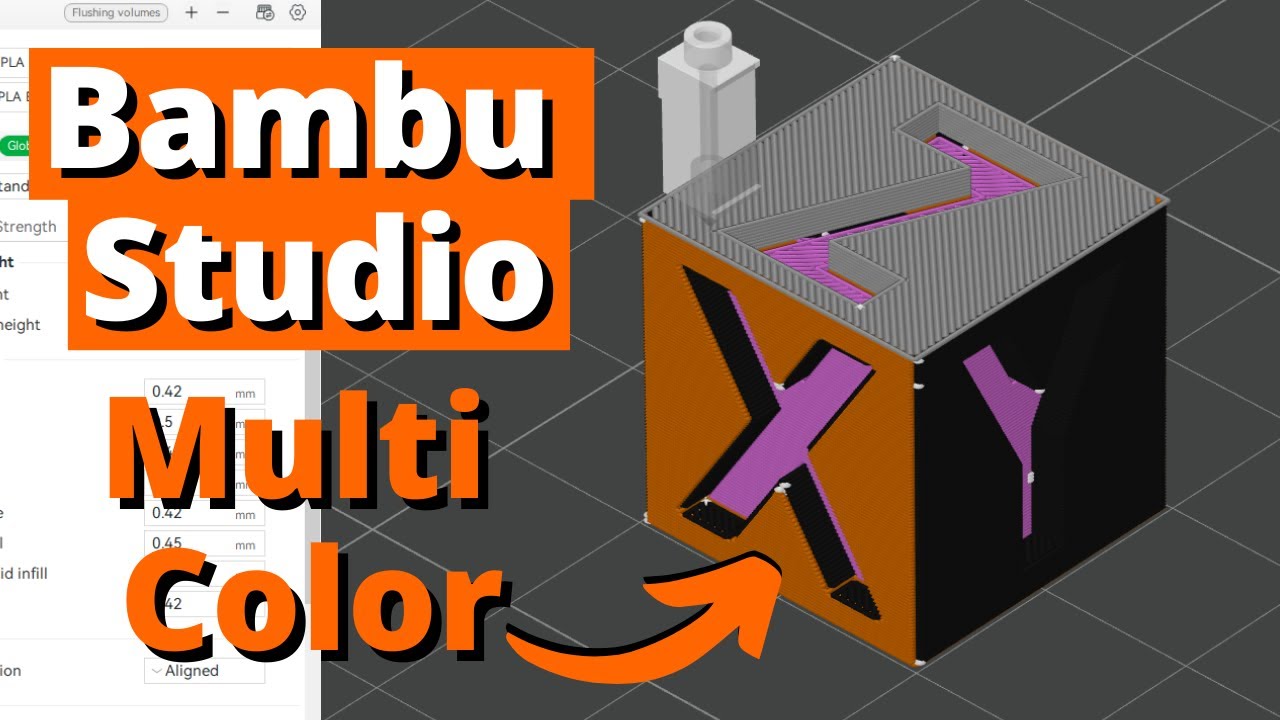
Quick Guide to Multi-color Printing in Bambu Studio
Показать описание
🟢 Bambu Labs 2nd Anniversary Sale
Auto-bed leveling so you don’t need to babysit the printer when you start a print which means you can spend more time designing new parts
500mm/s top speed so you can shave hours off of your print times which means you can churn out parts faster
PEI spring steel build plate so your prints stick to the build plate while printing and come off effortlessly once cooled which means you don’t have to worry about print failures due to build plate adhesion
Fully enclosed for those filaments that require higher ambient temps while printing which means you won't have the same warping you experienced before
------------------------------------------------------------------------------------------
Automatic color swaps for multi-color printing which means you can skip painting and have an end use part
Automatic material changes for support interfaces which means painless support removal
No more manual swapping of spools at the beginning of every print, load in your 4 favorite filaments and select the right one from the slicing software
------------------------------------------------------------------------------------------
------------------------------------------------------------------------------------------
Quick look at multi-color printing in Bambu Studio slicer from Bambu Labs.
Using Babmu Studio V1.4.2.13
Bambu Lab Official Wikis:
Let me know if you'd like a video going deeper into any of the features mentioned in the video.
--------------------------------------------------------------------
🟢 BAMBU LAB 3D PRINTERS
--------------------------------------------------------------------
About Bambu Lab: "Bambu Lab is a consumer tech company focusing on desktop 3D printers. Starting with the X1 series, Bambu Lab builds state-of-the-art 3D printers that break the barriers between the digital and physical worlds, bringing creativity to a whole new level. "
*Some links are affiliate links. I earn from qualifying purchases at no extra cost to you. Help support the channel by making purchases through the links above.
 0:07:40
Quick Guide to Multi-color Printing in Bambu Studio
 0:05:28
Quick Guide to Bambu Multi-color Printing with Fusion 360!
 0:02:14
BamBu Lab Stuido Color by layer height
 0:06:19
Single Layer Multicolor 3D Prints // Fusion360 & AMS Tutorial
 0:01:22
Z9V5 Gradient Color Printing Feature Use Guide
 0:30:49
3D PRINTING 101: The ULTIMATE Beginner’s Guide
 0:17:28
The 5 Filament Types You Need to Know (And What They're Good For)
 0:02:14
3d Print in Two Colors with One File in Cura
 0:05:23
Unlock the Magic of 3D Printing: Creality Cloud App Features & Quick Tutorial! 🎨✨#Creality Cloud...
 0:06:27
How to Use the BambuLab AMS
 0:03:53
How to make flat multicolor coasters // Bambu Lab X1 3D Printer & AMS
 0:05:15
5 Big Mistakes Beginners Make with Resin 3D Printing
 0:01:59
Blender Model to 3D Print - Quick Guide
 0:08:09
3d Printing Made Easy: Beginner's Guide For 2024 - My Top 6 Printers
 0:08:35
BambuLab Slicer for Beginners
 0:19:18
Learn Blender for 3D Printing - Complete Quick and Easy Guide (Beginner)
 0:11:40
3D Printing 101: The Ultimate Beginner's Guide to Finding Your Perfect Printer!
 0:28:22
Ultimate Guide to 3D printing
 0:15:28
Cura For Beginners! - 2023 - Beginner's guide to Cura
 0:16:03
How to Start Your First Resin 3D Print: The Absolute Beginners Guide!
 0:20:08
How to Print Perfect Miniatures - Resin 3D Printing BEGINNER GUIDE - Step by Step
 0:09:28
Beginners Guide to 3D Printing in 2024
 0:00:58
How to design things for 3d printing using Blender in 60 seconds. #shorts
 0:09:02
Beginners Guide To 3D Printing In 2024
Комментарии