filmov
tv
Import Vray Proxies WITH MATERIALS - Vray 3.6 for SketchUp Tutorial

Показать описание
Learn to import Vray proxies into SketchUp models and how to import the materials associated with those proxies as well!
MY YOUTUBE SETUP
Check Us Out on -
Disclaimers: all opinions are my own, sponsors are acknowledged. Product Links in the description are typically affiliate links that let you help support the channel at no extra cost.
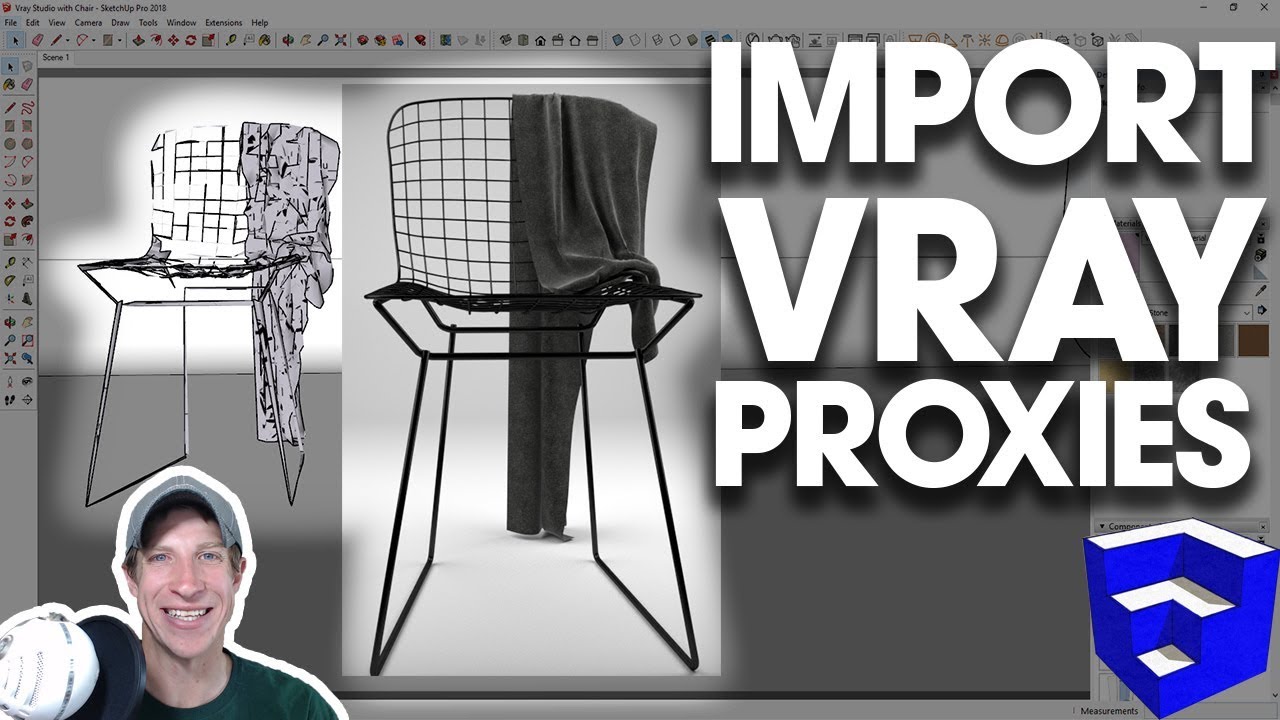
Last week, we talked about how to use Vray proxies to use high polygon, realistic models in your renderings without slowing down your SketchUp models.
This week, I want to talk about how to save those proxies and import them into a separate SketchUp model.
To start off, 3D Warehouse model credit for this model goes to Daka Design, who has a great collection of render ready models on their page in the 3D warehouse. This model in particular is the Wire Frame Chair. I’ve linked to their page and to this model in the notes down below.
You can see when I do an interactive render of this chair, it looks really good without needing much tweaking. Now, let’s export this model as a proxy.
To do this, select your model, then go into the “Vray Objects” toolbar and select the option for “Export Proxy.” Select a location for this file, then pick a preview type. In my case, I’m going to leave this as “Refined Clustering,” and drag my faces in preview option down to something like 5000. Make sure the option for “Replace object with proxy” is selected, then click export.
Your chair has been replaced with a much more lightweight proxy model. If you were to click the interactive render button, you can see that the actual model still gets rendered within Vray.
Before we try to import our proxy into a different file, let’s take a look at our materials list. You’ll notice after you export your proxy, there’s a multiple material group contained in your materials list. If you click on this, you’ll note that it has materials included for all the materials that contained in your proxy.
We’re going to need to save a copy of this multi-material group. To do this, simply click on the save button at the bottom of the page and save this file to a location of your choosing.
Now, let’s open up another model and try to import our proxy. To do this, click the import proxy button in your Vray Objects menu. This will bring your proxy into your new model. However, if we were to run an interactive render, you’ll notice that your materials did not get brought in with the proxy model, which is why we had to save them from our other model.
We’re going to need to import our materials into this model so that it renders correctly. To do this, first we need to import the material group that we saved by clicking the “import VRMAT file” button at the bottom of the list. Navigate to the file you saved and click the “Open” button.
This will bring in the multi material group that you saved into Vray. Now, we need to apply it to our chair. When you first brought your chair in, it should have created a multi material group for the materials within your proxy, as well as materials for each individual material.
Комментарии
 0:09:11
 0:03:16
 0:04:16
 0:05:29
 0:07:59
 0:10:04
 0:02:11
 0:01:17
 0:08:00
 0:02:43
 0:01:01
 0:02:18
 0:01:54
 0:01:37
 0:02:28
 0:05:08
 0:24:17
 0:05:13
 0:03:55
 0:06:24
 0:02:17
 0:01:48
 0:13:52
![[Open L] Vray](https://i.ytimg.com/vi/-YZRUPP8k-M/hqdefault.jpg) 0:04:45
0:04:45