filmov
tv
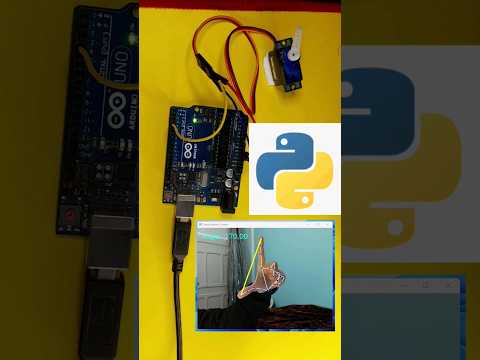
Using an Arduino with Python LESSON 13: Understanding Parametric Design

Показать описание
In this video we show how to model a 3D LED using parametric modeling. This is a really important design methodology, and will be used in our upcoming 3D CAD class. I will discuss important aspects of parametric design and will give a vpython homework assignment where you will develop a vpython simulation using parametric methodology. In this class, we will be using an Elegoo Super Starter Kit, available below (affiliate link):
With this kit, we will will both be working on the same hardware which will make your life and my life easier.
You guys can help me out over at Patreon, and that will help me keep my gear updated, and help me keep this quality content coming:
#Python
#Tutorial
#Arduino
With this kit, we will will both be working on the same hardware which will make your life and my life easier.
You guys can help me out over at Patreon, and that will help me keep my gear updated, and help me keep this quality content coming:
#Python
#Tutorial
#Arduino
 0:16:50
How to Connect and Control an Arduino From Python!
 0:00:16
Gesture-Controlled Servo with Python and Arduino #electronics #arduinotraining
 0:09:41
Unlock Arduino's Power with Python | Step-by-Step Guide
 0:06:25
Python Programming for Arduino
 0:35:23
Control Arduino with Python using Firmata / PyFirmata
 0:08:32
How to Send Commands to an Arduino from a Python Script
 0:00:11
Gesture-Controlled bulb with Python , Arduino
 0:02:22
Arduino in 100 Seconds
 0:06:21
Getting Started With ARDUINO UNO With Python Language | All In One Code
 0:00:11
openCV python aimbot with Arduino based laser turret
 0:00:18
Simple Arduino & Python Projects 👀🧑🏻💻💫 | #arduino #python #opencv #electronic #computervision...
 0:10:56
Using an Arduino with Python LESSON 1: Introduction, Prerequisites and Class Gear
 0:06:42
How to controll LED Using Python & Arduino | OpenCV Python || Arduino Projects
 0:03:44
'Hello World' With Arduino (Python Setup Prep)
 0:00:06
Control Light with Python programming & Arduino: Gesture Magic! 💡🤖
 0:05:02
Arduino-Python Serial Communication via Pyserial Module
 0:00:21
Python arduino servo motor control
 0:00:16
yes guys Jarvis control this bulb 🧑💻 | #shorts #python #arduino
 0:31:11
Using an Arduino with Python LESSON 10: Passing Data from Python to Arduino
 0:00:19
Gesture control Home light using Arduino #arduino #servo #viral #technology #python
 0:14:51
How to read any sensor using only Arduino and Python
 2:05:07
Computer Vision With Arduino | 2 Hour Course | OpenCV Python
 0:07:33
How to process Arduino data in Python
 0:00:30
Amazing Experiment with Arduino Nano | Flappy Bird Game #diyprojects #arduino #3dprinting #tech
Комментарии