filmov
tv
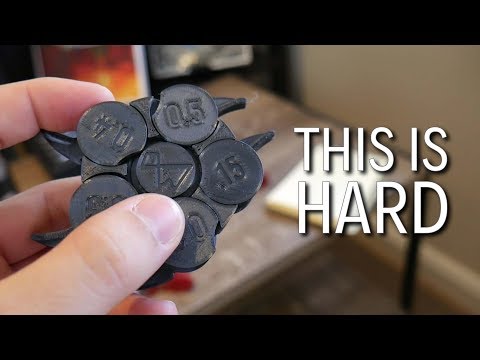
The Print Tests: Cheap 3D Printer Nozzles. Can *YOU* tell?

Показать описание
Today we test out those cheap 3D Printer nozzles we were looking at in Episode 1. How did they perform?
Some aff links to the products mentioned:
I bought both those two off amazon. I think theyre literally all the same though across the internet. The red one is the best for starting.
second channel - @foundintech
Chapters
0:00 Intro
0:29 Nozzle sequence
2:03 Initial Conditions
2:51 The Question?
3:27 Quality Tests
4:00 Oddly Placed Music Sequence
4:46 The Quiz
7:21 Quality Results
7:48 Other Sizes?
7:59 How do you measure a nozzle?
8:51 You need gear.
10:23 Nozzle Orifice Variance
11:59 Faulty Nozzles Tho?
12:36 Wear, tear and bedding in
13:35 Slow Mo, Oh no!
15:08 Play Dohn't
16:17 Damage Tests
16:44 PCBWay made this possible
18:58 Damage Results
22:14 Worn not Worn?
22:57 Sum up.
 0:12:32
I Bought the 5 Cheapest 3D Printers on Amazon
 0:00:25
Testing Cheap vs. Expensive 3D Printer!
 0:00:58
3D Printed Torture Toaster - Ender 5 S1 Testing
 0:00:58
First Tests for any 3D Printer ⛵
 0:00:18
I tested cheap 💰 vs expensive 💰💰💰 printers!
 0:00:24
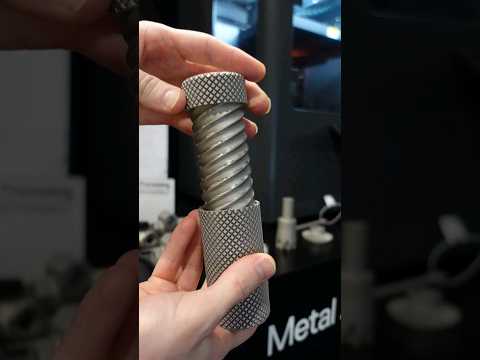
$150,000 Metal 3D Printer 🤯 #3dprinter #3dprinting #shorts
 0:12:56
The 3D Printer I'd buy if I started over
 0:08:10
How bad is a $95 3D Printer??
 0:09:39
NEW Bambu Lab H2D Combo - Pro 3D Printer Unboxing, Setup & First Test Print! #bambulab
 0:17:18
We Test $300 vs $300,000 3D Printer
 0:00:22
A Hassle-Free 3D Printer
 0:00:36
Best beginner 3D printer
 0:00:58
Creality K1 Torture Toaster Time 🍞
 0:00:15
The Best 3D Printed Shoes #shorts
 0:22:42
I bought the cheapest 3D printer on AliExpress!
 0:00:29
3D printed dragon flight test
 0:00:28
Creality CR-30: The INFINITE 3D printer!
 0:00:29
Should YOU Buy a 3D Printer?!?!?
 0:00:10
$100 3D Printer - The Ender 3
 0:00:30
Will A 3D Printed Quarter Work In A Gumball Machine? #shorts
 0:04:20
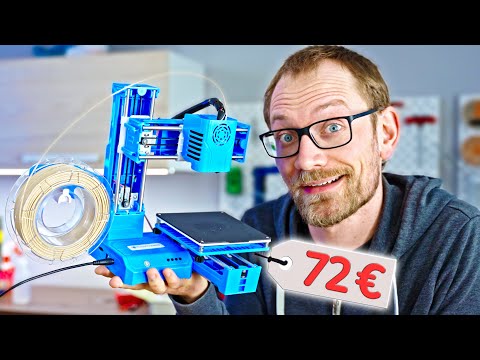
How bad is a $69 3D Printer?
 0:04:59
Test your 3D Printer's Clearance and Tolerance
 0:00:09
STOP using PLA for 3D printing #shorts
 0:00:45
Should you get a Resin 3d printer or filament resin printer? Anycubic Photon Mono X2
Комментарии