filmov
tv
Reducing Noise with Smart Objects in Photoshop

Показать описание
In this video I share a quick tip on how to utilize the power of smart objects to add noise reduction only to the areas of a photo that need it, inside photoshop.
 0:09:21
Reducing Noise with Smart Objects in Photoshop
 0:00:37
Noise Reduction through Image Stacking
 0:06:04
WRONG Settings That Make Smart Objects Pixelate! - Photoshop Tutorial
 0:06:29
Cleaning Up the Noise with Smart Objects in Photoshop
 0:01:11
Smart Way to Remove Noise from Photos in Photoshop
 0:08:41
💥 DOING THIS will REDUCE NOISE in your pictures: CLEVER feature in Photoshop 👊
 0:07:57
Actually DELETE THE NOISE with 'Mean' in Photoshop!
 0:08:52
Landscape Astrophotography Noise Reduction with Image Stacking in Photoshop CC or CS6 Extended
 0:09:37
Don't let this hidden setting RUIN your RAW smart objects
 0:10:40
Median Noise Reduction
 0:03:26
Photoshop CC -- how to add Noise effects and smart objects tutorial
 0:00:15
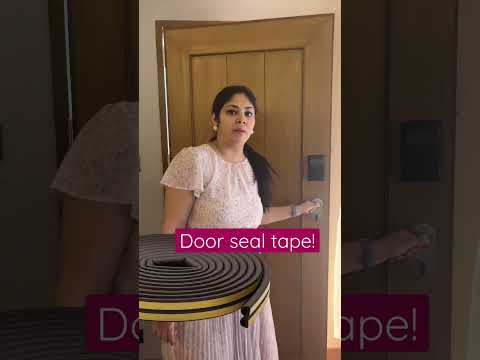
Door seal tape for sound proofing doors! #interiordesign #coloraza #shorts #homehacks #homedecor
 0:00:21
How to Reduce Noise in Photoshop | Actually DELETE THE NOISE with 'Mean' in Photoshop!
 0:00:54
Remove ALL Background Noise with One Click! #Shorts
 0:07:21
3 Kinds of Smart Objects
 0:15:23
BEST AI Noise Reduction for JPEGs (Lightroom + Topaz Photo AI)
 0:30:35
Compositing Made Simple with Smart Objects in Photoshop
 0:36:40
Topaz DeNoise AI v2.2.7: The Ultimate Raw Smart Object Workflow
 0:03:50
ADOBE PHOTOSHOP CC Smart Object Stack Mode | Kunal Kaushik
 0:06:06
Photoshop Tutorial - Smart Objects
 0:02:05
Sharpening in Photoshop | Smart Object Method
 0:14:01
Smart Objects for Portraits - Photoshop Tutorial
 0:00:22
How To Remove Objects in Photoshop 2023 #shorts
 0:05:20
Noise Remove I Photoshop Tutorial I Mr Design 1995
Комментарии