filmov
tv
DIY Bumper Crack Repair
Показать описание
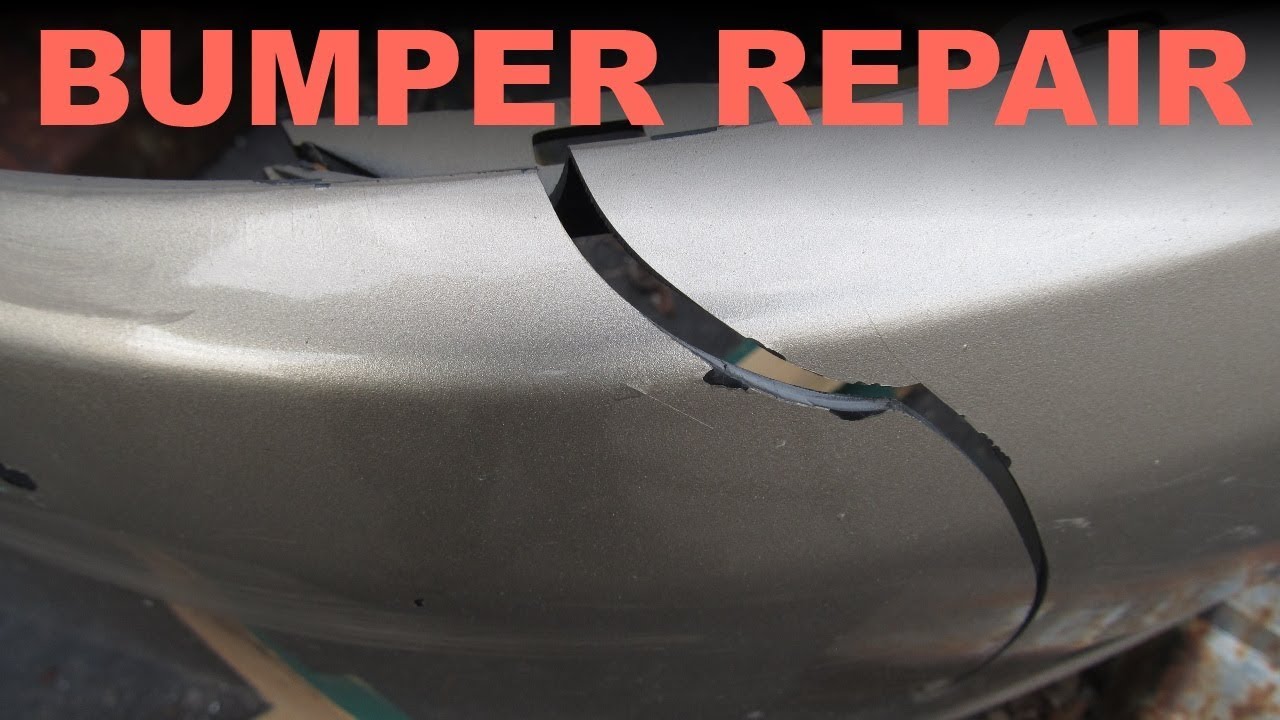
Here's how to repair a crack in a plastic bumper.
Cracked bumpers are common on many vehicles that frequent shopping malls drive on rural roads. Often times a replacement is not warranted due to high cost or low quality replacements.
This video demonstrates how you can fix your cracked bumper by yourself at home, with supplies you can get from any auto-parts store.
First, a V-groove is grinded into the back of the crack to increase the surface area for the epoxy adhesion. The crack is then sanded and cleaned.
The top of the crack was secured with a clamp and the front of the crack was held together with tape. JB-Weld Plastic Bonder was then used to fill in the crack from behind. Drywall tape was used as a reinforcement and the setup was allowed to cure overnight.
After the 2-part epoxy is dried, it will be rock hard. From the front, the crack should now be much less visible if it was aligned properly.
Sand the front of the bumper around the damaged area. Use plastic auto-body filler to fill in the cracks, and progressively sand the filler off before applying primer.
Use some rubbing alcohol, paint thinner or acetone to clean the surface before applying primer. The primer was then wetsanded before paint was applied.
The paint was ordered in a spray can from CarQuest and mixed according to the paint code. The color match is very close, just slightly darker due to the 12 year old oxidized paint, and there is a decent pearl that shines back in the sunlight.
Two thin layers are applied then allowed to dry for a few hours before handling. The bumper can then be replaced on the vehicle and fasteners reattached. Wait a few days for the paint to fully cure before applying polish and wax.
Now stand back and enjoy your repaired bumper. The whole process shouldn't take more than a day if you factor in drying time.
This video is an excellent tutorial to follow:
Get ALL the items needed to REPAIR your bumper here!
Check out the speedkar99 Facebook page:
Follow me on Instagram:
Subscribe for more videos just like this:
 0:04:06
DIY Bumper Crack Repair
 0:08:11
Bumper DIY Crack Repair. Fix all types!
 0:19:51
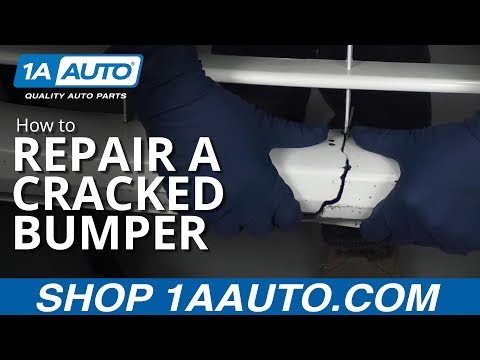
How to Repair a Cracked Bumper
 0:16:22
DIY Bumper Repair
 0:47:01
HOW TO REPAIR CRACKED BUMPER
 0:08:48
Fix a Cracked Bumper Fast and Easy with Zip Ties (Drifters' Stitch)
 0:05:39
How to Fix Your Bumper - The Easy Way
 0:00:27
How to Fix Cracks On Your Car 2021
 0:16:08
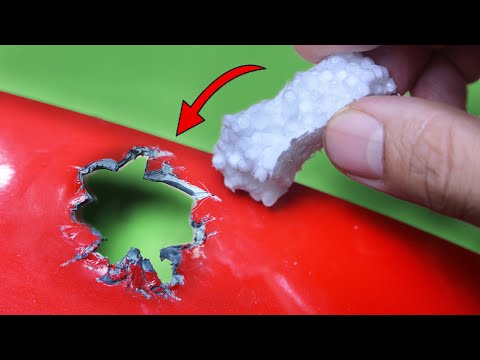
How to Easily Fix Cracks by Plastic Welding!
 0:03:18
Fix a bumper with the Bondo® Bumper Repair Kit
 0:03:14
Proper Repair of Crack or Tear on Plastic Bumper Products
 0:17:34
how to repair a crack in a plastic bumper
 0:08:03
Car Bumper Repair by Yourself at Home !
 0:19:20
How to Fix Cracked Bumper Cover . Amazing Results
 0:08:59
Easy Way To Repair Plastic Bumper That Not Many People Know
 0:05:58
Bumper repair without removal
 0:05:16
Ingenious Method! Fix All Plastic Parts Using Cable Ties
 0:17:21
How to Fix Cracks in Plastic Using a Hot Stapler
 0:03:09
Car Bumper repair by old school way
 0:07:39
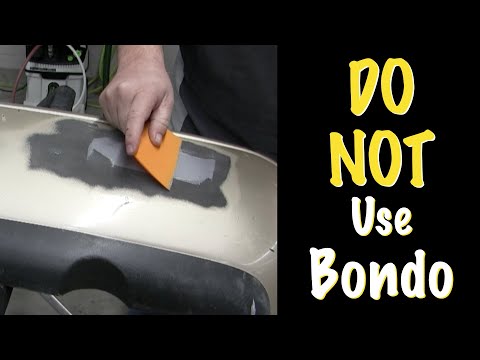
How To Fill Low Areas on Bumper Cover Don't Use Bondo on Plastic
 0:04:00
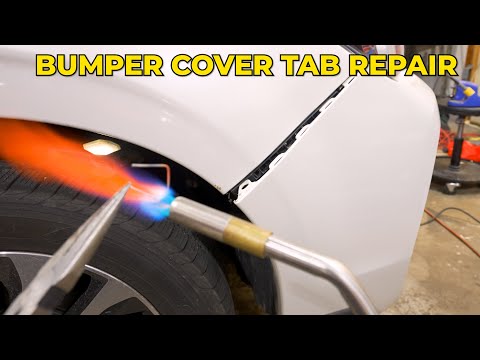
How to fix broken bumper cover tab with paper clip and heat.
 0:13:02
How to Repair a Cracked Bumper on a Mini
 0:04:00
Ingenious way to repair broken plastic
 0:02:40
Genius Idea! Fix Cracks on the Bumper With Plastic Welding Method
Комментарии