filmov
tv
Adaptive purge for every 3D printer: A simple slicer tweak

Показать описание
I like KAMP adaptive purging so much that I wish I could use it with every 3D printer, not just those running Klipper. In this video, I achieve just that, using slicer variables to create adaptive purge lines next to the print. This guide explains the process and has multiple examples to customise.
Thanks to kyleisah and the other KAMP contributors for their excellent work.
0:00 Introduction
0:43 What is a purge line?
2:53 What is KAMP adaptive purge and why is it better?
5:39 Recreating adaptive purging with slicer variables
9:13 Adaptive purge in action
10:07 Customisation
11:06 Conclusion
Get Quality Resins from 3D Printers Online. 5% off storewide for Teaching Tech subscribers [Code: tech5]
Take a look around and if you like what you see, please subscribe.
 0:11:45
Adaptive purge for every 3D printer: A simple slicer tweak
 0:12:31
Klipper Adaptive Purge Tutorial: A Guide for Orcaslicer
 0:08:15
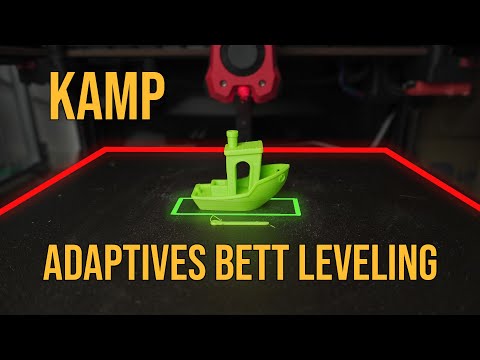
The FUTURE Of 3D Printer Mesh Bed Leveling (KAMP)
 0:08:30
Do you need the Prime Tower / Purge Tower? (Multicolor 3D Printing)
 0:06:07
Native Adaptive Bed Meshing In Klipper Is Here
 0:08:34
Banish Bambu A1 Purge Waste with these 5 Tips.
 0:13:47
Klipper adaptive meshing and purging
 0:12:19
Zukunft des Bett-Levelings - KAMP Klipper 3D Drucker
 0:17:15
Voron 2.4 Step By Step Part 21 Adaptive Meshing and Purging
 0:07:34
The ONE GAME-CHANGING Slicer SETTING... (Huge 3D Print Quality BOOST)
 0:03:15
Fix the Top Layers of Spheres in Bambu Studios
 0:00:34
Ender 3v2 klipper firmware with Kamp and voron adaptive purge
 0:07:54
How To Edit KAMP Locked Files | Creality K1 Max
 0:17:00
The 10 Upgrades I Install on EVERY Klipper 3D Printer
 0:16:50
How to Install and Configure Klipper's Exclude Object & Adaptive Mesh to Work with CURA
 0:04:12
How to avoid 3D prints that look like THIS in Bambu Studio
 0:11:51
Tuning Material Flow For Best Quality 3d Prints (OrcaSlicer)
 0:02:55
Stratasys F Series Purge Trick
 0:00:27
3d Printer purge line #2 - 3d Printing #shorts #nozzlecam
 0:15:45
This one setting will take your 3d prints to the NEXT LEVEL!
 0:11:02
Use Cura's Adaptive Layers To Increase Quality, Not Print Time
![[Outdated] Nie wieder](https://i.ytimg.com/vi/vuDfx9PAlfw/hqdefault.jpg) 0:23:34
0:23:34
[Outdated] Nie wieder Fehldrucke mit deinem 3D Drucker! Mit KAMP zum perfekten First Layer!
 0:05:39
More Klipper Macros to Boost Your 3D Printing Experience!
 0:08:26
Creality Ender 3 V2 - Simple Tips for Super Clean 3D Prints
Комментарии