filmov
tv
#92 Arduino C++ - Lesson 4 Controlling digital pins with digitalWrite()

Показать описание
Lesson 4 explains how to use pinMode() and digitalWrite() to control outputs.
This is combined with the timing code from lesson 3.
For more information, code and circuit diagram visit
This is combined with the timing code from lesson 3.
For more information, code and circuit diagram visit
 0:39:32
#92 Arduino C++ - Lesson 4 Controlling digital pins with digitalWrite()
 0:12:54
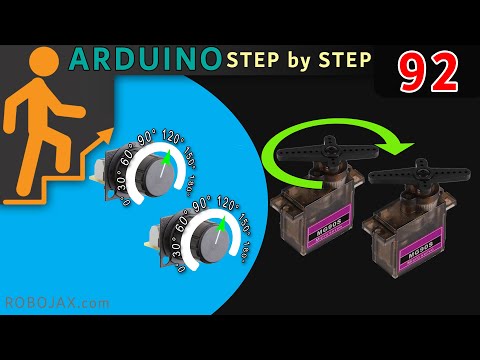
Lesson 92: Controlling Multiple servo each with potentiometer| Arduino Step By Step Course
 0:00:11
C++ Arduino 7 Segment
 0:03:54
Learn Arduino Programming with Applications - All In One Course | C# and Arduino Comm. Application
 4:04:22
Arduino Course for Beginners - Open-Source Electronics Platform
 0:08:43
2. Learning to code C/C++ with Arduino: Arduino Create
 0:10:12
Lesson 20 – Arduino C;C++ Int Void Data Types
 0:06:50
Arduino - How to Split a Program Into Different Files
 0:00:44
Motors | Embedded C | Dronebot workshop | How to Make Fingerprint Door Lock | Arduino Project
 0:02:59
How to use Bit Wise AND Operator in Arduino
 0:22:33
Arduino Tutorial 92: controler un servomoteur avec map
 0:00:52
RFID for 3D printing (Part 1) #3dprinting #rfid #bambulab #polarfilament #arduino #opensource
 0:09:58
ARDUINO FUNCTIONS AND SCOPES - Arduino programming theory #3
 0:33:26
How to Code Arduino: Beginner's Tutorial
 0:04:02
How to Delete and Substitue a part of String in Arduino
 0:11:36
Learn Arduino basics in 10 minute !!
 1:42:37
Getting started with Arduino - Lesson 2 - Solutions to challenges and IO Expansion.
 0:00:26
Greatest Common Divisor (GCD) #coding #javascript #programming #python #clanguage #vscode #arduino
 0:04:40
Arduino Macros
 0:03:28
How to use 1D Array in Arduino
 0:05:25
How to use If statement in Arduino
 0:02:43
How to use Bit Wise XOR operator in Arduino
 0:02:47
How to use Bit Wise OR Operator in Arduino
 0:05:28
Multi Color LED Interfacing with Arduino | Tutorial 20 #programming #arduino
Комментарии