filmov
tv
How to - Replace Trailer Wheel Bearings // Supercheap Auto

Показать описание
---------
---------
Watch our latest and greatest television ads, check the latest race results, how to videos, product videos or check your driving CARMA.
 0:00:46
Replacing 16' trailer boards (No welding)
 0:04:45
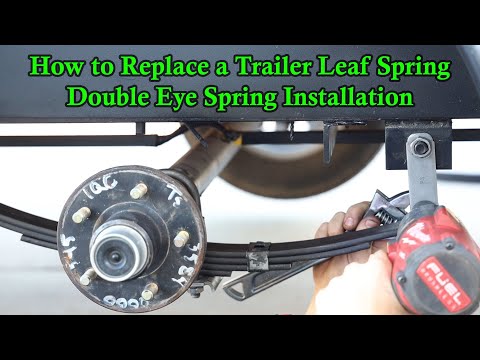
How to Replace a Trailer Leaf Spring | Double Eye Spring Installation
 0:03:08
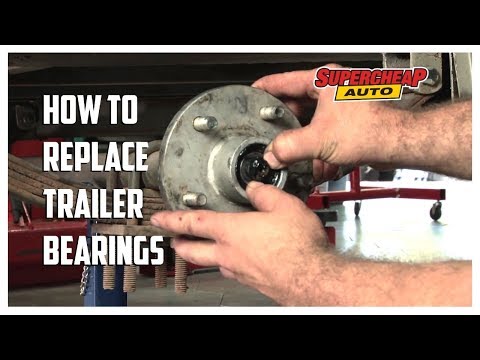
How to - Replace Trailer Wheel Bearings // Supercheap Auto
 0:09:07
How to Replace Trailer Wheel Bearings
 0:04:42
How to Replace Trailer Boards on a 16 Foot Trailer
 0:06:59
How to Replace Trailer Deck Boards (Without Cutting Welds)
 0:07:32
How to Replace a Trailer Hub Quick and Easy
 0:18:35
How To Replace Trailer Wheel Bearing (START to FINISH) | How To Set and Repack Wheel Bearings
 0:02:21
FS25 GAMEPLAY Trailer / With Tornado ! / No Commentary
 0:12:31
How to Replace Trailer Axle
 0:04:26
Replacing Trailer Bearings
 0:37:38
How to replace or upgrade a boat or utility trailer axle.
 0:08:59
How To Replace Boat Trailer Coupler Latch - Quick & Easy Installation - Tow Hitch Repair
 0:12:15
How to replace a trailer axle
 0:02:45
How to Replace Boat Trailer Leaf Springs - Single Axle Boat Trailer | Step-by-Step Guide
 0:02:45
How to Restore and Replace Your Trailer Bunks | PowerBoat TV DIY
 0:00:18
Trailer wheel bearing replacement
 0:08:22
How to replace your boat trailer wiring and lights..The easy Way
 0:04:00
Trailer Winch Strap Replacement // Correct Installation Easy
 0:07:34
How To Repair or Replace 4-Wire Flat Trailer Wiring Connector Harness
 0:05:02
How to replace boat trailer bunk boards
 0:13:31
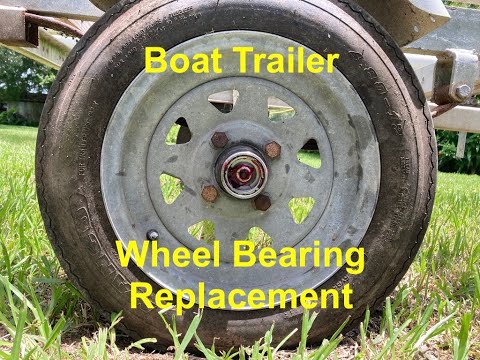
Boat Trailer Wheel Bearing Replacement
 0:11:39
Replacing your Boat Trailer Bearings (Step by Step Instructions)
 0:06:40
Timken Tricks of the Trade: Trailer Wheel Bearing Maintenance
Комментарии