filmov
tv
Raspberry Pi LESSON 69: Controlling an RGB LED with RFID Tags and Modules

Показать описание
Announcing the Most Awesome Raspberry Pi Lessons of All Times! This time we RUMBLE!
In this class series, we will be using the most excellent Sunfounder Ultimate Raspberry Pi kit, available here: (Affiliate Link)
In today's video I will show you how to add an RFID module to your Raspberry Pi projects. I will demonstrate the concepts by controlling an RGB LED using RFID tags.
If you want to grab those cool little straight jumper wires I am using to keep my breadboard builds neat and clean you can snag a box of them here:
If you guys are interested in the oscilloscope I am using, you can pick one up here (affiliate link):
You guys get your hardware ordered so you can follow along at home!
You will also need a Raspberry Pi. I suggest the Raspberry Pi 4. If you do not already have one, this is the most suitable gear I could find:
The Raspberry Pi's are sort of pricy right now, so you can look on ebay or elsewhere to see if there are any deals. You will need a SD card. If you do not already have one, this is a good one:
I like using a wireless keyboard and mouse to have fewer wires. You can certainly use your USB keyboard and mouse, but if you want a nice wireless one, this one works on the pi. We demonstrate this by using a button switch to control a LED.
You guys can help me out over at Patreon, and that will help me keep my gear updated, and help me keep this quality content coming:
#rfid
# MFRC522
#raspberrypi
 0:51:39
Raspberry Pi LESSON 69: Controlling an RGB LED with RFID Tags and Modules
 0:08:18
Control ANY Grow Light With AC Infinity Controller 69! 3 Ways!
 0:01:00
Lego Technic Automatic Candle snuffer #Shorts
 0:12:50
Pi news 69. Top tips for getting a Pi. 50 best 3D printed cases.
 0:00:16
Do you want to better your life? #philippines #angelescity #expat #pampanga #travelvlog
 0:32:07
Raspberry Pi LESSON 68: Using the MFRC522 RFID Module and Tag on Raspberry Pi
 0:00:21
How I Play Games in 2022!! Modern CRT Gaming!
 0:00:34
Controlling an LED-strip / -ring with Raspberry Pi
 0:00:51
Controlling a one-meter LED-strip with Raspberry Pi
 0:00:41
Waveshare 1.69inch LCD Module 240×280 Resolution SPI Interface, IPS, 262K Colors, for Raspberry Pi.....
 0:00:20
Extreme gaming setup: 3x Odyssey ARK 55'
 0:37:18
Know How... 69: Choosing your Podcasting Camera and Building a Raspberry Pi MAME Part 2
 0:00:44
Driving LED Circuit with Raspberry Pi
 0:15:41
Raspberry Pi PICO | Starting With MicroPython + Examples | I2C OLED, ADC, PWM
 0:00:32
Colossalcon Fallout Nuka Cola power armor
 0:01:00
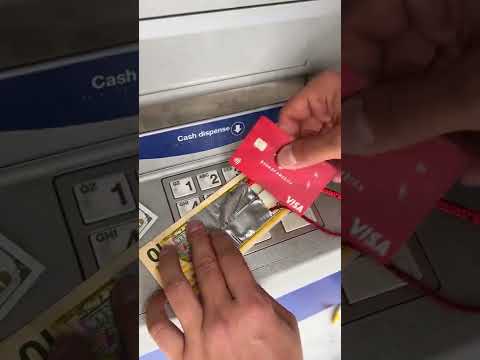
He made a trick in the atm #shorts
 0:01:26
Sense Hat Raspberry Pi
 0:00:13
I broke my PS5 controller because of my step sis #shorts
 0:00:12
2023 Tesla MODEL Y Performance ⚠️ BUT Did You See… 🤤😘 #Shorts #Short #Tesla #teslamodely
 0:27:18
Raspberry Pi 3 (Complete System) Tutorial Video Updated 4-26-20
 0:14:33
Scaling the PiKVM - Using the Raspberry Pi PiKVM with Multiple Machines
 0:00:57
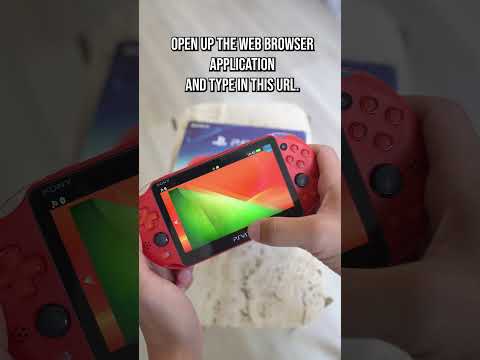
How to mod a PS Vita in 60 Seconds!!
 0:00:17
Connecting RC Servos to a Raspberry Pi
 0:00:53
Hot off the Print Bed Episode 2
Комментарии