filmov
tv
How to use probing in Mach3 || Tool length offset sensor

Показать описание
Tool Auto Zero Script:
Probing Wizzard:
xBox 360 Plugin:
My test file:
Titel:
Uniquelymade Timeline1_diff Ending
Writer:
Clint Barnes
Probing Wizzard:
xBox 360 Plugin:
My test file:
Titel:
Uniquelymade Timeline1_diff Ending
Writer:
Clint Barnes
 0:07:29
In-Process Part Measurement; Probing in 5 Simple Steps - Haas Automation Tip of the Day
 0:09:05
The Power of In-Process Probing in Fusion 360 | Autodesk Fusion 360
 0:04:17
How to use Probing in Boxing
 0:03:51
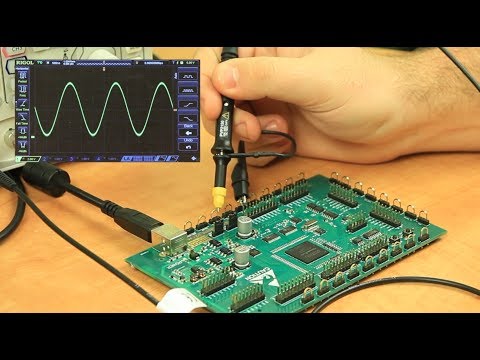
Active vs. Passive Probes- Take the Mystery Out of Probing
 0:04:33
Single-Ended or Differential Probe? Take the Mystery Out of Oscilloscope Probing
 0:00:12
Probing is the best
 0:11:30
Set Work Offsets in Seconds – Haas Automation Tip of the Day
 0:05:52
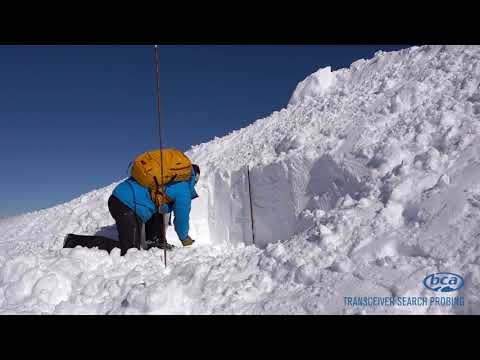
Avalanche Rescue Series: Avalanche Probing 101
 0:10:19
🎥 Linear Probing in Hashing | Collision Resolution Made Easy!
 0:02:58
Probing Basics
 0:08:15
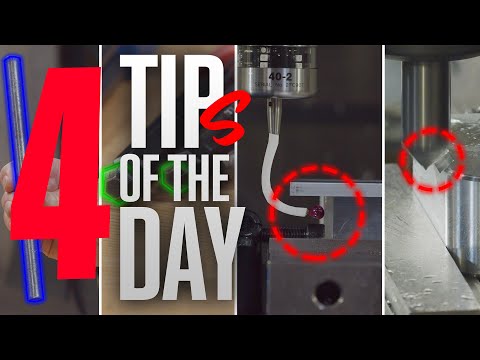
4 TIPS - ONE DAY: Probing, Wrenching, and Chamfering - Haas Automation Tip of the Day
 0:06:02
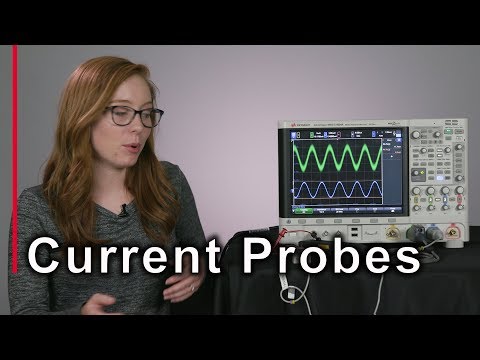
How to Measure Current with an Oscilloscope - Take the Mystery Out of Oscilloscope Probing
 0:11:03
Mistake Proof Your Setup with Probing - Haas Automation Tip of the Day
 0:07:51
Wireless Probing How-To PART 1 - Calibrating the System - Haas Automation, Inc
 0:15:50
Step-by-step Wireless Probing
 0:11:30
Lesson 3: Probing Part 1 – Compensating Passive Probes
 0:12:12
Understanding the Power Probe 3 - How to Basic Functions
 0:11:39
Understanding Oscilloscope Probing - Best Practices
 0:25:48
How to Ask Good Probing Questions
 0:00:50
Probing basics: How a touch trigger probe works
 0:09:17
Quick Tip - Probing WCS in Fusion 360
 0:07:37
Oscilloscope Tutorial (Basics 101)
 0:05:19
Best Tool for Probing Wires in a Car - You Need This Tool!
 0:10:04
In Process Probing | Fusion 360
Комментарии