filmov
tv
My Workflow for DARK & GLOOMY Photos - Photoshop Tutorial

Показать описание
Here's my workflow for creating a dark & gloomy landscape photo using a bit of Photoshop and the Camera Raw Editor!
Feel free to follow along this tutorial by downloading the raw photo here:
▬▬▬▬▬▬▬▬▬▬▬▬▬▬▬▬▬
Thank you for watching my video!
▬▬▬▬▬▬▬▬▬▬▬▬▬▬▬▬▬
0:00 Intro
0:26 Basic Raw Adjustments
2:23 Masking
6:49 Color Grading
7:52 Sharpening
8:14 Photoshop
10:19 Dodging with TK Panel
12:50 Burning with TK Panel
 0:13:53
My Workflow for DARK & GLOOMY Photos - Photoshop Tutorial
 0:15:53
I Edit YOUR Photos in Darktable - Full Workflow Tutorial
 0:00:37
My workflow for editing a black and white image in photoshop
 0:00:57
Espresso Workflow with Unifilter from Weber Workshops and Flair 58
 0:12:19
My SIMPLE (But Slightly Overkill) Storage Workflow For Content Creation
 0:15:00
How to Make Your Photos Look CINEMATIC in Lightroom | My Workflow
 0:01:01
'Ridiculous' Espresso Workflow Ever! #coffeegrinder #coffeemachine #espresso
 0:18:09
HOW I made these PORTRAITS: Complete Workflow including PHOTOGRAPHY, LIGHTROOM and PHOTOSHOP
 0:26:29
How I Edit Photos in Lightroom (complete workflow tutorial)
 0:14:05
STOP Overcomplicating YOUR Editing Workflow | Try THIS
 0:11:49
Darktable Workflow - 8 simple steps to catalogue, edit and publish your photos
 0:10:14
My Editing Workflow (Simple but Effective)
 0:12:00
My video EDITING workflow in DaVinci Resolve 18 | Keep it simple!
 0:00:22
This CHANGED my video workflow for the better
 0:00:55
Gaggia Classic Pro - Latte Workflow ☕️
 0:08:57
How This Black Box Improved My Workflow (Best Data Storage Solution)
 0:18:06
My External Brain Walkthrough and Workflow (Obsidian)
 0:00:19
☝🏻 Streamline Your Data Science Workflow with Organized Code
 0:28:55
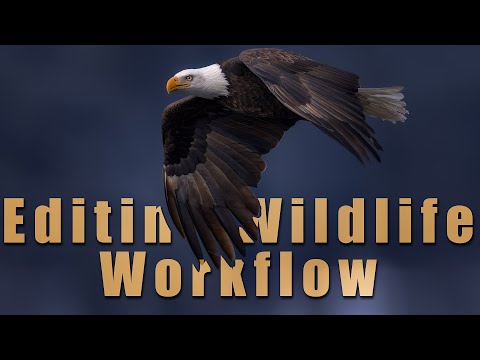
My Wildlife Photography Workflow // Postprocessing Wildlife Photography
 0:01:01
The Most Interesting Espresso Workflow #coffee #espresso
 0:32:05
Pro photographer's Lightroom workflow on iPad 2023 (Import, edit, sync, border, export)
 0:00:33
My editing workflow with Capture One #wedding #weddingphotographer #weddingdress #photography
 0:06:02
one button that STREAMLINED my WORKFLOW | Lightroom
 0:37:55
Darktable 4.8 Workflow for Lightroom Users - Landscape Processing #16
Комментарии