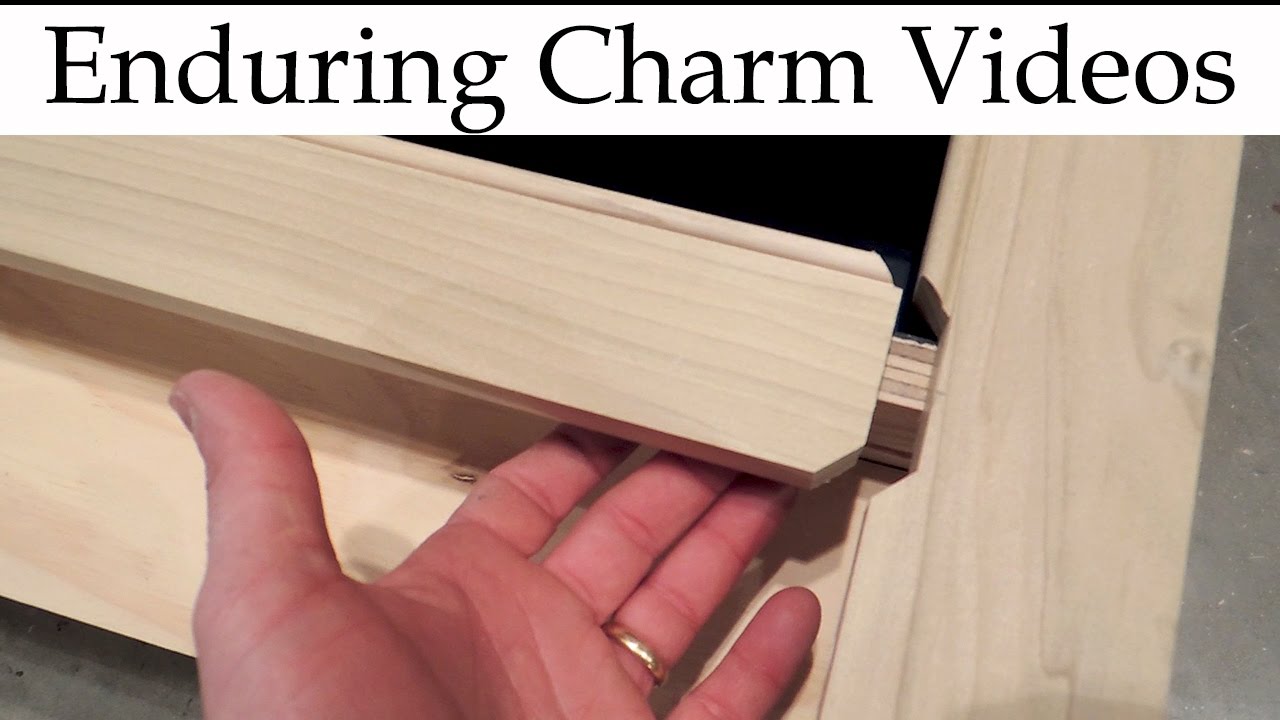
Cabinet Beaded Face Frames With A Simple System

preview_player
Показать описание
Traditional cabinets often have a bead detail around the drawer and door edges. The original method of doing this was to apply a bead moulding or sometimes to scratch the bead into the frame in more primitive styles. With modern routers we can cut beads easily enough, but what is the best way to miter the stiles and rails together? In this video I'll show you how I'm accomplishing this traditional detail for some kitchen cabinets.

►To purchase:

As an Amazon associate I earn from qualifying purchases.
Рекомендации по теме
Комментарии
Автор

I know you made this 4 years ago, but I just wanted to say Thanks for the great video. There are a couple other similar videos out there for making beaded face frames, but yours was by far the easiest to follow and most useful. It gave me the confidence to attempt it myself on a big built-in cabinet project and the results are perfect. I went with the smaller sized Kreg notching bit so that I could reduce the width of my rails to 1 5/8 (if single beaded.. 1 7/8 if beaded on both sides). I found the best approach to be to fiddle around until you can make a perfect/tight master sample of notch and rail, then keep those for reference to repeat the router set up later. Also, the line markings work fine as reference to start setup, but I found that using a stop block on a scrap piece is the safest way to go for repeatability. Thanks again for the great video!

rwunsche
Автор

Those look great and the technique is pretty straight forward. Thanks for publishing this!

lundebc
Автор

Why am I mesmerized by the angles of the joints? Very nice.

stankolodin
Автор

This video is exactly what I needed. Thanks so much for sharing!

amandalong
Автор

I do believe, Sir, that you just saved me about 400$. I just bought a used shaper and I'm going to rig up something very similar to what you are using here. Well done!

alaindesforges
Автор

Thank you for this video. Very helpful in answering my questions.

Really nice job.

toonybrain
Автор

Pretty cool John. I bought one of those Kreg bits after making a beaded face frame with the miters on the bead cut by hand. Let's just say I'm glad it was a painted frame. I started to build a set up then realized I didn't have an accurate way to index the cuts. Your set up is exactly what I was looking for!

McNallyMultiMedia
Автор

Excellent job explaining the process. Glad you addressed in the comments how the 45 degree ends on the rails are made.

paullasko
Автор

I do think a flip stop on your fence will make a big difference. Drill a threaded insert into the edge of the flipstop then add a bolt with a nut on it to act as a micro adjustable stop. So you can set it up for constant cutting of the work piece. This is more accurate than ling a pencil line.

johnmutton
Автор

Interesting! I didn't know there was a solution like this for us little guys who want to do beaded frames but don't want to buy the expensive machines that normally do this.

Mopardude
Автор

I found this video to be exactly what i was looking for- trying to mimic a new door frame to match the 1890 one, and have realized that I'm gonna have to stick with the applied trim method seeing the ingenuity level of your skills way past mine!

carterharrington
Автор

Great concept... I run a fairly large-scale shop that does hundreds of beaded openings of various opening sizes per job.
Our goal is to build our frame openings to exact measurements with a tolerance of less than 1/32" of deviation. Currently we are applying rosebead molding by hand which is a slow and laborious task.
Your set up looks great for smaller jobs with repetitive opening sizes but im thinking that I might need needs something that could put out high volumes of accurately cut parts that can accommodate multiple opening sizes.
Any advise or information on other resources would be greatly appreciated.
Thank you for a great video.

DeeGee-sv
Автор

Nice video and a good alternate to the traditional method of beading the door openings and drawer fronts. I guess if you used a shallower bead detail, you would just lower the bit in the table to the correct exposure? And... if you wanted a bead detail on the interior of a flat panel door, you might be able to adapt this to a mortise and tenon frame and panel door, too. Damn... ya got me thinking

frankvucolo
Автор

I like your router table jig, smart man.

shanehertzog
Автор

Instead of tape on the table, I used a square to draw lines up from each point of the profile on the backer board. These lines are easy to match against my marks on my pieces. I also mounted a stop block on outboard side of the backer board which sits flush against my push block, so clamped against the push block it always sits at exactly the same place v the router bit. I had no problem beading first.

alansheiness
Автор

This is an excellent video. Will this method work using a ogee edge or Roman ogee edge vs the beaded edge?
Thanks ... easy to follow your explanation.

williamconkling
Автор

How did you make the cuts on the end of the rails? Great video. Thanks for the info.

chrisswartzwelder
Автор

Way beyond my skills .... Nice looking face frames!

johnjacobjinglehimerschmid
Автор

Love it, very innovative. What is the source for the metal channel in the router table for the fence to ride it?

tc
Автор

I have some pre-finished fridge panels that I need to make a similar joint in. The panels are obviously too big for a router table. There are 2 side panels and a top panel that need to be joined together. Any ideas on how to do that consistently and efficiently? I have several to do.

jessekanobe
join shbcf.ru