filmov
tv
Proxmox VE - How to build an Ubuntu 22.04 Template (Updated Method)
Показать описание
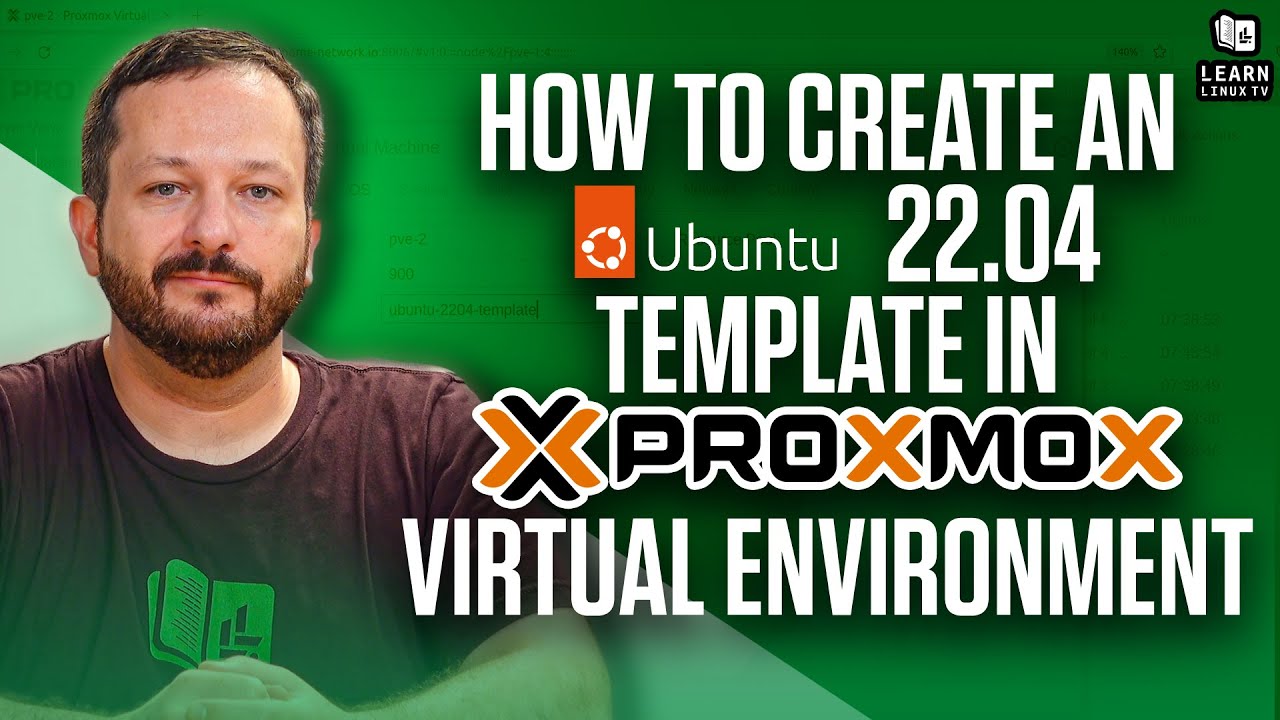
Proxmox Virtual Environment is a powerful and easy to use virtualization platform with many features. Virtual machine templates help to minimize the amount of time spent building new instances, and in this video we'll take a look at how you can utilize Ubuntu's cloud images to automate the process of deploying new Linux instances.
Also, be sure to check out Learn Linux TV's full tutorial course on Proxmox Virtual Environment:
*Video Specific Links*
*🎓 BRAND NEW UDEMY COURSES AVAILABLE!*
Check out my new courses on Udemy and take your learning even further!
*🐧 SUPPORT LINUX LEARNING!*
_Note: Royalties and/or commission is earned from each of the above links_
*🌐 LEARN LINUX TV ON THE WEB*
Learn Linux TV provides technical content that will hopefully be helpful to you and teach you something new. However, this content is provided without any warranty (expressed or implied). Learn Linux TV is not responsible for any damages that may arise from any use of this content. The person viewing Learn Linux TV's content is expected to follow their best judgement and to make their best decisions while working with any related technology. Always make sure you have written permission before working with any infrastructure. Also, be sure that you're compliant with all company rules, change control procedures, and local laws.
#Proxmox #Ubuntu #DevOps
 0:19:11
Proxmox VE Setup Guide: Everything You Need to Know
 0:24:25
Proxmox VE - How to build an Ubuntu 22.04 Template (Updated Method)
 0:04:35
What is Proxmox Virtualization?
 0:20:32
Proxmox Virtual Environment Complete Course Part 1 - Getting Started
 0:05:30
Proxmox VE Install and Setup Tutorial
 0:17:57
Proxmox VE Full Course: Class 6 - Creating Virtual Machine Templates
 0:30:39
Virtual Machines Pt. 2 (Proxmox install w/ Kali Linux)
 0:23:40
Proxmox Virtual Environment Complete Course Part 9 - User Management
 0:19:56
Proxmox API Quick Start
 0:22:27
Proxmox VE Installation Guide: From ISO to First VM | How to install Proxmox v8
 0:07:37
How to Update Proxmox VE for Free
 0:20:14
Proxmox Virtual Environment Complete Course Part 10 - Backups and Snapshots
 0:28:29
Proxmox Virtual Environment Complete Course Part 5 - Launching a Virtual Machine
 0:23:05
Proxmox Virtual Environment Complete Course Part 2 - Installation Process
 0:26:48
Proxmox Installation und erster LXC-Container auf einem Mini-PC
 0:12:03
Virtualize Windows 10 with Proxmox VE
 0:13:57
Proxmox VE 6.0 Beginner Tutorial - Installing Proxmox & Creating a virtual machine.
 0:09:07
Proxmox VE How To Clone VMs From Templates
 0:24:15
Proxmox Automation with Proxmox Helper Scripts!
 0:19:32
Upgrading Proxmox VE to version 6.0
 0:07:34
How To Install PROXMOX VE Server
 0:05:47
Building the perfect Proxmox VE server
 0:06:45
Proxmox VE 5.0 Installation & Setup
 0:11:34
Proxmox virtualisiert einfach
Комментарии