filmov
tv
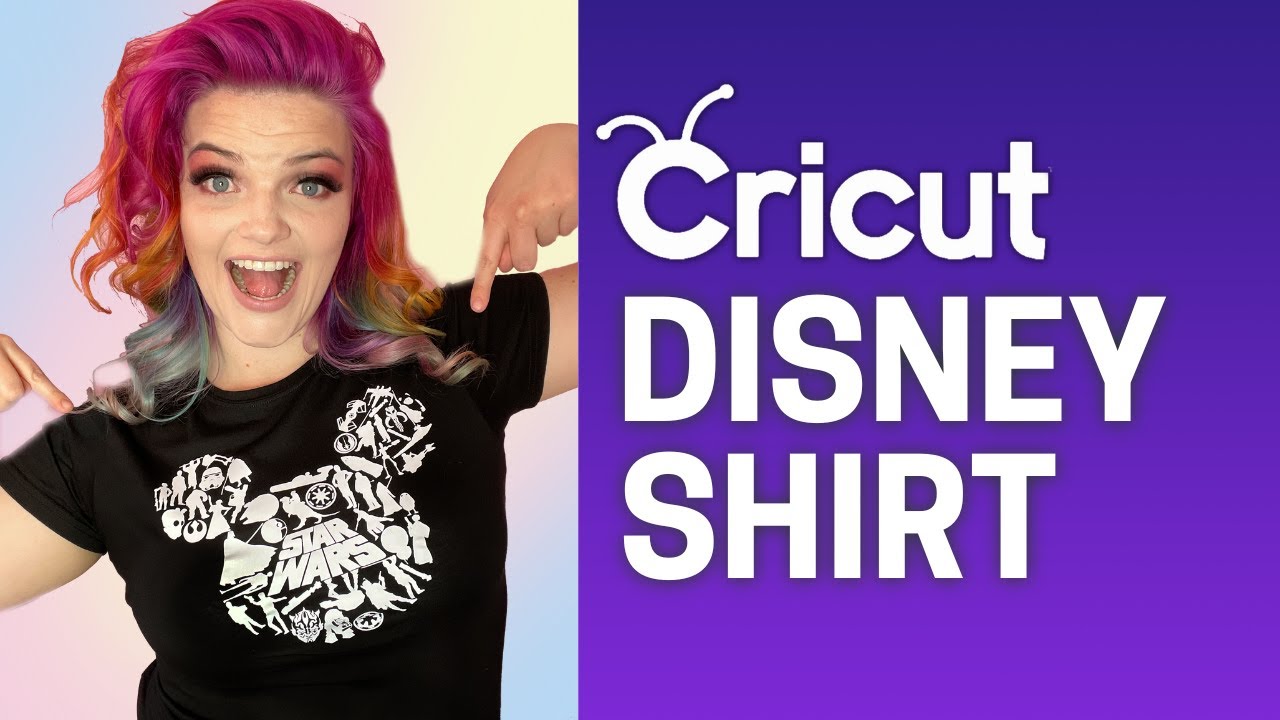
HOW TO MAKE DISNEY SHIRTS WITH CRICUT // Custom Iron-On Heat Transfer Vinyl HTV - Beginner Tutorials
Показать описание
In today’s tutorial, I’ll show you how I made this custom Star Wars shirt for my friend’s upcoming Disney trip, using a Cricut Maker machine and Heat Transfer Vinyl.
You don’t need a fancy heat press to use iron-on vinyl. I did this using a household iron!
Please be aware that when you’re using licensed images such as Disney and Star Wars logos, your projects must be for personal use only. I created this as a gift for a friend and it is not for sale. You are not allowed to sell any merchandise using licensed images without permission. Lots of people are out there doing it, but there can be very serious repercussions, so I’d advise you to stay away from it!
Key points to note:
► Wash and dry your shirt beforehand to pre-shrink it (or use a pre-shrunk shirt)
► Mirror your design in Cricut Design Space before cutting
► Apply the vinyl to your mat shiny side down
► Make sure there are no stray pieces of weeded vinyl left on the carrier sheet before ironing
► Fold your shirt in half and iron a crease down the middle to easily place your design
► Follow the instructions on your HTV or on the Cricut calculator (linked below)
► Wait at least 24 hours before washing the shirt
► Always wash inside out
Social Links:
Calculator:
Heat Transfer Vinyl:
Heat Press Mat:
Nail Polish Holder Ring:
Blank Shirt:
As an Amazon Associate, I earn from qualifying purchases. There is no additional cost to you when you purchase from my links!
 0:07:20
HOW TO MAKE DISNEY SHIRTS WITH CRICUT // Custom Iron-On Heat Transfer Vinyl HTV - Beginner Tutorials
 0:21:04
CRICUT DISNEY SHIRTS WITH PRINTABLE HTV!
 0:10:37
How to Make a Disney Shirt using Cricut Maker
 0:14:07
DIY:How to Design and Make Your Own Birthday Disney Minnie Mouse T-shirts! HTV Vinyl. Free SVGs
 0:07:24
DIY Disney T-Shirts with Cricut Explore
 0:33:35
Work With Me! Make DIY Disney Shirts with me! Matching Family Tees using Vinyl and Sublimation
 0:07:01
CUSTOM DISNEY SHIRTS....WATCH ME WORK #DISNEYSHIRTS #CRICUT #HTV #GLITTERVINYL
 0:10:16
Making Disney T-shirt using Cricut Products! #OWNIT
 0:15:54
Disney Character Warehouse Update, Vineland! Update 10-19-2024
 0:05:37
Disney shapes Tutorial
 0:00:22
Glowup Princesse Disney #disney #glowup #artwork #transformation #shortswithzita #shorts #digitalart
 0:15:16
Crafting for Disney | Halloween Mickey T-Shirt | Full Cricut Tutorial
 0:01:45
How to Make a Minnie Head | Weld | Disney | Cricut Design Space Beginner
 0:52:46
DIY DISNEY SHIRTS WITH YOUR CRICUT!
 0:00:16
DIY BLUEY DISNEY JUNIOR COSTUMES FOR HALLOWEEN
 0:04:28
DIY: Easy T-shirt painting!! Disney castle silhouette print at home, very easy!!
 0:13:49
DISNEY INSPIRED DIYs! Plus *GENIUS* Tips for visiting Disney World 2021
 0:07:12
DIY Disney Clothes! Cheap & Easy Pinterest Inspired! || Ears, Shirts & Shoes!
 0:00:21
Did you notice this mistake in Tangled? #shorts #disney #entertainment
 0:04:37
DIY Disney Princess Workout Shirts
 0:43:29
How to make A Basic T-shirt for Your Disney nuiMOs! | disneynuiMOsdiy
 0:05:42
DIY Custom Disney Tee Shirt / Sid From Toy Story
 0:00:27
🔥Disney's TURNING RED With ZERO BUDGET || BEST MEI LEE PARODY #viral #SHORTS
 0:00:15
I Married a Disney Princess! #Shorts
Комментарии